

Worldwide Shipping

Cruelty free

Secure Payment

5 Stars on Google
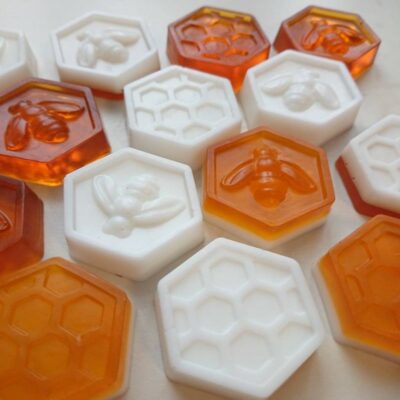
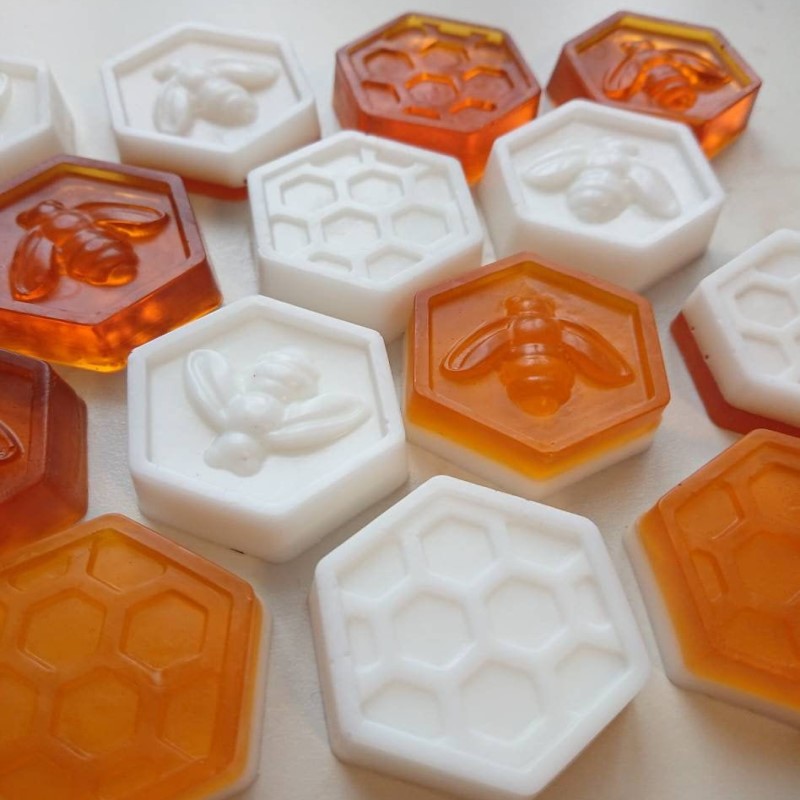
DIY Milk and Honey Soap
How to Make Milk and Honey Soap
This milk and honey soap recipe provide a gentle and moisturizing cleanse that leaves your skin feeling soft, smooth and refreshed. Milk contains lactic acid which helps to gently exfoliate and brighten the skin, while honey is a natural humectant that helps to hydrate and soothe the skin.
Ingredients
- 454 g Goat’s Milk Soap Base
- Silicone Honeycomb Mold
- Organic Raw Honey
- Yellow & Red Soap Colorant (optional)
Instructions
- We generally use about 454 g (or half of the block) of soap base at a time to make ten honeycomb soaps. Slice the block of goat’s milk soap base into cubes that are approximately 1.27 cm in size. The soap base is soft, and it cuts easily with a kitchen knife.
- Place the cubes inside a 4-cup Pyrex measuring cup, and melt them in the microwave. Melt in 20-30 second increments, stirring well after each microwave session, to ensure that the soap is completely melted.
- When the soap is completely melted, stir in 3 tbsp of honey and a few drops of yellow soap colorant. We also added one drop of red colorant to give my soap more of a golden hue.
- Pour the melted soap into the honeycomb mold, and allow to sit undisturbed until cool. The cooling process can take anywhere from 30 minutes to 2 hours depending on temperature and humidity levels.
- When the soap is cool and firm, carefully remove them from the silicone mold.
- These DIY milk & honey soaps make a fantastic homemade gift – perfect for friends, family, teachers, coaches, and neighbors!
How Do You Wrap/Package/Store Homemade Soap?
Melt and pour soaps should be wrapped and packaged soon after making. We recommend wrapping the soaps with plastic wrap or placing them in a plastic zipper bag and storing them in a cool and dry location. Soaps may also be shrink wrapped using shrink plastic and a heat gun, but be careful and work quickly so that you don’t accidentally melt the soap in the process!
What Else Can I Add To My Soap?
There are many different ways that you can customize your homemade soaps! Experiment with adding different essential oils, butter (shea butter and cocoa butter are fantastic options!), natural colors, botanicals, and more! You can add extra skin-nourishing benefits by including liquid oils such as coconut oil, sweet almond oil, or olive oil – use just a small amount to avoid making your bars of soap too soft!


Reviews
There are no reviews yet.