
Beeswax is one of the oldest and most revered materials in the history of candle making. It remains a favorite among hobbyists today, prized for being a purely natural product with a delicate, honey-sweet aroma. Beyond its scent, beeswax candles are celebrated for their clean, long-lasting burn and their unique ability to release negative ions, which many believe helps to naturally purify the air.
However, working with beeswax requires a specialized approach. Because it is denser and has a significantly higher melting point than candle wax like paraffin or soy, it demands a bit more patience and the right technique to achieve professional results.
Essential Supplies for Your Project
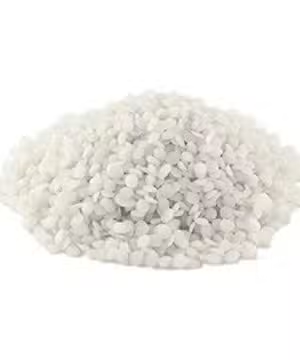
Before you begin, gather all the necessary materials. Your choice of wax will define the final aesthetic of your candle. You can opt for white beeswax if you intend to add custom colors with pigments. For a more traditional, rustic feel, choose yellow beeswax. This classic variety maintains a warm golden glow and the authentic fragrance of the hive.
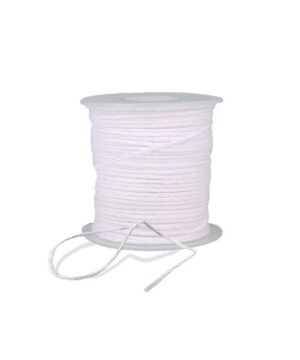
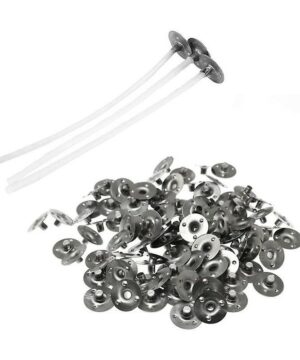
The choice of candle wick is also critical. Beeswax is highly viscous, meaning it is very thick when liquid. Standard cotton wicks often struggle to draw this heavy wax upward, causing the flame to “drown” or extinguish prematurely. To avoid this, always use a wick specifically treated for beeswax. These are engineered to withstand higher temperatures and provide a steady, reliable flame.
-
 €2.95€2.44 incl. VAT inc. VATExcl. VATSelect options This product has multiple variants. The options may be chosen on the product page
 -
€2.64 €327.25Price range: €3.19€2.64 through €327.25€327.25 incl. VAT inc. VATExcl. VATSelect options This product has multiple variants. The options may be chosen on the product page
-
€2.64 €327.25Price range: €3.19€2.64 through €327.25€327.25 incl. VAT inc. VATExcl. VATSelect options This product has multiple variants. The options may be chosen on the product page


Necessary Tools
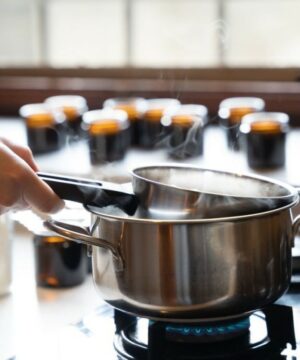
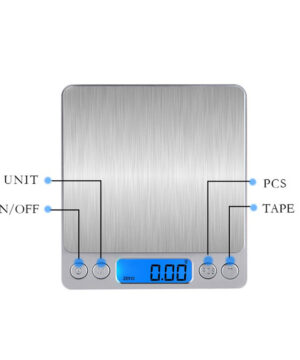
Safety and precision are the secrets to success in candle making. Never melt wax over direct heat, as this can lead to scorching or even fire. Instead, use a bain-marie or double boiler to melt the wax gently and evenly. You will also need a digital scale to ensure your ratios are exact.
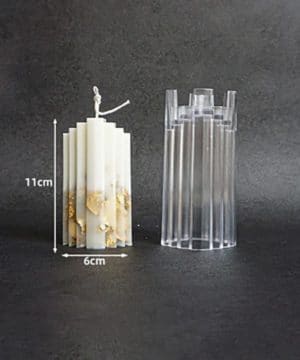
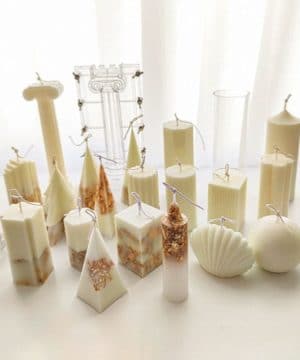
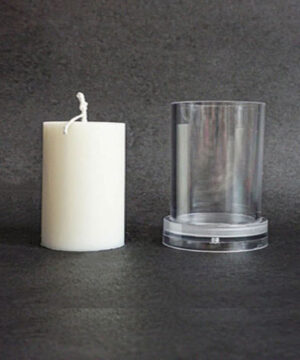
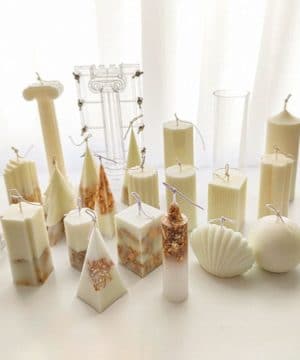
For your candle’s form, prepare heat-resistant glass containers if you are making container candles. If you prefer freestanding pillar or decorative candles, a silicone or acrylic candle mold is the best option.


Preparing Your Workspace
To keep cleanup easy, cover your workspace with newspaper or cardboard. Hardened beeswax is notoriously difficult to remove from surfaces. Use a thermometer to monitor the temperature throughout the process; if the wax gets too hot, it will begin to smoke, which degrades the wax and is unpleasant to breathe. Keeping all your tools and equipment within reach will make the process much smoother once the wax is liquid.
Step-by-Step: Pouring Your First Candle
Start by weighing your wax. For a standard 20 cl candle jar, you will typically need between 160 and 180 grams of wax.
- Place the beeswax pellets in your double boiler and heat the water slowly. Let the wax melt until it reaches approximately 70 to 75 degrees Celsius, stirring occasionally for an even melt.
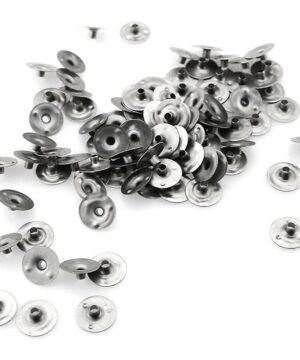
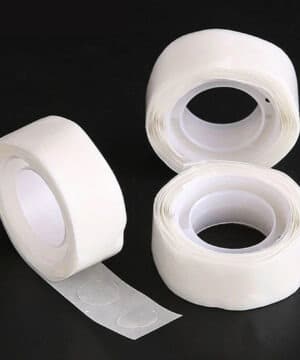
- While the wax melts, prepare your container. Place a wick sticker on the bottom of the wick’s metal tab and press it firmly into the center of the glass.
- Use a wick centering tool to keep the wick straight and taut.
- If you want to add a fragrance, you can use essential oils in candles for a completely natural scent. A fragrance load of about 6% is usually ideal.
- Check your temperature again. Once the wax has cooled slightly to around 65 degrees Celsius, it is ready to pour.
- Pour the wax into the container, leaving about a centimeter of space at the top. Beeswax tends to shrink as it sets, so keep a small amount of wax in the pan to fill any “sinkholes” that may form during cooling.
-
 €1.25 €34.95Price range: €1.25€1.25 through €34.95€34.95 incl. VAT inc. VATExcl. VATSelect options This product has multiple variants. The options may be chosen on the product page
 -


Curing and Finishing Touches
Allow your candles to sit undisturbed for at least 24 hours in a room free from drafts. Once fully set, trim the wick to a length of roughly 5mm to 1cm. If you used a hexagon mold or another shape, carefully de-mold the candle. If the wax feels stuck, a quick 15-minute stint in the refrigerator will cause the wax to contract slightly, allowing it to slide out easily.
-
-
 €12.95 €18.95Price range: €12.95€12.95 through €18.95€18.95 incl. VAT inc. VATExcl. VATSelect options This product has multiple variants. The options may be chosen on the product page


Troubleshooting for a Perfect Burn
Choosing the right wick for beeswax often involves a little trial and error. If the candle “tunnels”—meaning it burns down the center and leaves a wall of wax on the sides—your wick is too small. Conversely, if the flame is dancing aggressively, smoking, or making the glass too hot, the wick is likely too large.
For the best burn quality, let your beeswax candle “cure” for a few days before its first use. This allows the internal crystal structure of the natural wax to stabilize. Always trim the wick to 5mm before lighting to ensure a calm flame and prevent carbon buildup on the tip.
Handcrafting candles is a rewarding journey of experimentation. By documenting your temperatures and wick sizes, you’ll quickly master the nuances of this natural material. If you prefer to have everything ready at once, our candle making kits are the perfect way to dive into your new hobby.


