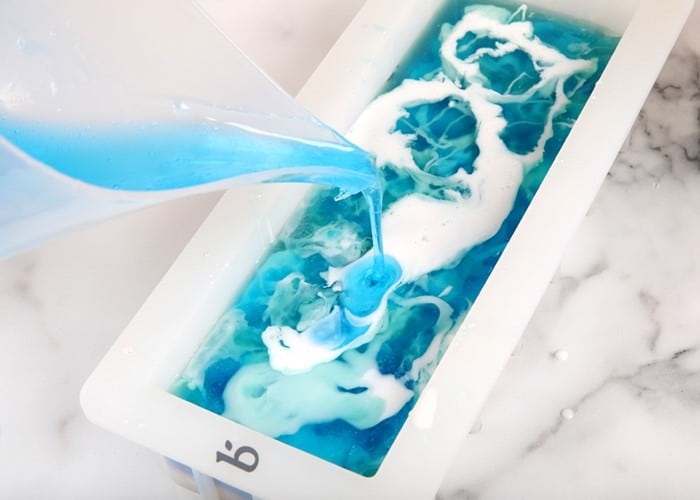
Melt and pour soap is a great option for beginners. All you have to do is melt the premade base, customize it with your favorite colors and scents, and pour into a mold. Once you get the hang of the process, you can experiment with advanced techniques like layers and swirls.
Cold process soap is made by combining oils and sodium hydroxide lye. That causes a chemical reaction called saponification – learn more here. Melt and pour soap has already gone through that process. That means you don’t have to handle lye, you can focus on the design, and you don’t have to cure the soap – it’s ready to use as soon as it’s cool and hard. It’s great for kids as well.
Below you’ll find melt and pour terms, tips, and tutorials.
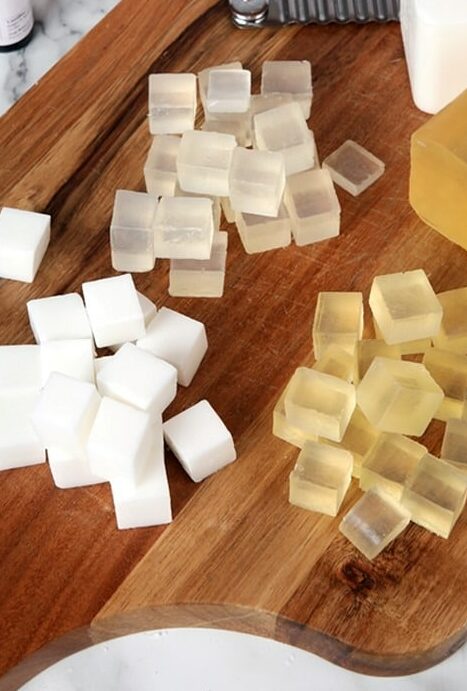
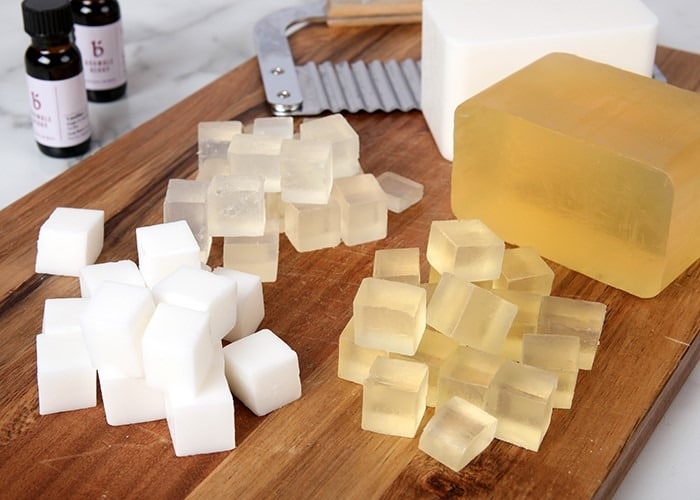
What Soap bases are there
There are several options to choose from when selecting a base. Clear Melt and Pour base and White Melt and Pour base is a good place to start. They’re simple, cleansing, and ready to customize. The clear base will have more bright colors, while the white will have more pastel colors. You can also try bases with additives like shea butter melt and pour base, goat milk melt and pour base, or aloe vera melt and pour base. Find all the bases here.
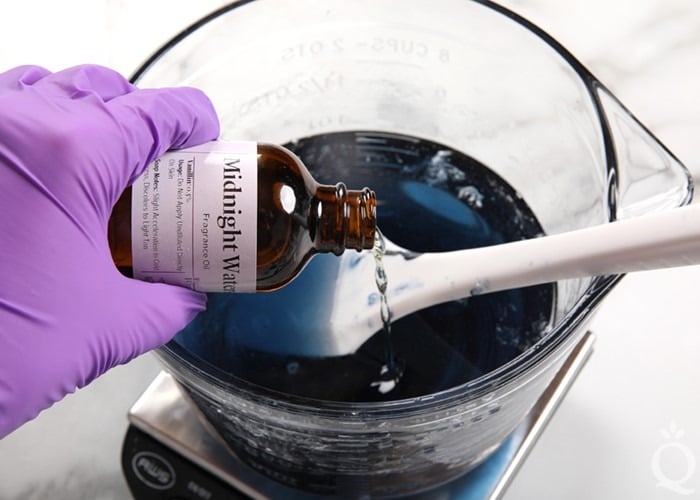
Fragrance for Melt and Pour soap
You can scent your soap with fragrance oils or essential oils. A general usage rate is about 25 ml of scent per kilo of soap. Find light, medium, and strong recommendations with the Fragrance Calculator. It’s important to use skin-safe scents like the ones from YouWish. Potpourri, craft, or candle fragrances may not be skin safe or tested in soap. Be sure to check with the manufacturer before use.
Glycerin for Melt and Pour soap
Glycerin is a natural byproduct of the saponification process. It’s one of the reasons handmade soap feels so amazing – it draws moisture to the skin and keeps it hydrated. Additional glycerin is added during the melt and pour manufacturing process to make it easy to work with. It can also cause the soap to sweat in humid climates, so make sure to wrap your bars and keep them in a cool, dry place.
Molds for Melt and Pour soap
You need to use a mold that can withstand higher temperatures so it doesn’t melt when you pour in hot soap. You also want it to be flexible so it’s easy to unmold the bars. We love silicone and plastic molds for melt and pour, you can find those here.
Colorants for Melt and Pour soap
There are plenty of options for coloring melt and pour soap. Micas and color blocks are easy to use and they look great in the finished bars. Learn more about how to work with our skin-safe soap colorants in this post. We don’t recommend options like food coloring or crayons because they haven’t been tested or approved for use in soap. They tend to morph, fade, or bleed.

Safety with Melt and Pour soap
Soap bases start to melt around 50 degrees Celsius. Use heat-safe tools and handle with care – melted soap can hurt if dripped or splashed on skin. When crafting with children, they should be old enough to hold their own containers and an adult should be present at all times.