
Few things in soapmaking are more frustrating than slicing into a fresh loaf expecting a crisp, centered heart or star, only to find a warped, half-melted blob surrounded by pockets of trapped air. While decorative embeds can transform an ordinary bar into a showstopper, achieving clean results takes a bit of precision. With careful temperature management, deliberate timing, and a bottle of rubbing alcohol at your side, your embeds will stay sharp, centered, and firmly bonded. Here is everything you need to know about working with embeds in both melt and pour and cold process soap.
What Are Soap Embeds?
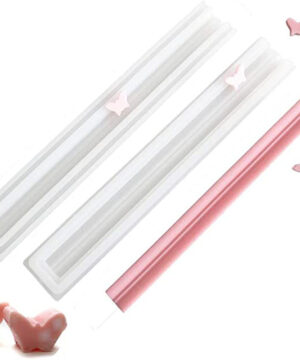
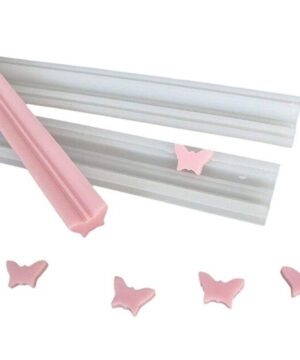
Embeds are pre-shaped soap pieces set inside a larger pour of liquid soap base or batter. They can range from small standalone shapes—like hearts, moons, or geometric figures—to full-length columns running through the center of an entire loaf. You craft these components ahead of time using a specialized soap embed mold and allow them to fully set before assembling your final design. Cold process embeds generally need one to two days to harden enough for safe handling, while melt and pour embeds are ready to use after just a couple of hours of cooling.
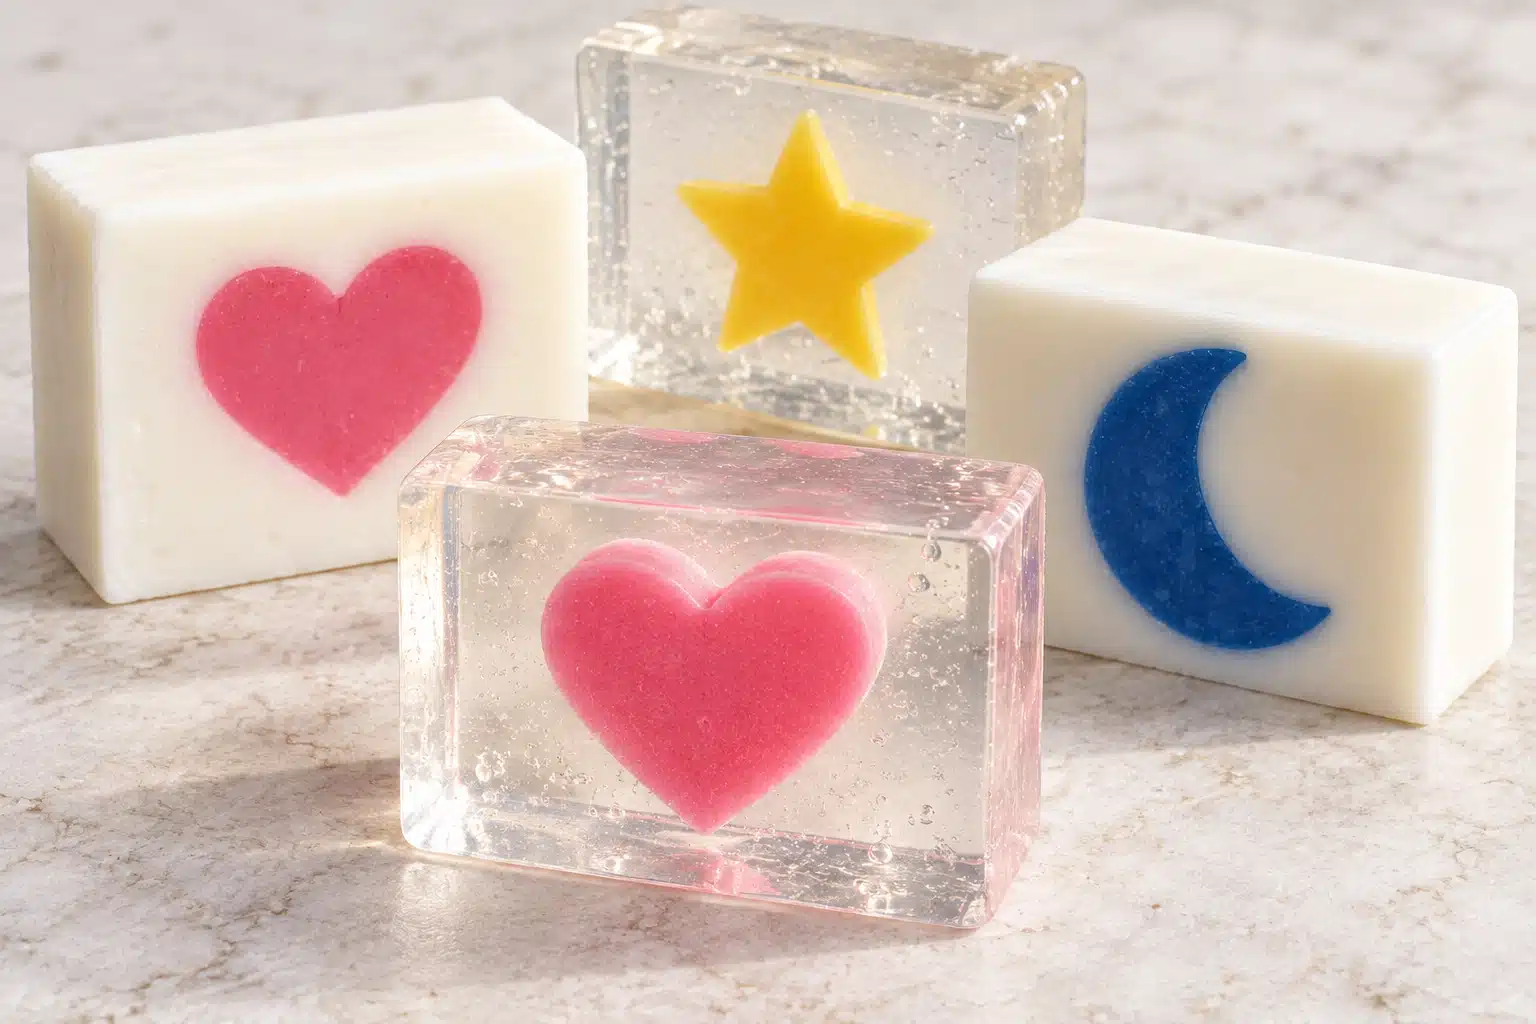
For the best results, use embeds that are between a few days and a few months old. If cold process soap cures for too long, it can turn rock-hard, making it nearly impossible to slice cleanly through the finished bar without dragging or cracking. Browse our collection of soap molds to find shapes that inspire your next batch.



The Essential Role of Isopropyl Alcohol
When working with melt and pour soap, a spray bottle filled with 99.9% isopropyl alcohol is your most important tool. Alcohol serves two vital functions: it pops surface air bubbles on contact—essential for clear visibility—and it acts as a bonding agent between layers.
Always give your embeds a generous spritz of alcohol right before pouring warm base over them. The alcohol temporarily dissolves a microscopic layer on the surface of the embed, allowing the liquid soap to fuse securely with it as it cools. Skipping this step often causes embeds to separate or pop out entirely when the finished bar is used. If you are building layered designs, allow a thin skin to form on your base layer first, position your embeds, spritz everything thoroughly with alcohol, and then pour the next layer.
Temperature Control in Melt and Pour Soap
The single most common mistake with melt and pour embeds is letting the surrounding base get too hot. When the liquid soap exceeds safe temperatures, it instantly melts the delicate edges of your shapes, turning sharp silhouettes into blurry outlines. Keep your pouring temperature strictly between 50 °C and 55 °C, and never pour above 55 °C.
To build in an extra safety margin, pop your embeds into the refrigerator for 15 to 20 minutes before pouring. Chilled embeds resist melting far better when the warm base hits them. If you want your internal designs to be the star of the show, suspend them in a clear melt and pour soap base. For a thorough breakdown of the basics, explore our beginner’s guide to melt & pour, browse our selection of melt and pour soap, or read our step-by-step guide to making melt and pour soap.
-
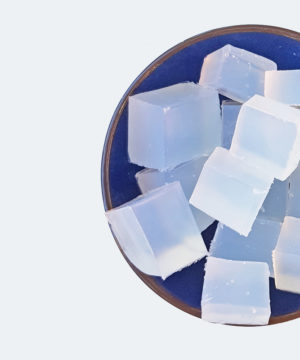
 €11.36 €90.87Price range: €13.75€11.36 through €109.95€90.87 incl. VAT inc. VATExcl. VATSelect options This product has multiple variants. The options may be chosen on the product page
 -
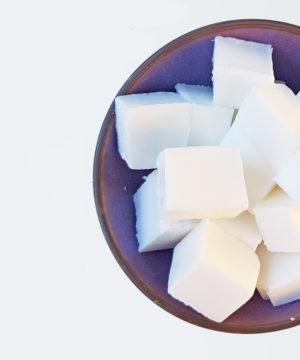
 €11.36 €90.87Price range: €13.75€11.36 through €109.95€90.87 incl. VAT inc. VATExcl. VATSelect options This product has multiple variants. The options may be chosen on the product page


Working with Embeds in Cold Process Soap
Because cold process soap batter is usually poured at around 38 °C, you rarely have to worry about embeds melting immediately on contact. However, the heat generated during the gel phase is another story. If your loaf heats up too much in the mold, melt and pour embeds can easily liquefy from the inside out. To keep internal temperatures low and bypass gel phase, transfer your mold straight to the refrigerator immediately after pouring.
Timing your pour is equally critical. Wait until your cold process batter reaches a medium to thick trace before setting your embeds; if the batter is too thin, heavier pieces will sink right to the bottom. When using fully cured cold process embeds, mist them lightly with plain water just before placement to help the fresh batter grip them properly. Reliable silicone soap molds with supportive sides make precise placement much easier. For more advice on mold setups and unmolding, check out our guides on choosing the right soap mold and tips for unmolding soap.
Preventing Air Bubbles and Discoloration
Trapped air pockets around embeds typically happen when the base has cooled or thickened too much before pouring, preventing it from flowing cleanly into every nook and cranny. After pouring, firmly tap your filled mold against the work surface several times to dislodge stubborn bubbles and send them to the top. Pouring in a slow, steady stream and alternating sides helps distribute pressure evenly without shifting your embeds out of alignment.
Keep these color and fragrance considerations in mind as well:
- Use non-bleeding pigments or stable cosmetic micas so your colors do not bleed into the surrounding soap over time. See our guide on using mica powder in soap for detailed coloring tips.
- Fragrance oils containing vanillin will turn pale or white soaps brown as they cure. Use a vanilla color stabilizer, or choose a non-discoloring fragrance for the surrounding base.
- Plan your spacing carefully before pouring. Mark your mold so you do not accidentally slice straight through a design feature when cutting the loaf into bars.
With sound temperature control, well-timed pours, and a handy bottle of rubbing alcohol, you can create intricate, professional-quality soap designs that hold their shape from the first pour to the last lather. Take your time, monitor your temperatures, and explore our collection of bases, molds, and colorants to start designing your next soap project.


