
Have you ever wondered why handmade soap feels so much better than store-bought bars? Many commercial soaps are actually synthetic detergents that strip your skin of its natural moisture. By taking up soap making as a hobby, you gain total control over every ingredient that touches your skin. Cold process soap making is a traditional craft where oils and butters are transformed through a reaction with a lye solution, resulting in a mild, nourishing, and high-quality product.
The Science of Cold Process Soap
The cold process soap method is defined by a chemical reaction called saponification. This occurs when fats (oils and butters) are mixed with a solution of sodium hydroxide (lye) and water. Unlike “melt and pour” soap, where the base is pre-made, cold process soap allows you to formulate your recipe from scratch. This gives you the freedom to fine-tune the bar’s hardness, lather quality, and conditioning properties to suit your personal preferences. To dive deeper into the chemistry, explore our article on the science behind it.
Essential Safety Precautions
Working with sodium hydroxide (lye) can be intimidating for beginners, but it is perfectly safe as long as you follow basic safety protocols. Lye is a caustic substance that can cause chemical burns on contact with skin or eyes.
Safety Essentials:
- Personal Protective Equipment (PPE): Always wear safety goggles with side protection, rubber gloves, and long-sleeved clothing.
- Ventilation: Work in a well-ventilated area to avoid inhaling the temporary fumes produced when mixing the lye solution.
- The Mixing Rule: Always add the lye to the water, never the other way around. Adding water to lye can cause a “volcano” effect, splashing caustic liquid out of the container.
- Material Choice: Use heat-resistant containers made of glass, heavy-duty plastic (look for recycling code #2 or #5), or stainless steel. Never use aluminum, as it reacts with lye to produce toxic fumes.
- First Aid: If lye touches your skin, rinse immediately with plenty of running water. Do not use vinegar to treat a lye burn, as the resulting chemical reaction generates heat and can worsen the injury.
Essential Supplies for Your Soap Kitchen
Precision is the key to a successful batch of soap. Always use a digital scale to weigh your ingredients in grams; volume measurements (like cups or milliliters) are too inaccurate for soap making because different oils have different densities.
You will also need an immersion blender (stick blender). While manual stirring is possible, it can take hours to reach the necessary consistency; an immersion blender creates a stable emulsion in just a few minutes. Additionally, you will need soap molds. Silicone molds are highly recommended for beginners because they are flexible, making it much easier to unmold the finished bars. Finally, a digital thermometer is vital for monitoring the temperatures of your oils and lye solution to ensure they bond correctly.
Choosing Your Oils and Butters
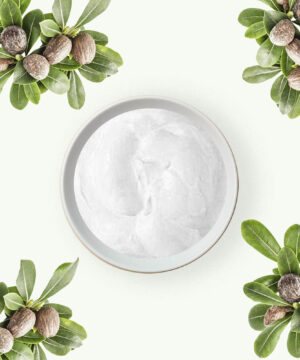
The foundation of any recipe is its blend of fats, each of which contributes specific characteristics to the final bar. For example, coconut oil creates a hard bar with excellent cleansing power and big bubbles, while olive oil is prized for its extreme mildness. Castor oil is frequently used in small amounts to boost and stabilize lather. You can also experiment with luxurious cocoa or shea butters to add a creamy feel. Check out our range of oils and butters to find the right ingredients for your skin type.
-
€6.41 €5,470.09Price range: €7.50€6.41 through €6,400.00€5,470.09 incl. VAT inc. VATExcl. VATSelect options This product has multiple variants. The options may be chosen on the product page
-
€6.94 €249.95Price range: €7.49€6.94 through €269.95€249.95 incl. VAT inc. VATExcl. VATSelect options This product has multiple variants. The options may be chosen on the product page


A Reliable Beginner Recipe
The following recipe uses a balanced blend of oils to produce a gentle, skin-friendly bar. Once you are comfortable with the process, you can use a lye calculator to design your own custom formulations.
- Prepare the Oils: Weigh 125g olive oil, 150g coconut oil, 125g palm oil, 50g castor oil, and 50g canola oil into a heat-resistant bowl.
- Prepare the Lye Solution: Carefully add 78g of sodium hydroxide to 175g of distilled water. Stir until the granules are fully dissolved and let the solution cool to approximately 49°C (120°F).
- Combine: Melt your solid fats and mix them with the liquid oils. Ensure the oil mixture is at roughly the same temperature as the lye solution.
- Emulsify: Slowly pour the lye solution into the oils. Use your immersion blender in short bursts, stirring manually in between.
- Identify Trace: Continue mixing until the soap reaches “trace”—this is when the mixture has thickened to the consistency of pudding, and a spoonful drizzled over the surface leaves a visible “trail” or path.
- Scent (Optional): Add 15g of essential oil or fragrance oil and mix for one final minute.
- Mold and Set: Pour the mixture into your mold and tap it firmly on the counter to release trapped air bubbles. Cover the mold and let it sit undisturbed for 24 to 48 hours.
-
 €5.09 €598.25Price range: €5.95€5.09 through €699.95€598.25 incl. VAT inc. VATExcl. VATSelect options This product has multiple variants. The options may be chosen on the product page
 -
 €1.07 €4.23Price range: €1.25€1.07 through €4.95€4.23 incl. VAT inc. VATExcl. VATSelect options This product has multiple variants. The options may be chosen on the product page
 -
 €3.38 €213.63Price range: €3.95€3.38 through €249.95€213.63 incl. VAT inc. VATExcl. VATSelect options This product has multiple variants. The options may be chosen on the product page


Curing: The Final Transformation
After the soap has set, you can unmold and cut it into bars. However, it isn’t ready for the shower just yet. The soap must undergo curing, a process that takes four to six weeks. During this time, the bars should be stored in a dry, well-ventilated area. Curing allows remaining water to evaporate, resulting in a harder, milder bar that lasts much longer and produces a better lather.
During the first 24 hours, you may notice your soap becoming warm and slightly translucent; this is known as the “gel phase.” This natural part of the process can result in more vibrant colors and a slightly shinier finish. To learn how to encourage or prevent this, read our guide on the gel phase in soap making.
-
 €3.38 €358.93Price range: €3.95€3.38 through €419.95€358.93 incl. VAT inc. VATExcl. VATSelect options This product has multiple variants. The options may be chosen on the product page
 -
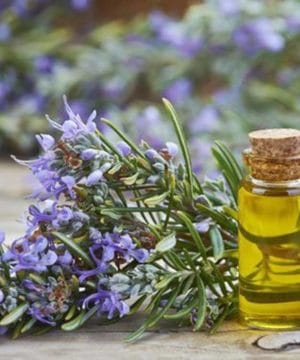
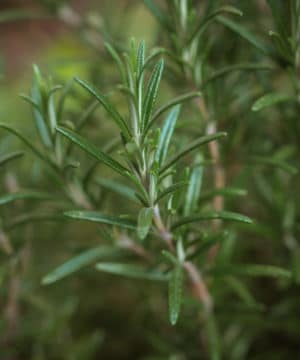 €3.38 €512.78Price range: €3.95€3.38 through €599.95€512.78 incl. VAT inc. VATExcl. VATSelect options This product has multiple variants. The options may be chosen on the product page
 -
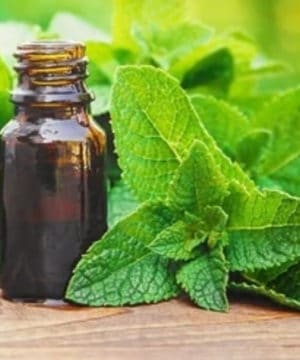 €3.38 €512.78Price range: €3.95€3.38 through €599.95€512.78 incl. VAT inc. VATExcl. VATSelect options This product has multiple variants. The options may be chosen on the product page


Troubleshooting Common Issues
Even experienced makers encounter the occasional hiccup. One common issue is “false trace,” which happens if your oils are too cool; the hard fats begin to solidify, making the soap look thick before it is actually emulsified. If you suspect false trace, continue to stir gently to ensure a proper bond.
Another common aesthetic issue is “soda ash”—a harmless white, powdery layer that forms on top of the soap. You can often prevent this by spraying the surface of the freshly poured soap with a light mist of isopropyl alcohol.
Once you have mastered these fundamentals, the creative possibilities are endless. Explore our other recipes for inspiration and start crafting your own signature skincare today.


