
There is nothing quite like that effortless, radiant flush you get after a brisk walk outdoors. We all crave that fresh-faced look, but applying color over dry or tired skin can quickly turn patchy or chalky. Fortunately, you don’t have to rely on complex, store-bought formulas to get it right. If you are interested in making your own makeup, you will quickly find that a handful of simple, wholesome ingredients is all you need to create a gorgeous flush. Here is your step-by-step guide to crafting a custom DIY blush tailored to your skin tone and type.

Hydration: The Foundation of Any Makeup Routine
Applying color to dehydrated skin almost always results in an uneven, powdery finish. Pigments need a plump, supple base to melt into seamlessly. When exploring the best natural ingredients for makeup, humectants such as hyaluronic acid and vegetable glycerin should be at the top of your list.
Prepping your face with a lightweight DIY natural primer creates an even barrier before you bring in any color. This step does more than just improve pigment adhesion—it also prevents dry patches from soaking up color unevenly. The result is a smooth, luminous flush that fits seamlessly into your complete natural makeup routine.
Choosing Colors from Natural Powders and Pigments
To create a believable, natural glow, you can work with a blend of botanical powders, mineral micas, and iron oxides:
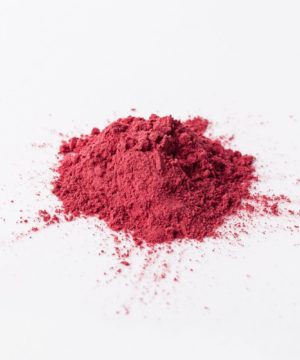
- Beetroot powder provides a vibrant, classic rosy hue that blends beautifully into liquid and cream formulations.
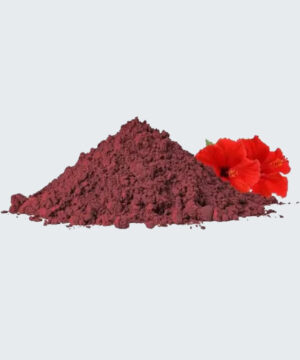
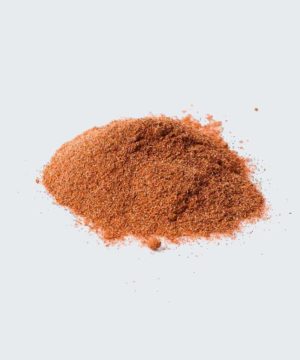
- Hibiscus flower and madder root powders deliver warm, rich berry and terracotta undertones.
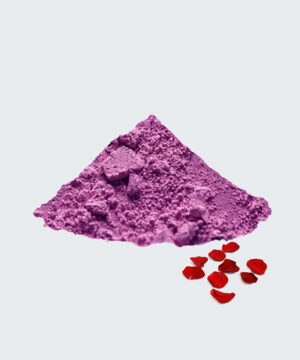
- Rose petal powder conditions the skin while adding a soft, barely-there tint and a delicate botanical scent.
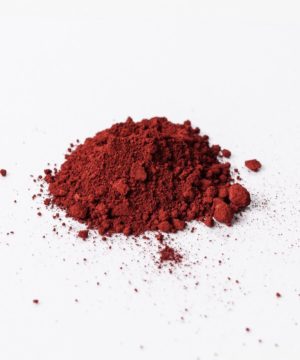
If you prefer using mineral pigments, red iron oxide is the foundational building block for nearly every classic blush. Blending red iron oxide with zinc oxide softens the tone into a gentle, muted pink. Add a hint of yellow iron oxide, and the shade transforms into a warm, sun-kissed peach or coral. Keep in mind that pure mineral pigments and intense micas are extremely concentrated. Applying them straight to bare skin will cause streaking, so always disperse them thoroughly into a neutral base before use.
Browse our natural colorants or explore our pigment powders to start mixing your custom shades.
-
-
 €1.43 €245.86Price range: €1.75€1.43 through €299.95€245.86 incl. VAT inc. VATExcl. VATSelect options This product has multiple variants. The options may be chosen on the product page
 -
 €1.30 €8.05Price range: €1.59€1.30 through €9.82€8.05 incl. VAT inc. VATExcl. VATSelect options This product has multiple variants. The options may be chosen on the product page
 -
 €1.43 €6.52Price range: €1.75€1.43 through €7.95€6.52 incl. VAT inc. VATExcl. VATSelect options This product has multiple variants. The options may be chosen on the product page
 -
 €1.84 €40.94Price range: €2.25€1.84 through €49.95€40.94 incl. VAT inc. VATExcl. VATSelect options This product has multiple variants. The options may be chosen on the product page


Choosing Your Formula: Cream Blush vs. Powder
Deciding between a cream or loose powder formula comes down to your skin type and your desired finish.
Cream Blush for a Dewy Finish
A cream blush formulated with shea butter and castor oil works wonders on dry, normal, or mature skin. The butter provides structure and conditioning, while rich castor oil lends staying power and a glossy, luminous sheen. Because cream blush melts with the warmth of your fingertips, it blends into the skin for a dewy, second-skin finish.
Powder Blush for a Matte Look
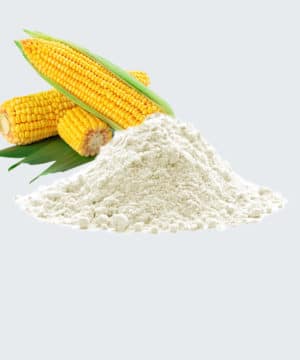
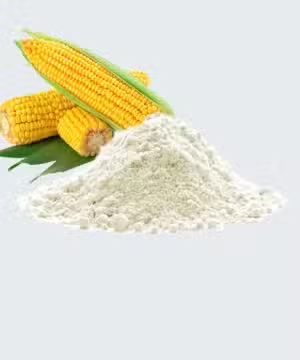
If you have oily or combination skin, or simply prefer a soft-focus matte effect, loose powder blush is ideal. Mineral powders are widely celebrated in mineral makeup for sensitive skin because they let the skin breathe. To turn rich colorants into an easy-to-blend powder, you will need a neutral filler base. Organic cornstarch and arrowroot powder work beautifully to absorb excess oil while diffusing the pigment evenly across your cheeks.
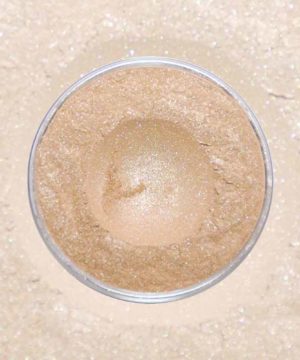
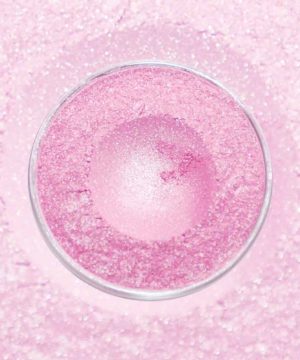
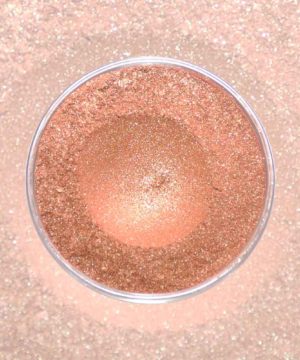
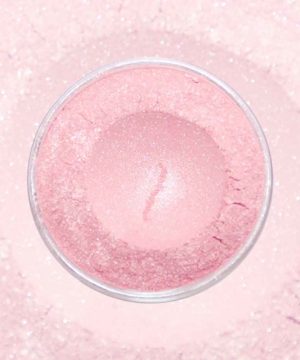
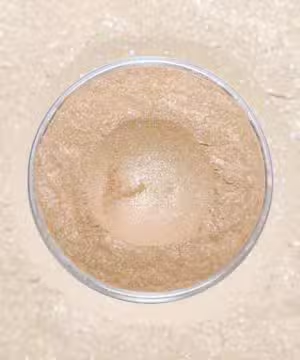
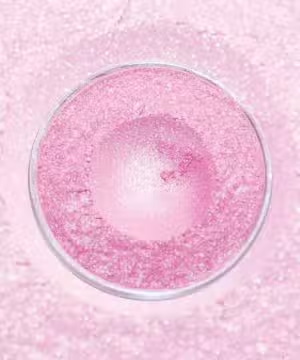
Explore our collection of mica powders to add light-catching shimmer and depth to your formula.
-
 €1.60 €32.75Price range: €1.95€1.60 through €39.95€32.75 incl. VAT inc. VATExcl. VATSelect options This product has multiple variants. The options may be chosen on the product page
 -
 €1.60 €22.34Price range: €1.95€1.60 through €27.25€22.34 incl. VAT inc. VATExcl. VATSelect options This product has multiple variants. The options may be chosen on the product page
 -
 €1.60 €22.34Price range: €1.95€1.60 through €27.25€22.34 incl. VAT inc. VATExcl. VATSelect options This product has multiple variants. The options may be chosen on the product page
 -
 €1.60 €22.34Price range: €1.95€1.60 through €27.25€22.34 incl. VAT inc. VATExcl. VATSelect options This product has multiple variants. The options may be chosen on the product page
 -
 €1.60 €22.34Price range: €1.95€1.60 through €27.25€22.34 incl. VAT inc. VATExcl. VATSelect options This product has multiple variants. The options may be chosen on the product page

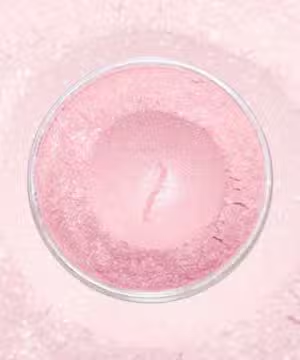
Adding Glow and Locking It In
To sculpt and illuminate your cheekbones, pair your blush with an easy DIY liquid highlighter made from pure aloe vera gel and shimmering mica. Aloe vera feels instantly cooling on the skin and dries down to an invisible, weightless finish. Once your blush and highlighter are in place, finish with a fine mist of DIY natural setting spray to lock your glow in place from morning to night.
Patch Testing and Application Tips
Always patch test any homemade cosmetic formulation before using it on your face. Dab a small amount of your blush onto the inside of your forearm or the crook of your elbow. Wait 24 to 48 hours to confirm there is no irritation, redness, or sensitivity.
Tips for a flawless application:
- Warm cream blush between your fingertips for a few seconds before applying so it melts effortlessly into the skin.
- Tap the product lightly onto the apples of your cheeks and blend upward and outward toward your temples.
- Pat, don’t rub; dragging your fingers or a brush can shift your moisturizer, primer, or foundation underneath.
- Work in sheer layers. It is always easier to build up to your desired intensity than to tone down too much pigment.
Ready to start formulating? Learn how to put together your own DIY makeup starter kit and begin creating your signature beauty products at home.


