
You’ve probably experienced it before. You buy (or make!) a beautiful new candle, light it and enjoy the atmosphere. But after a few hours, you notice something annoying: the flame only burns straight down the center. The edges remain hard and untouched, and you’re left with a thick wall of wasted wax as the wick drowns in a deep hole. This phenomenon is called “tunneling,” and it’s every candle lover’s and maker’s nightmare.
The good news is that a tunneling candle is almost always salvageable. Whether you’re a hobbyist looking to perfect your own creations, or just want to fix that beautiful scented candle on the table, we’ll explain how to recognize, fix and prevent tunneling from now on.
First aid for tunneling: tricks for candles you already have
Do you have a candle that is already starting to look like a crater? Definitely don’t throw it away. As long as the wick is still accessible, we can often straighten things out. The goal is simple: liquefy the hard wax at the edges so it joins the melting pool in the middle.
The most effective home “hack” may sound a little crazy, but it works great: the aluminum foil method. Fold a piece of aluminum foil in half and wrap it around the top of the candle to form a sort of dome. Be sure to leave an opening at the top about two to three inches where the flame can get oxygen and smoke can escape. Then let the candle burn for at least an hour (stay with it!). The foil reflects the heat downward, causing the hard edges to melt and flow back to the center. The result is often a nice, even surface.
If the tunnel is not yet very deep, you can also melt the top manually. This works on the same principle as when you want to fix blemishes in a new candle. As we explain in our article on how to fix candle holes, you can use a heat gun (heat gun) or a powerful hair dryer to manipulate the surface. Turn the hair dryer to the hottest setting and gently blow over the wax. Be careful not to blow too hard to avoid splattering. Keep blowing around until the top layer is completely liquid and smooth.
Why does this happen? (The Science for Makers)
For the makers among us, fixing tunneling is convenient, but preventing it is where the real work begins. Tunneling in homemade candles is usually not a user error, but a design error. It all starts with the “memory” of the wax. The first time you burn a candle, you essentially set its diameter for the rest of its life. If you blow out a candle before the entire top layer has melted (the full “melt pool”), the candle will rarely burn past that first ring on the next burn.
Still, if a candle fails to reach the rim even after three or four hours of burning, the problem lies with its construction. The most common cause is a wick that is too small. The wick is the engine of your candle and must generate enough heat to melt the wax to the edge of the container. Choosing the right wick is precision work. In our guide on 5 things every beginning candle maker should know, you’ll read that the same wick won’t work for every combination. A cotton wick that works perfectly in pure soy wax may drown in a mix with heavy fragrance oils. Many makers therefore swear by the stability of wooden wicks or the specialized TCR series.
-
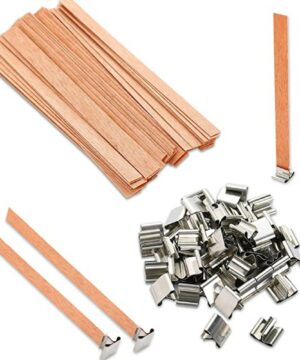
 €2.44 €144.59Price range: €2.95€2.44 through €174.95€144.59 incl. VAT inc. VATExcl. VATSelect options This product has multiple variants. The options may be chosen on the product page
 -

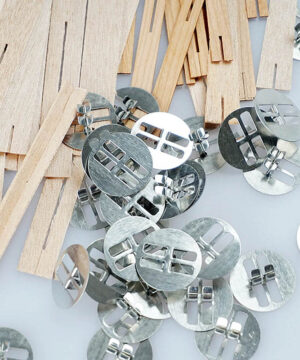 €4.09 €305.74Price range: €4.95€4.09 through €369.95€305.74 incl. VAT inc. VATExcl. VATSelect options This product has multiple variants. The options may be chosen on the product page
 -
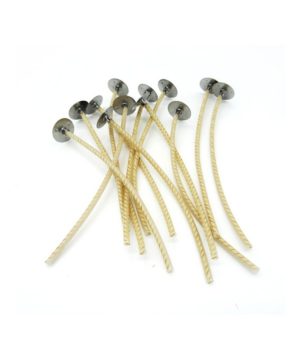 €1.61 €74.34Price range: €1.95€1.61 through €89.95€74.34 incl. VAT inc. VATExcl. VATSelect options This product has multiple variants. The options may be chosen on the product page


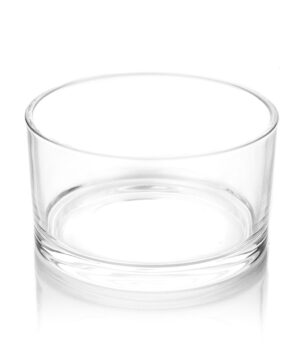
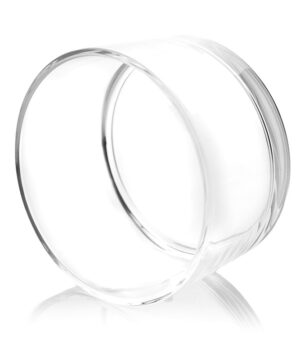
In addition, the container plays a huge role. The diameter of your glass directly determines how powerful your wick should be. If you have a wide glass, such as a 55cl model, you may even need several wicks (double-wicking) to reach the entire surface. Are you trying to put one puny wick in a ten-centimeter-wide jar? Then you’re asking for tunneling.
How do you avoid tunneling in your next batch?
Are you planning to cast your own candles? Proper preparation will save you a lot of frustration and wasted wax. Testing is the magic word here. Don’t throw your entire supply on sale right away, but make one test candle first. As described in our step-by-step guide on how to make a container candle, patience is essential during the process. Perform a burn test: light the candle and see what the melt pool does every hour. After about three to four hours, the liquid wax should touch the edge of the glass. Does this not happen? Then you need to “wick up” (choose a size larger).
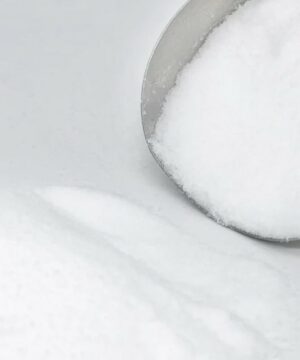
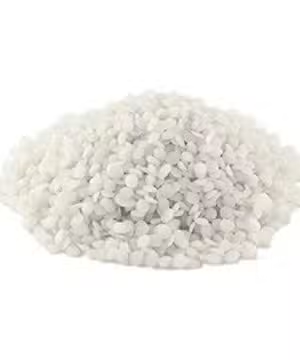
Also pay close attention to the type of wax you use. Harder waxes such as kerosene have a higher melting point and sometimes require a hotter flame than the softer soy wax. Beeswax is even more complex; this is a very hard, natural wax. If you are using white beeswax beads, keep in mind that you will probably need a thicker wick than you are used to with soy candles. For those who don’t feel like melting and testing at all, candle sand (a powdered wax) or gel wax is an interesting option. Because sand wax is loose grains, it melts right around the wick and often fills itself.
-

 €4.09 €495.87Price range: €4.95€4.09 through €600.00€495.87 incl. VAT inc. VATExcl. VATSelect options This product has multiple variants. The options may be chosen on the product page
 -
€5.92 €181.79Price range: €7.16€5.92 through €219.96€181.79 incl. VAT inc. VATExcl. VATSelect options This product has multiple variants. The options may be chosen on the product page
-
€2.64 €270.45Price range: €3.19€2.64 through €327.25€270.45 incl. VAT inc. VATExcl. VATSelect options This product has multiple variants. The options may be chosen on the product page


Beware of the “over-wick” trap, though. It’s tempting to just grab the very largest wick to avoid tunneling for sure, but that creates new dangers. An oversized wick creates a flame that flares, smokes and can make the container dangerously hot. This is just as problematic as tunneling. It’s all about the balance between wax, scent and wick. Want to know more about how these elements interact? Then be sure to read our in-depth analysis on candle making with fragrance oils and tips for perfect scent diffusion.
Tunneling is annoying, but not a disaster. A piece of aluminum foil can often save your existing collection from destruction. And as a maker, it’s simply a matter of applying the right math between the diameter of your pot, the type of wax and the thickness of your wick. Dare to test and be patient; that perfect, flat burn is worth the wait.
Browse our selection and find the right materials for your next project.


