
Have you ever crafted a gorgeous bath bomb, only to step out of the tub and find a stubborn colored ring left behind? It is a common headache for DIY makers. Fortunately, preventing this issue is simple once you know the right techniques and ingredients to use. In this guide, you will learn how to achieve vibrant colors without staining your bathtub or triggering premature fizzing while mixing your batch.

Base Recipe and the Risk of Premature Fizzing
Before adding any color, you need a reliable base recipe. The classic bath bomb formula uses two parts baking soda to one part citric acid. The moment these dry ingredients come into contact with water, they trigger a carbonation reaction. Moisture from liquid colorants can easily set off this fizzing reaction too early, right in your mixing bowl.
If you are using liquid bath bomb colorant, wait until after you have thoroughly blended your oils into the dry ingredients and allowed the mixture to rest for about 10 minutes. Add the dye just 1 to 2 drops at a time, working it in immediately to prevent foaming. Alternatively, you can pre-mix water-based dyes directly into the baking soda, letting it dry completely before stirring in the citric acid.
-
 €6.46 €142.24Price range: €7.95€6.46 through €174.95€142.24 incl. VAT inc. VATExcl. VATSelect options This product has multiple variants. The options may be chosen on the product page
 -
 €2.85 €40.61Price range: €3.50€2.85 through €49.95€40.61 incl. VAT inc. VATExcl. VATSelect options This product has multiple variants. The options may be chosen on the product page


How Polysorbate 80 Prevents Tub Rings
One of the most frequent questions in bath bomb making is why colorants stick to the sides of the bathtub. When unbound oils and pigments do not disperse properly, they float on top of the bathwater. As the water drains, they cling to the acrylic or porcelain surface, leaving a greasy, colored ring. To learn more about diagnosing batch issues, read our guide on bath bomb troubleshooting.
Polysorbate 80 is an emulsifier that enables oil and water to mix seamlessly. Adding a small amount—using a 1:1 ratio relative to your fragrance oil—ensures the color disperses evenly throughout the entire bath. The pigments will no longer cling to the tub or leave a film on your skin. Check out our tips on adding emollients for recommended oil and butter ratios.
Types of Dyes and Pigments
There are several options for adding color to your creations, and each type behaves differently in your mixing bowl and in the bathwater:
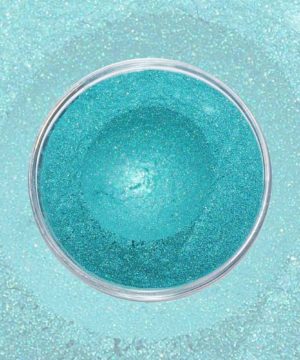
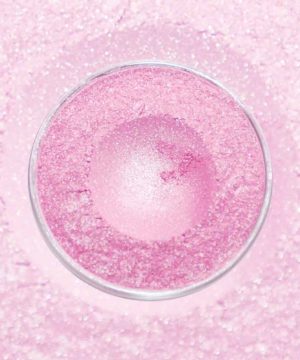
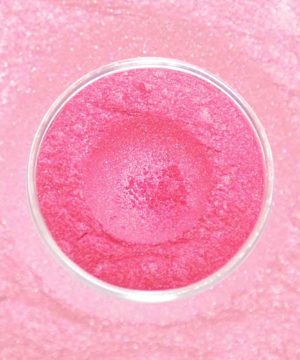
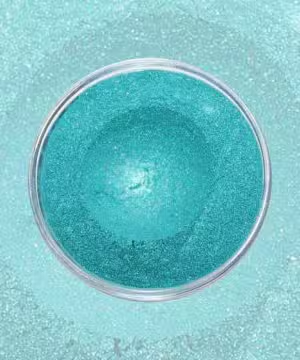
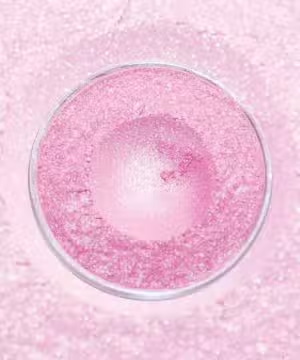
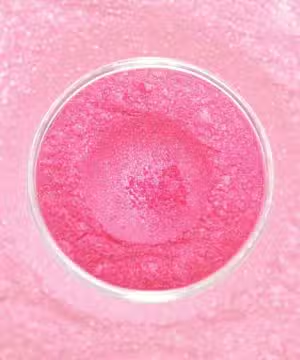
- Mica powders: Mica powder gives bath bombs a delicate, pearlescent shimmer and creates mesmerizing, swirled bathwater. Mix micas directly into your dry mix, or pre-disperse them in a small amount of oil or Polysorbate 80.
- Lakes: Lakes are oil-dispersible pigments bound to an insoluble substrate. They produce rich, vivid tones in the water and are much less prone to bleeding while drying than pure water-soluble dyes.
- Water-soluble dyes: These yield brilliantly vibrant bathwater and rinse away effortlessly, but they can bleed into adjacent layers during curing if the mixture retains any moisture.
-
 €1.59 €22.15Price range: €1.95€1.59 through €27.25€22.15 incl. VAT inc. VATExcl. VATSelect options This product has multiple variants. The options may be chosen on the product page
 -
 €1.59 €22.15Price range: €1.95€1.59 through €27.25€22.15 incl. VAT inc. VATExcl. VATSelect options This product has multiple variants. The options may be chosen on the product page
 -
 €1.59 €22.15Price range: €1.95€1.59 through €27.25€22.15 incl. VAT inc. VATExcl. VATSelect options This product has multiple variants. The options may be chosen on the product page
Using Natural Colorants
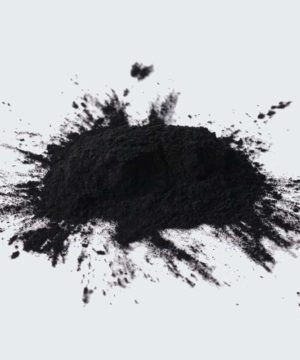
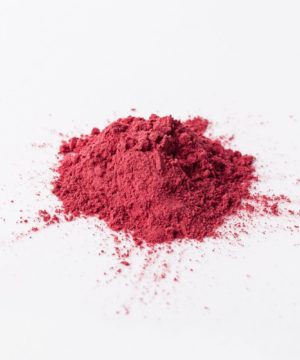
If you prefer natural ingredients, clays and botanical powders are excellent alternatives. Beetroot powder delivers a soft pink hue, while activated charcoal creates bold gray or deep black tones. Green zeolite clay and pink clay yield subtle, earthy shades.
Because natural powders do not dissolve in water, always include Polysorbate 80 when formulating with clays or charcoal to prevent fine sediment from settling at the bottom of the tub.
-
 €1.42 €162.56Price range: €1.75€1.42 through €199.95€162.56 incl. VAT inc. VATExcl. VATSelect options This product has multiple variants. The options may be chosen on the product page
 -
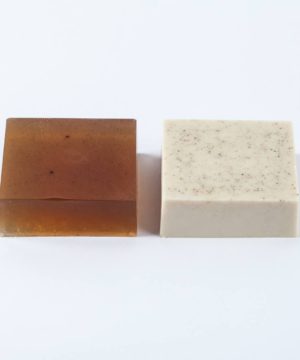 €1.42 €243.86Price range: €1.75€1.42 through €299.95€243.86 incl. VAT inc. VATExcl. VATSelect options This product has multiple variants. The options may be chosen on the product page
 -
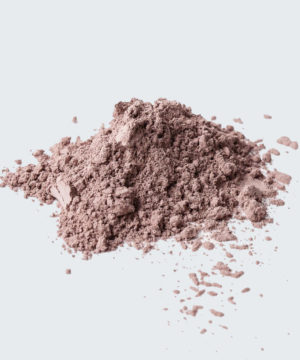 €1.83 €365.85Price range: €2.25€1.83 through €450.00€365.85 incl. VAT inc. VATExcl. VATSelect options This product has multiple variants. The options may be chosen on the product page
 -
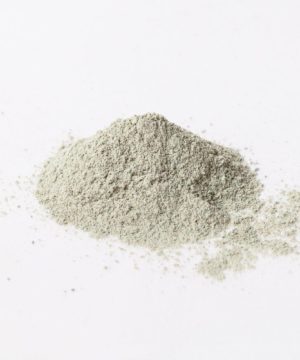 €1.59 €386.18Price range: €1.95€1.59 through €475.00€386.18 incl. VAT inc. VATExcl. VATSelect options This product has multiple variants. The options may be chosen on the product page
 -
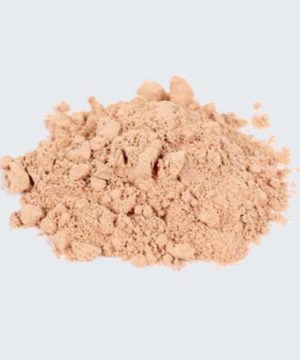 €1.59 €10.16Price range: €1.95€1.59 through €12.50€10.16 incl. VAT inc. VATExcl. VATSelect options This product has multiple variants. The options may be chosen on the product page


Creative Coloring Techniques
Once you master the basics, you can experiment with dynamic visual effects to create designs that rival commercial bath products:
- Layering: Divide your mixture into separate bowls and color each batch individually. Fill your mold layer by layer without packing them down too tightly, keeping the color lines crisp and clean.
- Marbling: Gently combine two or three colored mixtures in a single bowl. Fold the mix over just two or three times, then scoop it straight into the mold for a dramatic swirled effect.
- Embeds: Mold small, intensely colored mini-bombs and hide them inside the center of an uncolored bath bomb. As the outer shell dissolves, it releases a sudden, dramatic burst of hidden color.
- Painting the exterior: Allow your molded bath bomb to cure completely. Mix mica powder with a few drops of high-proof alcohol (91% or higher) to create a metallic paint, then paint accents directly onto the exterior with a fine brush.
Safety, Fragrance, and Curing
Always choose cosmetic-grade pigments approved specifically for use in bath products. Standard craft pigments or food dyes can cause severe staining or skin irritation. If you plan to sell or distribute your bath bombs in Europe, ensure they meet local regulatory requirements; learn more on our guide to EU safety standards for bath products.
When selecting a fragrance oil, pay close attention to its vanillin content. Fragrance oils high in vanillin can cause colored bath bombs to turn brown over time as they oxidize.
After shaping your bath bombs, pack the mixture firmly into plastic molds. Let them cure for 24 to 48 hours in a room with low humidity. High humidity can trigger premature fizzing or leave the bath bombs soft. Once fully dry, wrap them tightly in airtight packaging for long-term storage.
Explore our breakdown of bath bomb ingredients or browse our collection of bath bomb recipes to start crafting your own custom designs. Looking to review the core steps first? Check out our step-by-step master guide on how to make a bath bomb.


