
Have you finally set aside time to craft your own bath products, only to discover your jar of baking soda is empty? Or perhaps you have noticed that your skin feels tight and dry after soaking in a bath made with traditional recipes. While sodium bicarbonate (baking soda) is the standard for creating a fizzy reaction, it certainly isn’t the only option. In this guide, we will explore alternative minerals that will make your bath ritual just as relaxing and indulgent.
Why look for an alternative to baking soda?
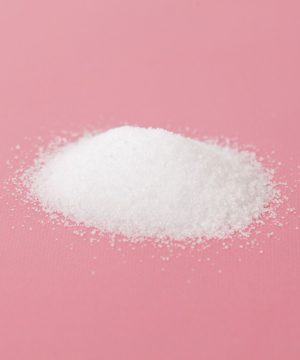
Most DIY enthusiasts use baking soda because it is inexpensive and reacts vigorously when it meets an acid. However, potassium bicarbonate is a common alternative often used in the food industry as a sodium-free substitute. Calcium carbonate (chalk powder) is another excellent choice, especially when paired with a slightly higher concentration of acid.
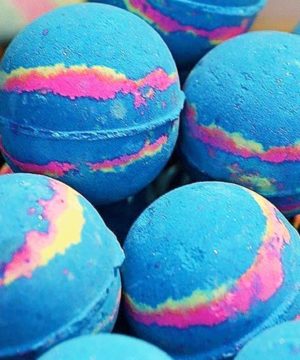
These alternatives typically produce a gentler, creamier fizz. This is ideal for those who prefer a more subtle effervescence or for those who simply want to experiment with the ingredients already in their pantry. In this recipe, starch and clay act as stabilizers to ensure your bath bomb remains structurally sound, while the clay provides a silky, luxurious feel to the bathwater.
Ingredients for a baking soda-free bath bomb
This recipe relies on a precise balance of acidic and alkaline components. Because we are omitting baking soda, the structure of the bomb depends more heavily on the inclusion of clays and butters.
- 100g calcium carbonate or potassium bicarbonate
- 50g citric acid
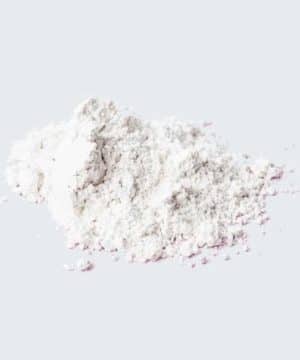
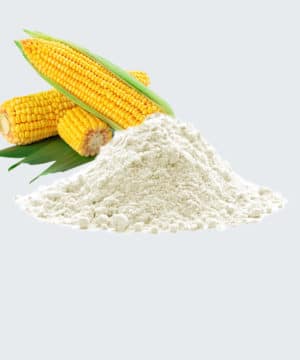
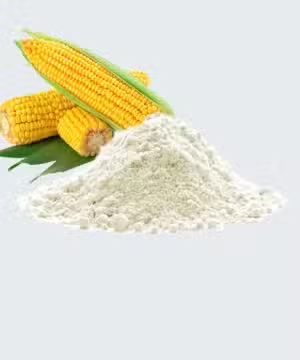
- 50g organic cornstarch
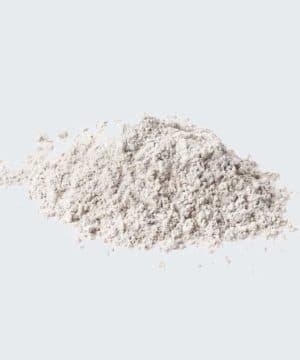
- 20g kaolin clay
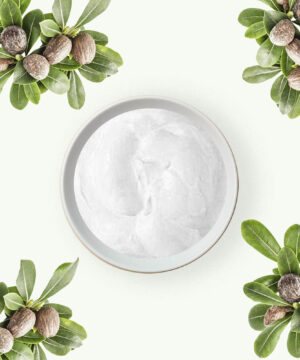
- 15g melted shea butter
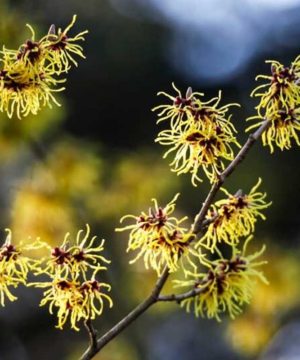
- Witch hazel in a spray bottle
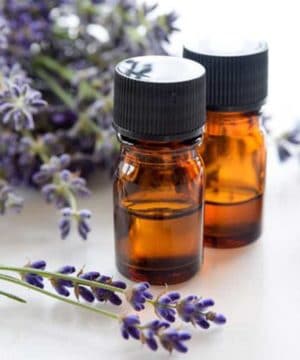
- Lavender essential oil
-
 €7.95 €144.59Price range: €7.95€7.95 through €174.95€144.59 incl. VAT inc. VATExcl. VATSelect options This product has multiple variants. The options may be chosen on the product page
 -
 €3.95 €495.83Price range: €3.95€3.95 through €599.95€495.83 incl. VAT inc. VATExcl. VATSelect options This product has multiple variants. The options may be chosen on the product page
 -
 €0.79 €299.95Price range: €0.95€0.79 through €299.95€299.95 incl. VAT inc. VATExcl. VATSelect options This product has multiple variants. The options may be chosen on the product page
 -
 €1.95 €33.02Price range: €1.95€1.95 through €39.95€33.02 incl. VAT inc. VATExcl. VATSelect options This product has multiple variants. The options may be chosen on the product page
 -
€7.49 €269.95Price range: €7.49€7.49 through €269.95€269.95 incl. VAT inc. VATExcl. VATSelect options This product has multiple variants. The options may be chosen on the product page
-
 €2.69 €14.01Price range: €3.25€2.69 through €16.95€14.01 incl. VAT inc. VATExcl. VATSelect options This product has multiple variants. The options may be chosen on the product page




Preparing the dry ingredients
Begin by sifting all the dry powders into a large glass or stainless steel bowl. Eliminating lumps is crucial; any clumps in the mixture can cause an uneven reaction or lead to the bath bomb crumbling once dry. Use a whisk to thoroughly integrate the citric acid with the other powders. Since citric acid is the primary catalyst for the fizz, even distribution is key. For more detail on how this process works, you can read more about citric acid in bath bombs.
Adding oils and fragrance
Gently melt the shea butter using a double boiler or a microwave. Shea butter is a fantastic addition because it nourishes the skin and acts as a hardening agent that reinforces the bath bomb’s structure. Mix the lavender essential oil into the melted butter for its soothing aromatic properties. Slowly pour the oil mixture into the dry powders, stirring constantly. The mixture should eventually resemble the texture of coarse, wet sand.
Achieving the perfect consistency
This is the most critical stage of the process. The mixture needs to be damp enough to hold its shape when squeezed firmly in your hand, but not so wet that it begins to react. Use your spray bottle to lightly mist the mixture with witch hazel. Spray only once or twice at a time, mixing rapidly by hand between spritzes. Witch hazel is preferred over water because it evaporates quickly, reducing the risk of triggering a premature fizzing reaction. If the mixture begins to hiss, you have added too much liquid.
Molding and curing
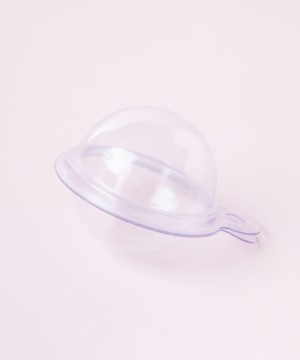
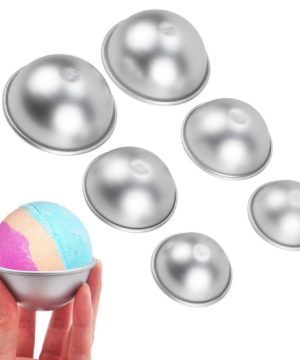
Pack your bath bomb mold by overfilling both halves. Rather than packing the powder tightly into each side separately, leave a small mound of loose powder on top of each and press the two halves together firmly. This creates a strong bond between the two sides. Gently tap the outside of the mold and carefully remove one half.
Allow the bath bombs to dry for at least 24 hours in a low-humidity environment. If you encounter issues with cracking or flattening, our bath bomb troubleshooting guide offers solutions for common mistakes.
-
-
 €0.79 €1.95Price range: €0.95€0.79 through €1.95€1.95 incl. VAT inc. VATExcl. VATSelect options This product has multiple variants. The options may be chosen on the product page
 -
 €0.62 €115.00Price range: €0.75€0.62 through €115.00€115.00 incl. VAT inc. VATExcl. VATSelect options This product has multiple variants. The options may be chosen on the product page


Variations and mild alternatives
You can further customize the texture of your bath bombs by experimenting with different clays, such as bentonite clay, which results in a harder bomb and a silkier feel in the water. Some makers choose to remove the acid entirely to create a milder experience, a technique we cover in our guide on bath bombs without citric acid. While these behave more like “bath melts” than traditional fizzers, they are excellent for extremely sensitive skin.
Once your bath bomb is fully cured, store it in an airtight container or wrap it tightly in plastic. Ambient humidity is the biggest threat to the shelf life of your homemade products. For a deeper look at the fundamentals, check out our comprehensive manual on how to make a bath bomb to refine your craft.


