
You are melting your soy wax when you suddenly hear a crackling sound, almost like something sizzling in a frying pan. Or perhaps your candle has cooled, only to reveal tiny pinholes across the surface, air bubbles trapped against the glass, or a deep sinkhole near the wick. While these issues present differently, they share a single root cause: trapped air. Fortunately, you can prevent nearly all of them with a few simple adjustments to your workflow.
The quick fix: stir slowly, keep your wax below 90°C, pour gently at the recommended temperature for your specific wax, tap the container or mold immediately after pouring, and smooth out any lingering surface flaws with a heat gun. Below is a breakdown of what causes each issue and how to resolve it.
| What you see | Likely cause | First fix |
|---|---|---|
| Frothing, bubbling, or crackling during melting | Air already trapped within the wax flakes | Stir slowly and heat gently until the crackling stops |
| Bubbles suspended throughout the set candle | Stirring too vigorously or pouring too fast | Stir gently, pour slowly, and tap the container after pouring |
| Silvery patches or air pockets along the glass | Cold glassware or cooling too quickly | Preheat the container and allow the candle to cool slowly |
| Pinholes or sinkholes on the surface | Trapped air and shrinkage during cooling | Smooth with a heat gun or do a second pour |
| Voids around the wick in a pillar candle | Wax shrinkage | Poke relief holes and top off with reserved wax |
Where Do These Air Bubbles Come From?
With soy wax, air is often introduced long before the flakes reach your workshop. During manufacturing, soybean oil is continuously agitated and whipped, which traps microscopic pockets of air within the material. As the wax flakes melt in your pouring pitcher, that trapped air escapes, leading to light foaming, bubbles rising to the surface, and distinct popping sounds. This is completely normal and no cause for alarm.
However, the rest of the problem often comes down to technique. Stirring too vigorously—especially when blending in candle dye or fragrance oil—whips fresh air directly into the liquid wax. CandleScience notes in its troubleshooting guides that these incorporated bubbles eventually settle into surface imperfections and internal flaws. Pouring into cold jars or letting candles cool too quickly will only exacerbate the issue.
Removing Air from Melted Wax
To release trapped air, stir slowly using a spoon or silicone spatula until any crackling stops and bubbles cease rising to the surface. Avoid using whisks or electric blenders, which will only whip more air into the mixture.
Always melt your wax using a double boiler and monitor the heat with a reliable thermometer. For KeraSoy 4130 container wax, YouWish notes that brief temperature spikes up to 90°C will not damage the wax as long as it cools quickly afterward, though sustained heat can cause yellowing. For recycled or remelted wax, technical datasheets advise staying below 85°C and avoiding prolonged exposure to heat. Manufacturer DPS similarly specifies 85°C as the absolute ceiling for EcoSoya Q230 while stirring gently. Simply put, overheating wax to force air bubbles out does more harm than good, risking discoloration and scorching.
A thermometer with a long probe makes monitoring your temperatures much easier.


Popping sounds during the melt stage do not mean your batch is ruined. If you still hear crackling after a minute or two of stirring, simply hold the wax at temperature for a short while longer until the sound subsides.
Never leave melting wax unattended, and never place a pouring pitcher directly over an open flame or electric burner. Flash points vary across different waxes—safety data sheets for soy waxes typically cite temperatures above 200°C—and fragrance oils carry their own specific flash points. Learn more in our guide to fragrance oil flash points.
Stirring Fragrance Oil and Dye Without Adding Air
Adding fragrance oil and color is where most air gets accidentally introduced. Fragrance oil needs time to bind thoroughly with the wax, but thorough mixing does not require aggressive whipping. Stir gently and steadily for about two minutes, keeping your utensil submerged deep within the pitcher to prevent air from getting folded in. For recommended temperatures, consult our guide on fragrance oil temperature in candle making.
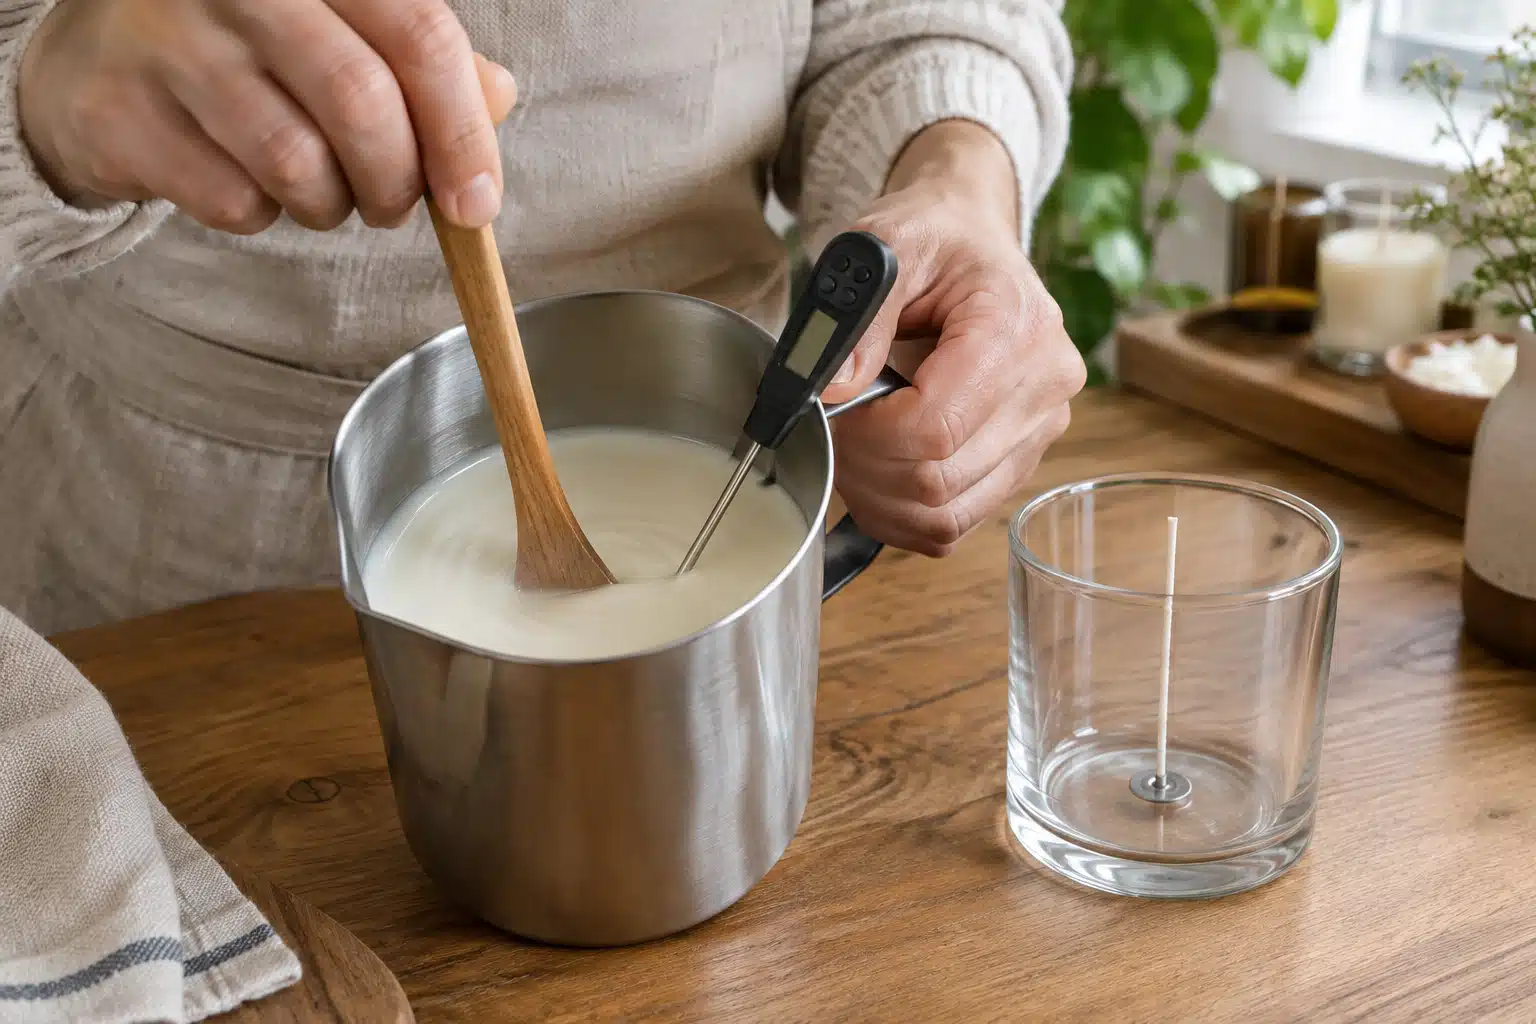
Keep in mind that micro-bubbles introduced during stirring often stay suspended until the wax begins to set. As the wax thickens, these bubbles attempt to rise, only to get trapped just beneath the surface. Over-stirring at this stage is the leading reason candles fail to cure with a smooth, even top.
Pouring: Temperature, Pace, and Tapping
When pouring, angle your pitcher so the wax glides gently down the inner wall of the container rather than splashing straight down into the center. If you are working with a mold, tilt it slightly as you pour to minimize air pockets. A tutorial from Dryad suggests tapping the mold roughly one minute after pouring, whereas CandleScience advises gently tapping glass containers immediately after filling. Experiment with both techniques to see which works best for your setup.
Your pouring temperature depends entirely on the wax you are working with. YouWish recommends pouring NatureWax C-3 between 50°C and 65°C, while EcoSoya CB-Advanced should be melted to roughly 70°C and poured around 60°C. Always refer to the technical data sheet for your specific wax, as formulations vary significantly.
If you continue to experience bubble problems, run a temperature pour test. Take four identical 20 cl jars (holding about 165 grams of wax each) and pour NatureWax C-3 at 50°C, 55°C, 60°C, and 65°C. Note the pouring temperature on the base of each container and compare the results once fully cured. CandleScience recommends testing in 5-degree increments to dial in the ideal pouring temperature for your specific studio environment.
If you notice air pockets gathering along the wick, makers on the r/candlemaking community point out that air can hide inside the braided cotton fibers. Gently nudging or wiggling the wick just as the wax begins to turn opaque will help release those trapped pockets before the wax solidifies.
Container waxes like KeraSoy 4130 and NatureWax C-3 are specifically formulated for jar candles.
-
€5.74 €123.93Price range: €6.95€5.74 through €149.95€123.93 incl. VAT inc. VATExcl. VATSelect options This product has multiple variants. The options may be chosen on the product page
-
€3.26 €103.31Price range: €3.95€3.26 through €125.00€103.31 incl. VAT inc. VATExcl. VATSelect options This product has multiple variants. The options may be chosen on the product page
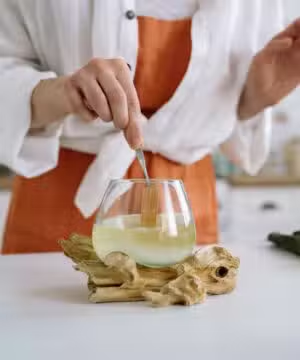


Bubbles Along the Glass: Wet Spots
Those silvery, uneven patches visible through the sides of clear jars are commonly called “wet spots.” Despite their name, they are not caused by moisture; they are small air gaps created where the wax has shrunk and pulled away from the glass. Soy wax naturally shrinks by roughly 5 to 10 percent as it cools, while glass does not shrink at all. If liquid wax hits a cold jar, the outer layer hardens almost instantly, contracting unevenly as the core cools and creating separation.
How to prevent them:
- Preheat your containers. For KeraSoy 4130, YouWish recommends warming glassware to 45–50°C. The Candle Bench suggests heating containers until warm to the touch, around 38°C to 49°C. The goal is simply to eliminate the chill from the glass so the wax cools at a uniform rate.
- Ensure the glass is spotless. Any dust, manufacturing residues, or moisture on the inner walls will disrupt adhesion.
- Cool gradually in a draft-free space. Place your curing candles on a wire rack to promote consistent airflow beneath the containers, and keep the ambient room temperature around 21°C.
If wet spots do appear on a cured candle, you can gently heat the outside of the glass with a heat gun focused on the affected area, allowing the wax to re-adhere and cool down slowly. For an in-depth breakdown, read our complete guide on wet spots in soy candles.
Pinholes and Sinkholes on the Surface
If your candle sets with a crater, an uneven texture, or small pinholes across the surface, you can easily repair it.
A heat gun set to low is the quickest and cleanest solution. Hold the nozzle 15 to 30 cm above the surface and move it constantly in circular sweeps—never keep it stationary in one spot. Melt only the top two to three millimeters of wax until it pools into a smooth, even surface, then let it re-solidify. Deeper sinkholes may require a second pass. Always operate your heat gun with caution, keeping it away from labels, wick tips, and plastic components.
For deep voids, a second pour provides the most durable fix. Reheat your leftover wax to your original pour temperature. Use a bamboo skewer to pierce the sinkhole and open up any hidden internal air pockets, then gently fill the crater until the surface is level with the original pour line. Reserving a small amount of wax from your primary pour makes this touch-up seamless. Find full instructions in our walkthrough on how to fix candle sinkholes.
Pillar Candles: Voids Around the Wick
Pillar candles shrink considerably as they cool, which frequently leads to hollow cavities forming around the wick core. Tapping the mold will not resolve this; the standard technique is poking relief holes. Once a firm skin has formed over the top surface (typically around 30 minutes, according to Georgies), use a skewer or wick needle to poke relief holes straight down into the wax on either side of the wick. Take care not to touch the sides of the mold, as scratching the interior wall will mar the finished exterior of your pillar. Repeat this process several times as the wax continues to contract.
Once the candle has cooled, top off the holes with reserved wax, bringing the level precisely up to your original pour line. Pouring past that line creates an unsightly visible seam. Timing for the second pour depends on the blend you use: Lone Star Candle Supply advises waiting until the candle is completely cold, while instructions for EcoSoya Pillar Blend suggest pouring a second layer (at 60°C, after an initial pour at 68°C) while the core remains warm and soft. Check your specific manufacturer instructions for best practices.
If you need a wax blend engineered specifically for freestanding shapes, consider KeraSoy Pillar Blend soy wax. Our detailed guide on making a pillar candle walks you through the entire process step by step.
-
 €9.05 €128.88Price range: €10.95€9.05 through €155.95€128.88 incl. VAT inc. VATExcl. VATSelect options This product has multiple variants. The options may be chosen on the product page
-
€3.26 €300.00Price range: €3.95€3.26 through €363.00€300.00 incl. VAT inc. VATExcl. VATSelect options This product has multiple variants. The options may be chosen on the product page


Always Test with a Single Candle First
Eliminating air bubbles rarely comes down to a single trick. Flawless candles are the result of controlled stirring, precise pouring temperatures, and pre-warmed containers—balanced against the ambient temperature of your own workspace. Always pour a single test candle before committing to a full production batch. To get started, explore our range of candle wax and glass containers to set up your first test batch.


