
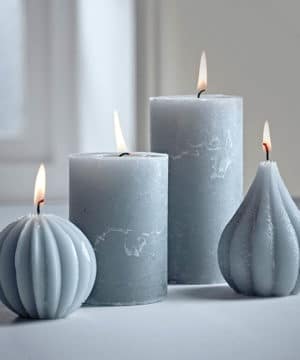
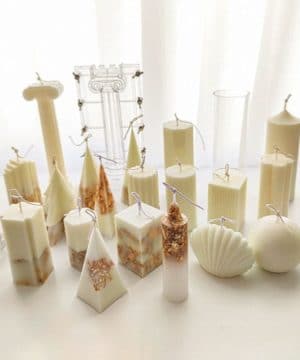
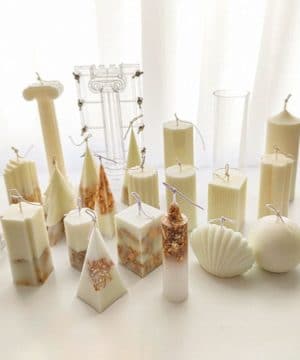
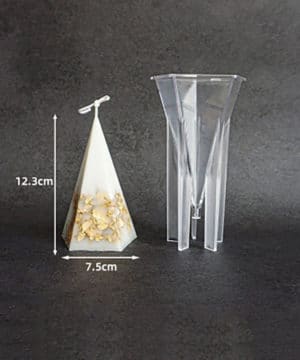
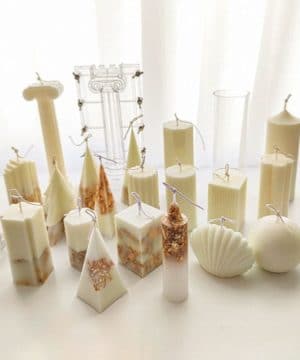
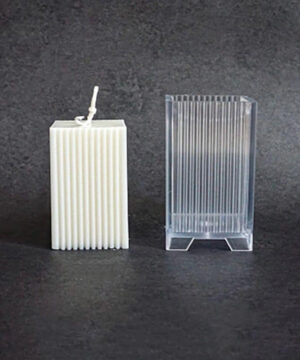
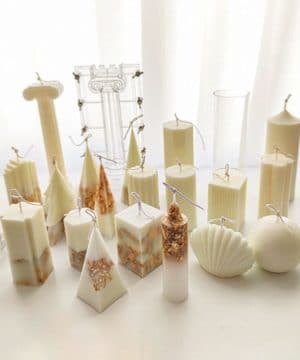
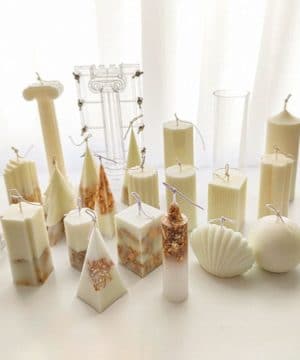
If you’ve ever admired a display of elegant, freestanding candles and wondered why your own creations are always confined to jars, it might be time to try your hand at pillar candles. Unlike container candles, pillar candles stand on their own, offering the creative freedom to experiment with striking shapes—from trendy bubbles and cones to classic hexagons. While the process requires a bit more patience and specialized materials than a standard jar candle, the professional-grade results are well worth the effort.
Selecting the Right Wax for Your Project
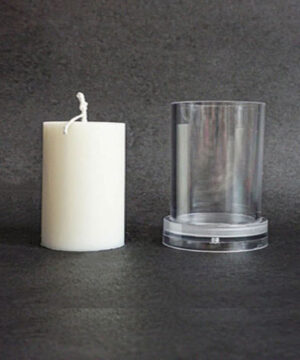
The primary difference between a jar candle and a pillar candle lies in structural integrity. If you attempt to use standard container wax for a freestanding candle, you’ll likely end up with a soft, shapeless puddle that refuses to hold its form—and may even get stuck in the mold. To succeed, you need a “hard” wax with a higher melting point.
Soy wax is an excellent natural choice, provided you select a blend specifically formulated for pillars, such as KeraSoy Pillar. These blends are designed to shrink slightly as they cool, allowing the candle to pull away from the mold walls for an easy release. Paraffin wax remains another popular option, prized for its exceptional scent throw and clean, glossy finish. You can also find professional-grade “parasoy” blends that offer the benefits of both waxes without the need for manual mixing.
-
 €9.05 €128.88Price range: €10.95€9.05 through €155.95€128.88 incl. VAT inc. VATExcl. VATSelect options This product has multiple variants. The options may be chosen on the product page
 -

 €4.09 €123.93Price range: €4.95€4.09 through €149.95€123.93 incl. VAT inc. VATExcl. VATSelect options This product has multiple variants. The options may be chosen on the product page
 -
€3.26 €300.00Price range: €3.95€3.26 through €363.00€300.00 incl. VAT inc. VATExcl. VATSelect options This product has multiple variants. The options may be chosen on the product page



Preparing the Mold and Wick
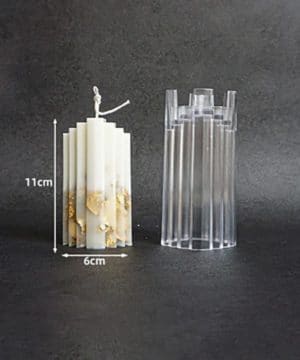
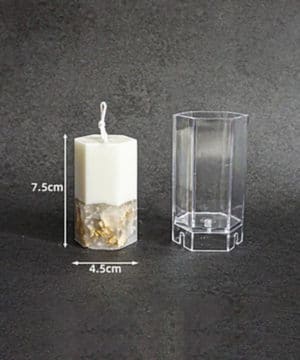
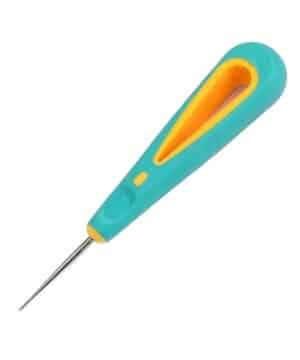
A flawless finish starts with a pristine mold. Whether you are using rigid acrylic or flexible silicone, any dust or residue from previous projects will be visible on the surface of your finished candle. If you are using silicone molds, you may need to pierce a hole for the wick yourself; a sharp wick needle or an awl is the best tool for this job.
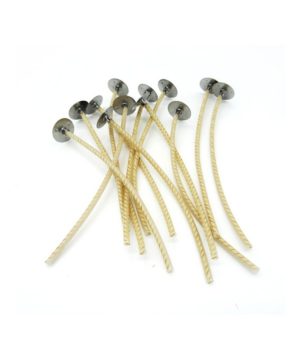
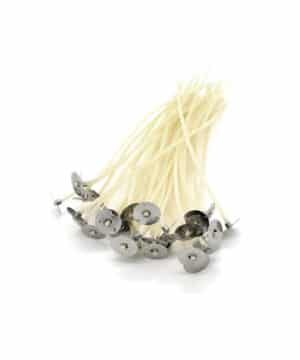
Choosing the right wick is critical and depends entirely on the diameter of your mold. A wick that is too thin will cause “tunneling,” where the flame burns down the center and leaves a thick outer wall of wax. Conversely, a wick that is too thick can cause the outer walls to melt and collapse. Measure the internal diameter of your mold accurately and refer to the sizing charts provided. For pillar candles, TCR series and Eco wicks are highly recommended for their stable burn and minimal soot production.
-
-
-
-
 €8.22 €10.70Price range: €9.95€8.22 through €12.95€10.70 incl. VAT inc. VATExcl. VATSelect options This product has multiple variants. The options may be chosen on the product page
 -
 €10.70 €15.66Price range: €12.95€10.70 through €18.95€15.66 incl. VAT inc. VATExcl. VATSelect options This product has multiple variants. The options may be chosen on the product page


The Melting and Pouring Process
Always melt your wax using a double boiler or a dedicated wax melter to ensure it doesn’t scorch. Use a thermometer to monitor the temperature closely; for most pillar blends, you should heat the wax to approximately 80°C. If you plan to add fragrance oils or dyes, do so between 70°C and 75°C. Stir the mixture slowly and gently to avoid trapping air bubbles in the wax.
Thread your wick through the mold and secure it at the bottom (which will eventually become the top of the candle). Use a wick holder or centering tool to keep the wick taut and perfectly centered. Pour the wax slowly into the mold, but be sure to save a small amount of wax in your pouring pitcher—you will need this later for the “re-pour.”
-
-

 €1.03 €28.88Price range: €1.25€1.03 through €34.95€28.88 incl. VAT inc. VATExcl. VATSelect options This product has multiple variants. The options may be chosen on the product page
 -
 €1.61 €74.34Price range: €1.95€1.61 through €89.95€74.34 incl. VAT inc. VATExcl. VATSelect options This product has multiple variants. The options may be chosen on the product page
 -
 €1.61 €74.34Price range: €1.95€1.61 through €89.95€74.34 incl. VAT inc. VATExcl. VATSelect options This product has multiple variants. The options may be chosen on the product page



Managing Shrinkage and Sinkholes
As pillar candles cool, the wax naturally shrinks, which often causes cavities or “sinkholes” to form around the wick. To address this, use a skewer to carefully poke “relief holes” into the cooling wax near the wick, allowing trapped air to escape. Once the candle has partially set, reheat your leftover wax and perform a second pour to fill these voids. Our guide on how to fix sinkholes explains this technique in detail to ensure you avoid visible lines or streaks.
Allow the candle to cure undisturbed at room temperature for at least 24 to 48 hours. Patience is vital here; attempting to de-mold a candle too early can mar the surface finish. If a candle becomes stuck in an acrylic mold, placing it in the refrigerator for about 30 minutes can help the wax contract just enough to slide out easily.
The Finishing Touches
Once the candle has completely set, gently remove it from the mold. Trim the wick at the base so the candle stands level, and trim the top wick length to approximately 1 centimeter. If the base remains slightly uneven, you can carefully slide it across a warm frying pan to melt it perfectly flat.
Before lighting your creation, give it time to rest. While 48 hours is usually enough for paraffin, soy wax can require up to two weeks to develop its full scent throw. Finally, always perform a burn test when testing a new combination of wax and fragrance to ensure your candle burns safely and beautifully.


Candle making is a craft of experimentation. Start by following the basic guidelines for temperatures and wick sizes, but don’t hesitate to refine your technique as you gain experience. With the right preparation and quality materials, you’ll soon be crafting professional pillar candles that look like they belong in a high-end boutique.


