
The quality of your ingredients determines whether your project will be a success. Good tools are essential for a safe result that also smells wonderful.
Choosing the Right Detergent
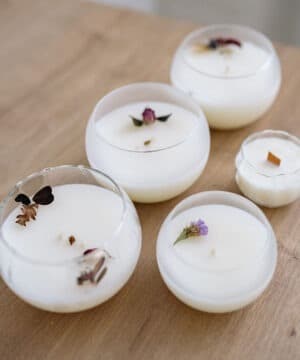
Not all wax behaves the same way. There’s a big difference between wax meant for jars (container wax) and wax that needs to stand on its own (pillar wax). Many modern makers opt for soy wax. It’s plant-based and burns longer than paraffin. For candles in glass containers, Golden Wax 464 is a favorite because of its excellent adhesion to the sides. Do you prefer to work with a sustainable European alternative? Then take a look at rapeseed wax.
-
 €7.40 €148.72Price range: €8.95€7.40 through €179.95€148.72 incl. VAT inc. VATExcl. VATSelect options This product has multiple variants. The options may be chosen on the product page
 -
€4.92 €2,727.27Price range: €5.95€4.92 through €3,300.00€2,727.27 incl. VAT inc. VATExcl. VATSelect options This product has multiple variants. The options may be chosen on the product page


The “engine” of your candle: the wick
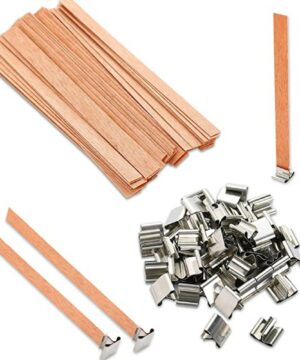
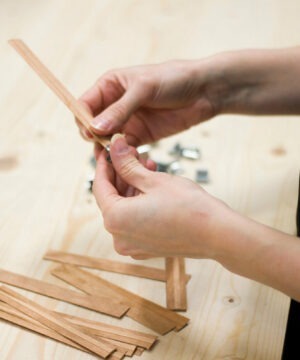
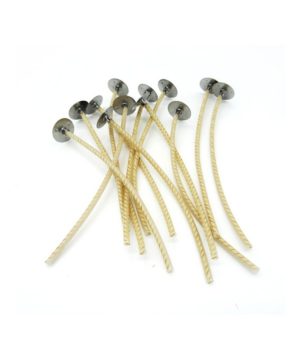
The wick is crucial for proper burning. The wrong choice can result in smoke or a flame that immediately gets smothered by the melted wax. Cotton wicks are the standard. The TCR series is convenient because it self-trims as it burns. For extra ambiance, wooden wicks are fantastic. They crackle softly like a fireplace. Always keep wooden wicks short (about 5 millimeters) for the best flame. You’ll find all the different types in our candle wick category.
-
 €2.44 €144.59Price range: €2.95€2.44 through €174.95€144.59 incl. VAT inc. VATExcl. VATSelect options This product has multiple variants. The options may be chosen on the product page
 -
 €1.61 €74.34Price range: €1.95€1.61 through €89.95€74.34 incl. VAT inc. VATExcl. VATSelect options This product has multiple variants. The options may be chosen on the product page


Containers and Tools
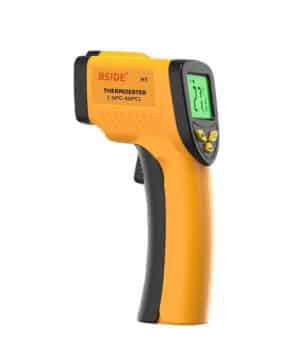
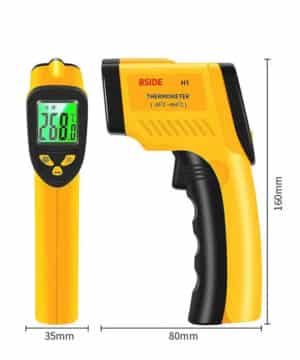
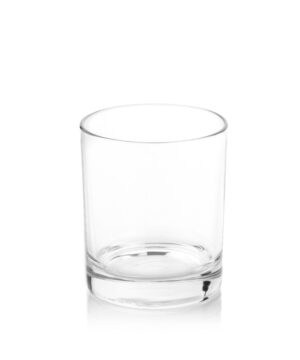
Are you using glass? Make sure it’s heat-resistant. A thin wine glass can shatter from the heat of the flame. YouWish offers specially tested glass containers. In addition to a jar, you’ll need a melting pot and a reliable thermometer. Temperature is everything. If you pour the wax when it’s too hot or too cold, the texture can change or the scent can even evaporate completely.
-
-
 €1.45 €2,000.00Price range: €1.75€1.45 through €2,420.00€2,000.00 incl. VAT inc. VATExcl. VATSelect options This product has multiple variants. The options may be chosen on the product page


Safety in Your Home Studio
We work with hot materials and, ultimately, with fire. Never melt wax directly over a flame in a regular pan. Use the double boiler method: place a bowl or pitcher over a pan of boiling water. Direct heat can cause the wax to catch fire.
Make sure the area is well-ventilated, especially when working with fragrance oils. The fumes can be strong. In the United States, candles cause thousands of house fires and dozens of deaths every year. That sounds alarming, but it underscores why you should never leave a candle burning unattended. As a maker, you’re responsible for safety and must comply with the General Product Safety Regulation (GPSR). You can read more details about this in our beginner’s guide to candle wax.
Step-by-Step Guide to Making a Container Candle
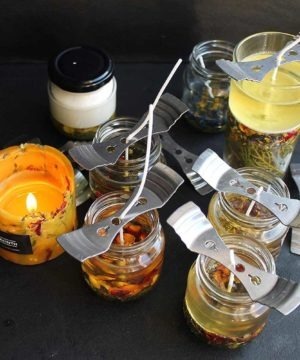
A container candle is the easiest option for beginners. A 20-cl glass holds about 165 grams of wax.
- Preparation: Make sure your jar is clean and dry. Use an adhesive sticker to attach the wick exactly in the center of the bottom. Use a centering tool to keep the wick upright.
- Melting wax: Weigh your wax and melt it in a double boiler. Do not let the wax exceed 85 to 90 degrees Celsius to prevent discoloration.
- Adding scent and color: Remove the pan from the heat. Add fragrance oils when the wax is around 70 degrees. A concentration between 6% and 10% is standard. Stir gently for at least two minutes so that the oils bind well to the wax molecules. Want to add color? Then use special candle dye.
- Pouring: Let the wax cool to the pouring temperature (for soy wax, this is often between 55 and 65 degrees). Pour slowly to prevent air bubbles, and stop one centimeter below the rim.
- Curing: Leave the candle in a draft-free spot. Although the wax hardens after a few hours, soy candles often need two weeks to reach their ideal curing time. This ensures better scent diffusion (the “throw”) when you light it.
-
 €1.24 €156.98Price range: €1.50€1.24 through €189.95€156.98 incl. VAT inc. VATExcl. VATSelect options This product has multiple variants. The options may be chosen on the product page
 -



Pillar Candles and Molds
Are you tired of standard jars? Then you can switch to shaped candles. To make a pillar candle, you’ll need a harder type of wax, such as a pillar blend or beeswax. Using a flexible candle mold, you can easily create popular shapes like bubble candles or hexagon designs.


Troubleshooting Common Problems
Sometimes it doesn’t work right the first time (it happens to the best of us). Is your candle burning only in the middle? That’s called tunneling. It means your wick is too small for the diameter of your jar. You can choose the right wick by carefully measuring the inner diameter of your jar.
With soy wax, you sometimes see a rough surface after it has set. Don’t panic—this is purely cosmetic. You can use a hair dryer on the lowest setting to melt the top for just a moment so it dries smooth again. Do you see a black lump forming on your wick? We call that a “mushroom.” This often indicates a wick that’s too long or an excess of fragrance oils. Always trim the wick back to 5 millimeters before each burn to ensure a steady flame.
Making your own candles is a process that requires patience and precision. It’s incredibly satisfying to light a handmade candle that perfectly suits your taste. Do you find it difficult to track down all the individual components yourself? Then start with a complete candle-making kit.


