
Few things in soap crafting are more frustrating than slicing into a freshly cured loaf, only to find that your bold, vibrant colors have bled into a muddy blur. Swirling and marbling give handmade soap distinct artisanal flair, but achieving sharp definition requires precise timing. Whether you work with melt and pour bases or formulate cold process batches from scratch, temperature control and batter consistency make all the difference. Mastering these fundamentals prevents unwanted color bleed and puts you firmly in control of your swirl designs, elevating an everyday bar of soap into a genuine piece of art.
The Basics of Soap Marbling
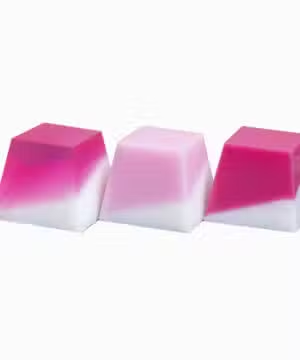
Pouring clean patterns looks fundamentally different in melt and pour soap versus cold process soap. When making melt and pour soap, you work with a premade base melted in short bursts in the microwave or over a double boiler. Here, temperature is the single most critical factor: if the base is too hot, distinct colors will simply bleed together, ruining your crisp lines. To prevent this, allow the melted base to cool to between 49 and 54 °C (120–130 °F) before pouring. Opting for a specialized suspending soap base also keeps heavy additives and mineral pigments from settling to the bottom.
-
€8.22 €49.13Price range: €9.95€8.22 through €59.45€49.13 incl. VAT inc. VATExcl. VATSelect options This product has multiple variants. The options may be chosen on the product page
-
€8.22 €49.13Price range: €9.95€8.22 through €59.45€49.13 incl. VAT inc. VATExcl. VATSelect options This product has multiple variants. The options may be chosen on the product page
In cold process soap making, everything hinges on your “trace.” Striking swirls require a very light trace, where the emulsion resembles thin, runny custard. If the batter thickens too quickly, your colors will set up prematurely, making fine swirling impossible. Keep trace under control by pulsing your stick blender sparingly, finishing the mixing by hand with a silicone spatula. Combining your oils and lye solution at lower temperatures—around 35 to 40 °C (95–104 °F)—will also give you far more working time to execute intricate designs.
Popular Swirl Techniques to Try at Home
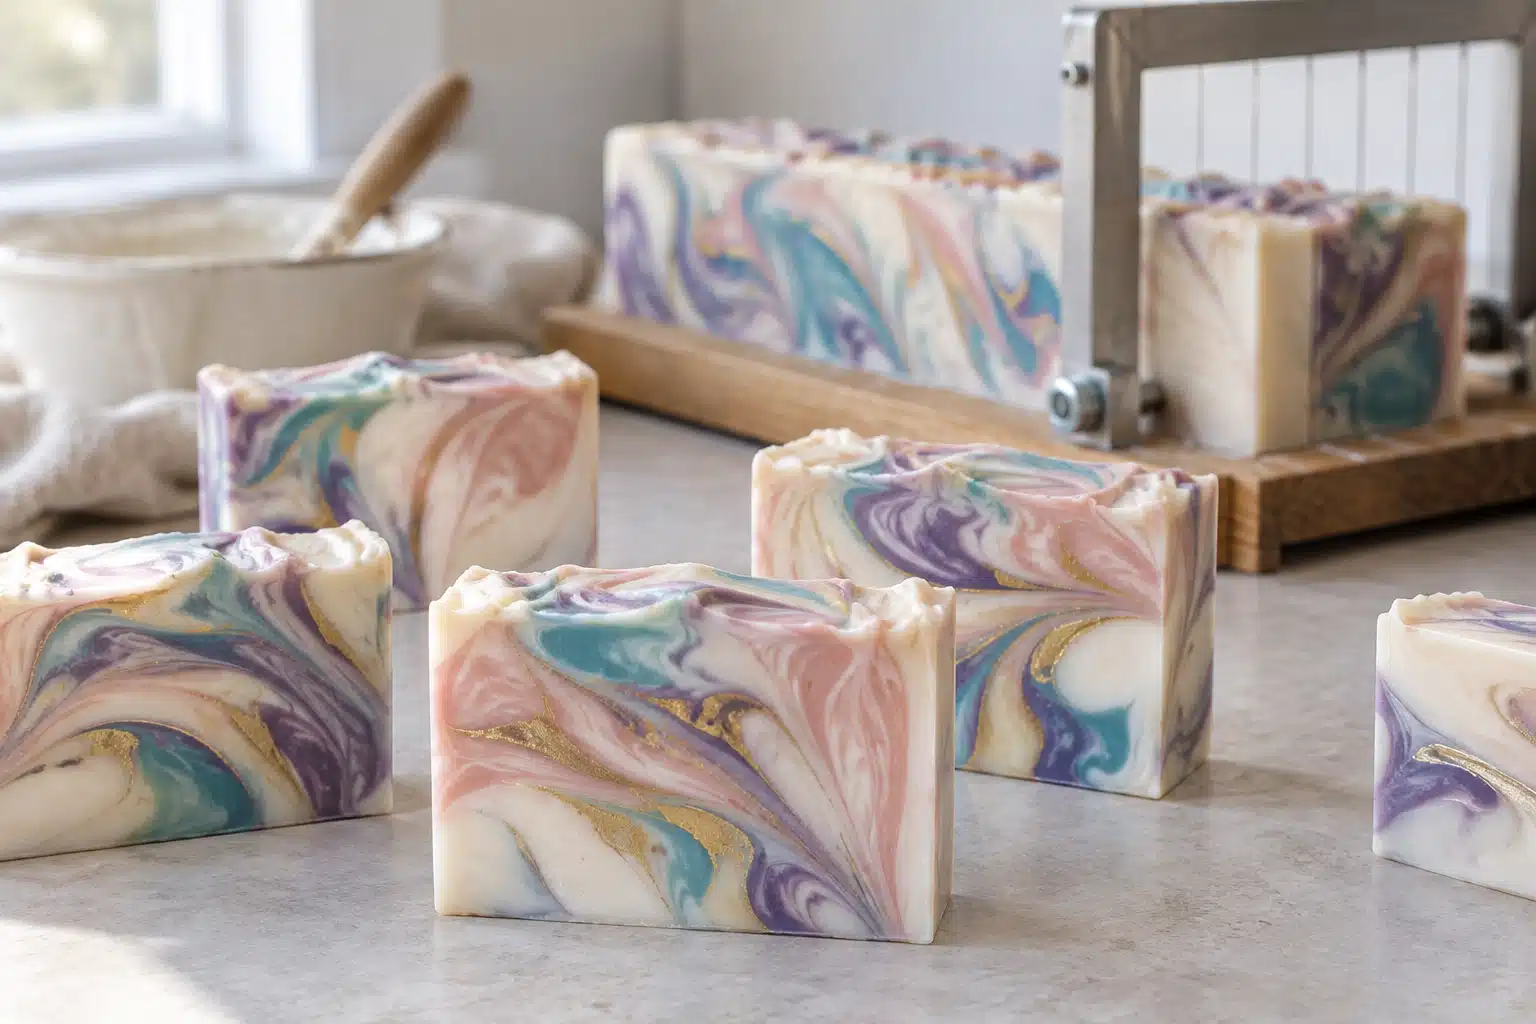
Different pouring methods yield strikingly different patterns once your cured loaf is cut into bars.
The Drop Swirl
The drop swirl is approachable for beginners and produces dynamic, organic movements. Start by pouring the bulk of your soap batter—typically a neutral base shade—into the soap mold. Next, pour contrasting accent colors directly into the batter from a noticeable height (roughly 30 to 45 cm above the mold). The momentum of the pour forces the accent colors deep into the base, creating distinct teardrop patterns and pockets beneath the surface. Alternate colors in brief, staggered pours to build depth throughout the loaf.
The Hanger Swirl
A hanger swirl uses a custom wire tool or a bent vinyl-coated wire hanger sized to match your mold. Layer your colored batters on top of one another inside a loaf mold. Insert the hanger vertically along one side until it touches the bottom, then move it in smooth loops or figure-eight motions down the length of the mold toward the opposite wall. Keep your passes minimal—just two or three fluid motions are enough before gently lifting the wire out. Overworking the tool will quickly blend the layers into an indistinct gradient.
The In-the-Pot Swirl
The in-the-pot swirl (ITPS) creates effortless, fluid marbling without any extra gear. Once your cold process batter reaches a light trace, divide it into separate cups and mix your chosen soap colorants into each. Pour these accent colors back into the main pot at cardinal points (12, 3, 6, and 9 o’clock). Gently drag a spatula through the batter once or twice—no more—to loosely distribute the colors without blending them. Then, pour the entire pot into your mold in one continuous, sweeping motion from end to end.
Preventing Bleeding and Fading Colors
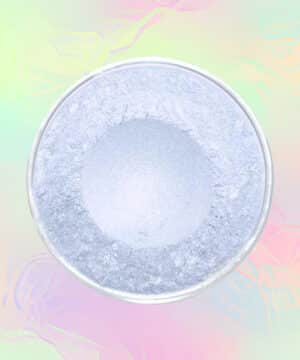
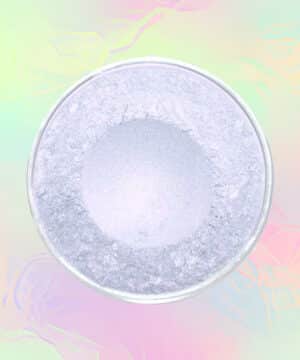
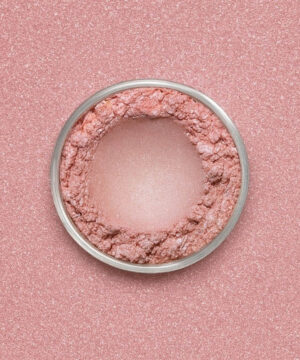
Not all colorants are suited for crisp marbling. Standard water-soluble liquid dyes tend to “bleed” or migrate, gradually drifting into adjacent lighter areas over the course of days or weeks. For razor-sharp separation, stick to non-bleeding cosmetic mica powder or stable, lab-created oxides and ultramarines.
-
 €2.44 €1,818.18Price range: €2.95€2.44 through €2,200.00€1,818.18 incl. VAT inc. VATExcl. VATSelect options This product has multiple variants. The options may be chosen on the product page
 -
 €2.44 €1,818.18Price range: €2.95€2.44 through €2,200.00€1,818.18 incl. VAT inc. VATExcl. VATSelect options This product has multiple variants. The options may be chosen on the product page
 -
-
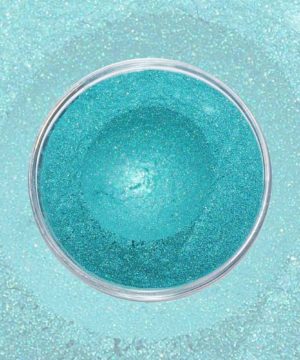 €1.61 €22.52Price range: €1.95€1.61 through €27.25€22.52 incl. VAT inc. VATExcl. VATSelect options This product has multiple variants. The options may be chosen on the product page
 -
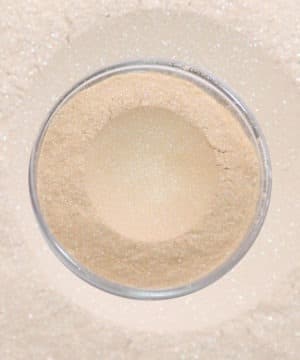 €1.61 €22.52Price range: €1.95€1.61 through €27.25€22.52 incl. VAT inc. VATExcl. VATSelect options This product has multiple variants. The options may be chosen on the product page

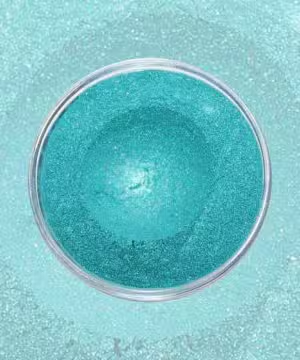

If you prefer botanical additives, explore natural colorant powders. Activated charcoal provides deep, reliable black accents, while blue spirulina offers a vibrant botanical hue. Dry pigment powder requires proper dispersion to avoid speckling; for cold process batches, pre-mix dry pigments and micas in a small amount of a lightweight carrier oil, such as sweet almond or sunflower oil. For melt and pour bases, refer to our guide on using mica powder in soap to see how a few drops of rubbing alcohol eliminate clumps and disperse powder smoothly.
Step-by-Step Soap Marbling
Meticulous mise en place prevents panic once your soap begins to trace or cool.
- Weigh out all oils, lye, water, and additives precisely on a digital scale.
- Pre-disperse your colorants and micas in carrier oil (for cold process) or high-proof alcohol (for melt and pour).
- Cool your melt and pour base to its optimal pouring range, or blend your cold process batter to a very light trace.
- Stir in fragrance oils or essential oils at the last possible moment, keeping in mind that florals and spicy notes can accelerate trace rapidly.
- Split the batter into separate containers and blend each color thoroughly.
- Pour your soap into the mold following your chosen swirl technique.
- Mist the surface with isopropyl alcohol during and after pouring to eliminate air bubbles and help adjacent layers bond cleanly.
- Use a bamboo skewer or swirling tool on the top layer to draw decorative loops, S-curves, or spirals across the surface.
Temperature Control and Curing
Working temperatures determine how long you have to work before your batter sets. In cold process soap, keeping your lye solution and oils around 35 °C preserves fluidity and buys you extra design time. Pay close attention to what happens post-pour: going through the gel phase in soap intensifies colors and creates a glossy sheen, though it can slightly darken subtle pastels.
In melt and pour soap crafting, patience between pours is paramount. Always wait until a firm skin forms over the previous layer before pouring the next. If your accent soap is too hot (above 55 °C), it will melt straight through the set base, muddying the design. In cold process batches, a fine mist of 99% isopropyl alcohol over the freshly poured soap helps prevent soda ash from clouding your surface work. Allow the loaf to rest in the mold for at least 24 to 48 hours before unmolding and cutting. That first cross-section slice is when your inner marble pattern finally reveals itself.
Gather your tools and start with a simple drop swirl to get comfortable reading your batter. Check out our guide on choosing a soap mold or pick up your raw ingredients and colorants from the YouWish shop to get pouring.


