
Have you ever lit a beautiful new candle, only to discover after a few hours that the flame is tunneling its way down into a deep crater? This is tunneling. Not only does it look messy, but it’s also a waste of all that unused wax that sticks to the edges. Your candle will eventually drown in its own crater as the wick burns down. Fortunately, a tunneling candle can almost always be saved with a few clever tricks.
First Aid for Tunneling: The Aluminum Foil Hack
If you have a candle that already has a deep hole in it, you can often fix it without having to throw the wax away. The most well-known method is the aluminum foil trick. Wrap a layer of aluminum foil around the top of the glass and fold the edges inward to create a sort of dome. Leave an opening of about two to three centimeters in the center so the flame gets enough oxygen and the smoke can escape.
The foil reflects the heat from the flame back toward the cold wax at the edges. Let the candle burn for an hour (always stay with it!) and you’ll see that the hard edges melt and blend into the liquid center. This will give you a nice, smooth surface again.
Restoring the surface using direct heat
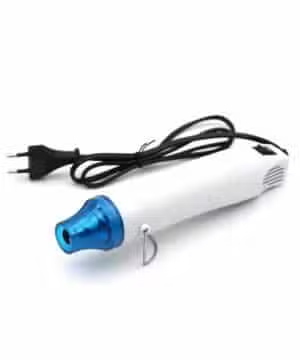
Sometimes the tunnel isn’t very deep yet, and you can fix it more quickly. A powerful hair dryer or, even better, a heat gun works perfectly for this. Aim the warm air at the unmelted wax on the sides until everything is liquid. Be careful not to get too close, though, or you’ll blow the liquid wax over the edge or extinguish the wick. In our article on how to fix small melt pools in candles, you can read more about manipulating the surface to achieve a smooth finish.


Why does a candle form a tunnel? The memory of wax
For those who make their own candles, it’s helpful to understand why this happens. That’s because wax has a kind of “memory.” The very first time you light a candle, you determine the maximum diameter of the melt pool for the rest of its life. If you let the candle burn for too short a time the first time, the wax will stop at that same edge the next time as well.
A good rule of thumb is to let a candle burn for about one hour for every 2.5 centimeters of diameter the first time you light it. Do you have a 7.5-centimeter jar? Then let it burn for at least three hours. This gives the wax time to melt all the way to the glass wall.
The Technical Side: Choosing the Right Fuse
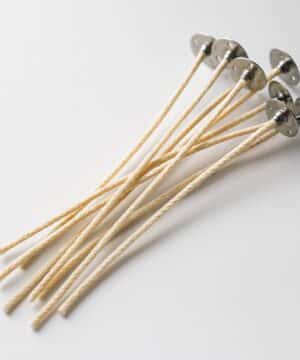
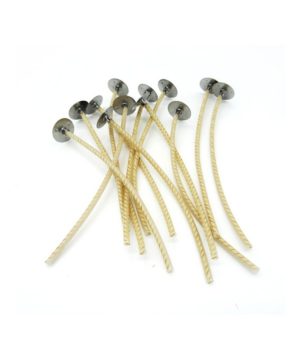
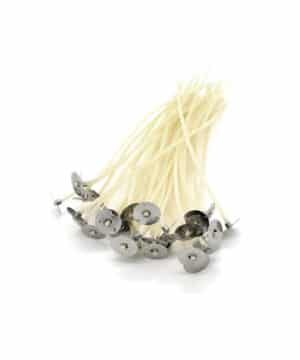
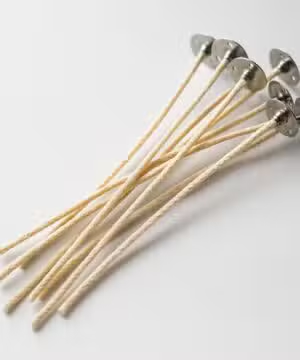
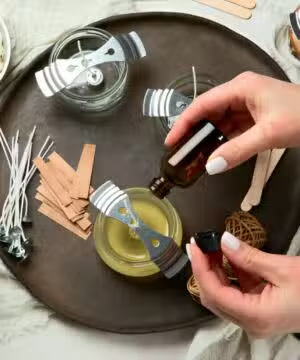
If you notice that a candle doesn’t reach the edge even after burning for hours, there’s a good chance the wick is simply too small. In the world of candle-making, we call this “under-wicking.” The wick doesn’t generate enough heat to melt all the wax. Choosing the right wick for your candle is one of the most difficult parts of the process.
Factors to consider when choosing a fuse:
- The inner diameter of the jar: the wider the jar, the larger the wick (or use multiple wicks).
- The note read: Soy wax is thicker and more viscous than paraffin and requires a stronger flame.
- The amount of fragrance oils: Strongly scented candles often require a longer wick to burn properly.
- The color of the candle: pigments can affect the capillary action of a wick.
-
 €1.61 €56.98Price range: €1.95€1.61 through €68.95€56.98 incl. VAT inc. VATExcl. VATSelect options This product has multiple variants. The options may be chosen on the product page
 -
 €2.95€2.44 incl. VAT inc. VATExcl. VATSelect options This product has multiple variants. The options may be chosen on the product page
 -
 €1.61 €74.34Price range: €1.95€1.61 through €89.95€74.34 incl. VAT inc. VATExcl. VATSelect options This product has multiple variants. The options may be chosen on the product page
 -
 €1.61 €74.34Price range: €1.95€1.61 through €89.95€74.34 incl. VAT inc. VATExcl. VATSelect options This product has multiple variants. The options may be chosen on the product page


Testing and Refinement for Creators
As a candle maker, you are personally responsible for the safety and quality of your candles. That’s why a safe candle burn test is essential before you make a larger batch. During such a test, you can see exactly whether the melt pool reaches the rim without the glass getting too hot. In the beginner’s guide to candle wax, we explain that every combination of wax and fragrance reacts differently.
Are you having trouble with a candle that doesn’t quite reach the rim? Try a size larger from the same wick series, such as the TCR series, which is very popular for natural waxes. Also, don’t forget to trim the wick to about five millimeters before each burn. This prevents sooting and ensures that the flame burns steadily.
-
€5.74 €115.66Price range: €6.95€5.74 through €139.95€115.66 incl. VAT inc. VATExcl. VATSelect options This product has multiple variants. The options may be chosen on the product page
-
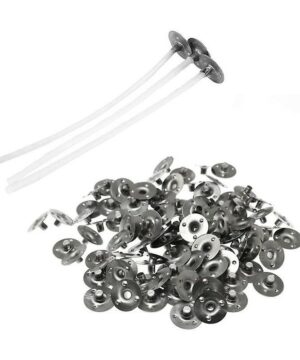 €1.03 €28.88Price range: €1.25€1.03 through €34.95€28.88 incl. VAT inc. VATExcl. VATSelect options This product has multiple variants. The options may be chosen on the product page
 -
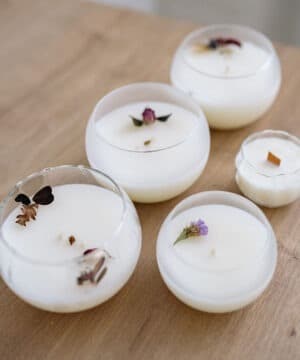
 €7.40 €148.72Price range: €8.95€7.40 through €179.95€148.72 incl. VAT inc. VATExcl. VATSelect options This product has multiple variants. The options may be chosen on the product page
 -
€4.92 €2,727.27Price range: €5.95€4.92 through €3,300.00€2,727.27 incl. VAT inc. VATExcl. VATSelect options This product has multiple variants. The options may be chosen on the product page
-
-
€9.05 €300.00Price range: €10.95€9.05 through €363.00€300.00 incl. VAT inc. VATExcl. VATSelect options This product has multiple variants. The options may be chosen on the product page



Effect of the type of wash on tunneling
Not all waxes behave the same way. When comparing soy wax to paraffin wax, you’ll see that soy wax has a lower melting point but requires more energy to draw the wax up through the wick. Once you learn how to make a container candle, you’ll quickly realize that the balance between the container and the type of wax is what makes all the difference.
Tunneling is annoying, but with a little patience and the right materials, you can restore that smooth top layer. Whether you’re salvaging an existing candle with foil or improving your own recipes by experimenting with thicker wicks, an even melt pool ensures the best scent diffusion and a longer lifespan for your candle.
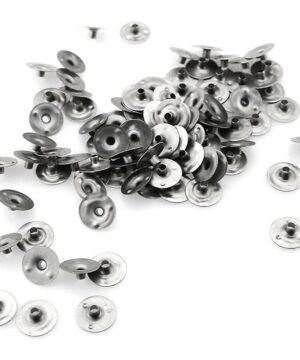
Browse the different categories in our shop to find the right wicks and wick materials for your project.


