
A well-made gel candle looks like a glass of crystal-clear water with a flame suspended inside. Yet behind that effortless, minimalist aesthetic lies a surprisingly finicky medium. Gel wax is far more demanding to work with than soy or paraffin: overheat it and you trap stubborn micro-bubbles; pour it too cool and it clouds over; choose the wrong fragrance oil and you risk creating an actual fire hazard. Here is everything you need to know to work with gel wax safely and achieve professional, crystal-clear results—from selecting the right glassware to understanding why dried botanicals should never be used as embeds.
Quick Reference Guide
| Component | Guideline |
|---|---|
| Heating | Direct heat; heat above 110 °C to clear bubbles, but never exceed 125 °C (YouWish) |
| Fragrance Oil | Maximum 6%; strictly non-polar scents with a flash point above 77 °C |
| Wick | Rigid core (zinc or paper), one size up from standard, primed with gel wax |
| Color | Minimal dye chips; excess pigment ruins optical clarity |
| Container | Heavy, heat-resistant glassware only. Gel wax cannot be used in free-standing molds |
—
What Exactly Is Gel Wax?
Gel wax is a translucent, jelly-like compound formulated from mineral oil and thermoplastic polymer resins. This blend gives the wax two signature advantages: a very slow melt rate and an exceptionally long burn time. According to YouWish, its softening point sits between 70 °C and 85 °C—significantly higher than that of traditional paraffin.
Because it lacks the structural rigidity of crystalline waxes, gel wax cannot hold its own shape once heated and cooled. It must always be poured into a rigid container; pillar and molded candles simply are not an option. If you are looking to create freestanding designs, explore our range of candle wax for soy and paraffin.
—
What You Need
- Gel wax, measured by weight to match your container’s volume
- A thick-walled, heat-resistant glass vessel (details below)
- A rigid-core wick fitted with a wick tab and a centering tool
- A dedicated melting pot suitable for direct heat, an accurate digital thermometer, and a stirring spoon or spatula
- Optional: Candle dye chips and gel-compatible fragrance oil
-
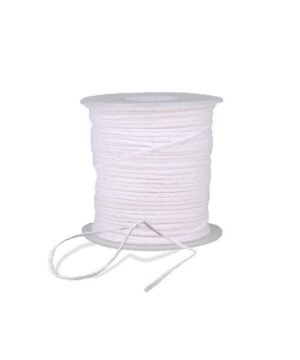 €2.95€2.44 incl. VAT inc. VATExcl. VATSelect options This product has multiple variants. The options may be chosen on the product page
-
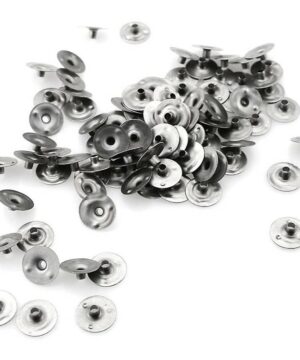
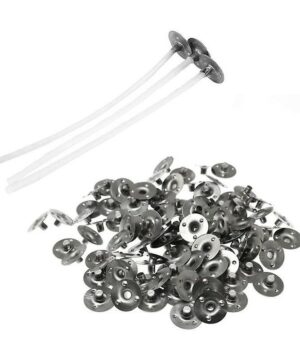 €1.03 €28.88Price range: €1.25€1.03 through €34.95€28.88 incl. VAT inc. VATExcl. VATSelect options This product has multiple variants. The options may be chosen on the product page
-
€5.92 €181.79Price range: €7.16€5.92 through €219.96€181.79 incl. VAT inc. VATExcl. VATSelect options This product has multiple variants. The options may be chosen on the product page


One crucial difference separates gel wax from traditional soy wax: never melt gel wax in a double boiler. Because gel wax requires higher working temperatures, YouWish recommends melting it in a dedicated pot over direct, low heat. Always monitor the pot continuously—molten gel reaches extreme temperatures and can cause severe burns if spilled or mishandled.
—
Choosing the Right Glass
Gel candles generate significant heat that radiates outward from the core to the container walls. If your wick is off-center, one side of the glass will absorb far more heat than the other, resulting in dangerous thermal stress.
Never use standard drinking glasses, thrifted jars, or decorative glassware. Stick exclusively to containers engineered specifically for candle making that comply with ASTM F2179 (the standard specification for the thermal shock resistance of glass candle containers). Inspect every vessel carefully and discard any pieces with hairline cracks, chips, or deep scratches.
Penreco, a leading manufacturer of specialty candle gels, notes that container shape, wall thickness, and diameter all directly impact melt-pool behavior and internal temperatures—reinforcing why comprehensive burn testing is mandatory for every new jar design. Browse our range of glass containers to find tested, candle-safe options.
—
Fragrance Oil: Where Things Often Go Wrong
While soy wax is forgiving enough to accept almost any candle-grade fragrance oil, gel wax is not. According to YouWish, gel wax can handle a maximum fragrance load of up to 6%, but only if the fragrance oil is non-polar and features a flash point above 77 °C.
Polar fragrance oils will not bind with the mineral-oil base of the gel. Instead, they separate into suspended oil droplets throughout the candle. If the flame makes contact with one of these pockets of unblended oil, it can trigger a sudden flare-up or cause the pool to ignite across the surface.
Adding fragrance also lowers the overall flash point of the finished blend. As guidance from the British Candlemakers Federation points out, the flash point of a fragrance-and-wax blend cannot be calculated on paper—it can only be verified through laboratory testing. For this reason, YouWish recommends test-burning every scented gel formulation in a controlled, fire-safe environment before producing batches for gifting or sale.
Best Practices for Scenting Gel Wax:
- Consult the Safety Data Sheet (SDS): Confirm both the flash point and non-polar/gel compatibility before adding any oil. If gel compatibility is not explicitly verified by the supplier, do not use it.
- Start conservative: Penreco formulates its gels for loads of 0% to 4% (LP grade) or 3% to 6% (MP grade). In a 200 g pour of wax, a 3% load translates to roughly 6 g of oil, while a 6% load equals 12 g.
- Incorporate thoroughly: Stir the fragrance in gently but completely. Incomplete dispersion creates hot spots and erratic burn profiles.
To learn more about working with flash points and safe dosing, read our guide on essential oils in candles, or browse our tested fragrance oil collection.
—
Making Gel Candles, Step by Step
- Prep the container: Anchor your wick tab securely to the exact center of the container base using a heat-resistant wick sticker or dab of high-temp adhesive. A centered wick is essential for safe burning.
- Select and prime your wick: YouWish recommends using a rigid wick with a zinc or paper core, sized one step larger than you would select for an equivalent diameter in soy or paraffin, and pre-primed in gel wax. For sizing details, refer to our guide on choosing the right wick, or browse our selection of candle wicks.
- Preheat your glassware: Warm your jars gently in an oven on the lowest setting or with a heat gun. Pouring hot gel into warm glass drastically minimizes thermal shock and surface bubble formation.
- Melt the wax: Heat the gel wax slowly over direct, controlled heat. YouWish advises bringing the wax above 110 °C to allow internal bubbles to rise and escape, but never let temperatures exceed 125 °C, which risks scorching and discoloration. Stir slowly and deliberately.
- Add color: If tinting your candle, introduce dye chips a tiny shaving at a time. Gel wax magnifies color intensely; too much pigment will quickly destroy its optical clarity.
- Incorporate the fragrance: Remove the pot from heat, let it settle slightly, add your compatible fragrance oil, and stir smoothly. Avoid whipping or rapid stirring, which pulls air directly into the gel.
- Pour slowly: Penreco recommends adding fragrance between 95 °C and 105 °C and pouring between 85 °C and 95 °C for its standard gels. Tilt the warm jar slightly and pour the liquid gel down the inside wall in a slow, steady stream. Always check your specific wax manufacturer’s guidelines, as working temperatures vary.
- Allow to set: Let the candle cool completely at room temperature on a level surface. Do not disturb, bump, or move the container while it solidifies.
—
Bubbles and Cloudiness: Troubleshooting Common Issues
- Excessive air bubbles: Trapped bubbles typically happen for two reasons: pouring at the wrong temperature or stirring too aggressively. Stir deliberately, warm your glassware beforehand, and pour in a thin, continuous stream against the glass wall.
- Hazy or cloudy gel: Cloudiness is usually caused by pouring the wax after it has cooled too much, using incompatible or polar fragrance oils, or overdosing on dye. If your candle looks milky, try cutting the dye concentration in half and confirming that your fragrance is fully oil-soluble and non-polar.
- Wick slumping: Standard cotton wicks tend to soften and curl in hot gel pools. Switch to a rigid zinc-core or paper-core wick, anchor it firmly with a wick tab, and support the top with a wick-centering bar during pouring and cooling.
—
Adding Embeds and Decorations
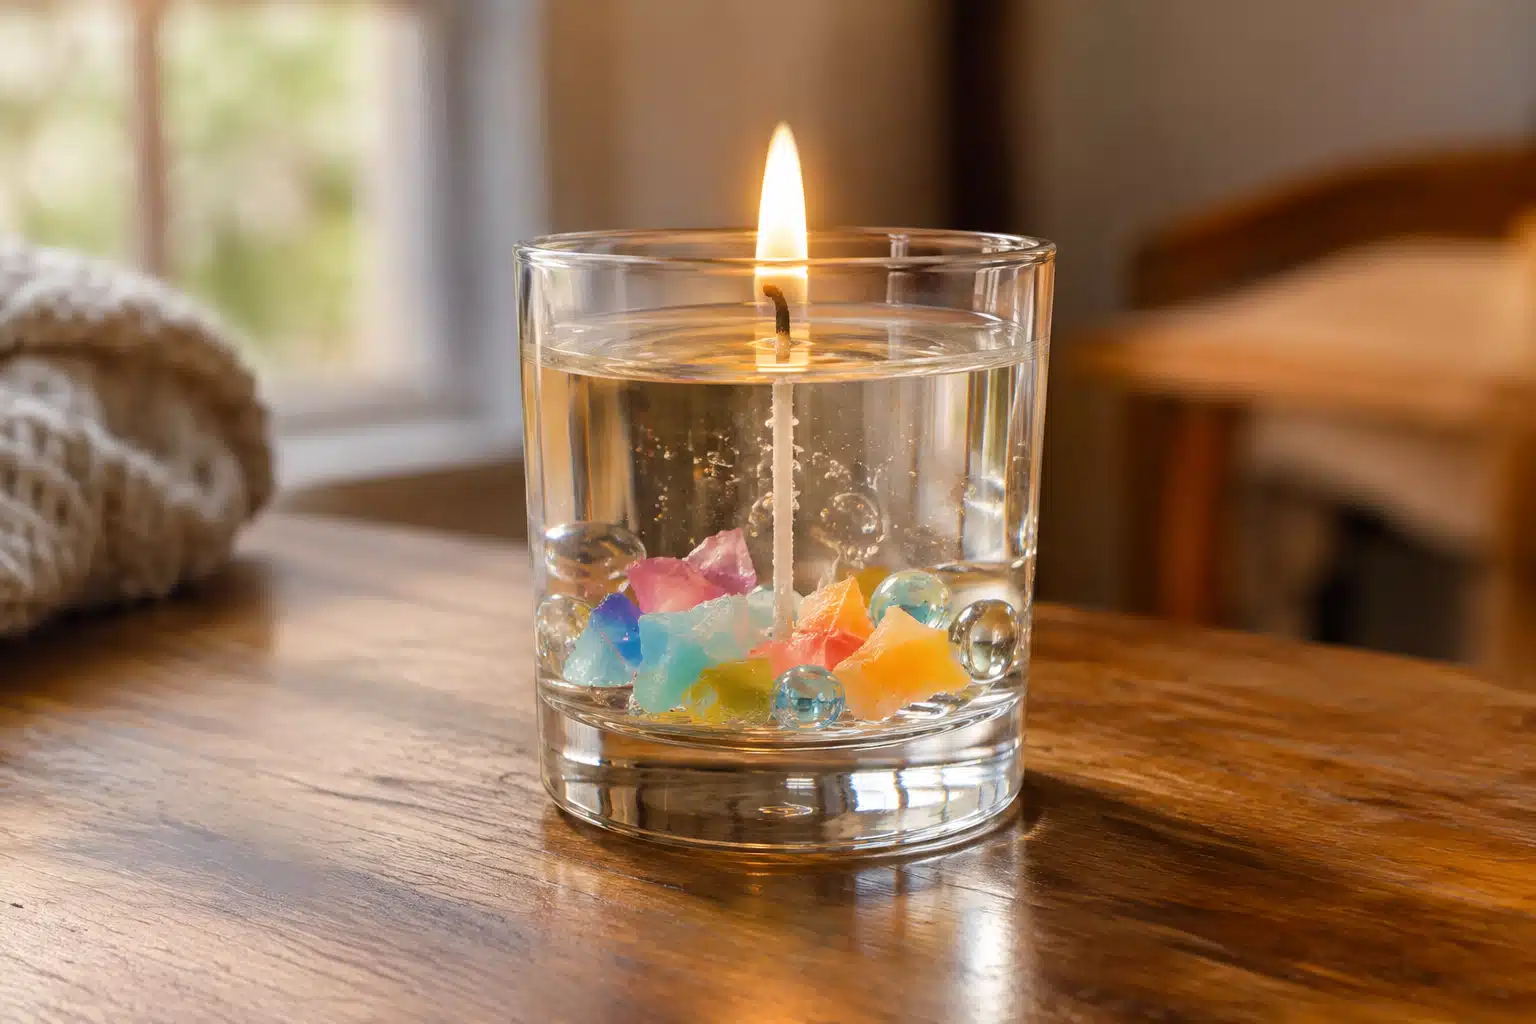
The signature feature of gel candles is their glass-like transparency, which makes them ideal for suspending decorative elements. However, aesthetic choices must never compromise safety.
Penreco approves the use of non-combustible, insoluble decorative items, as well as high-melt wax embeds designed specifically for gel crafting. On the other hand, candle safety standards strictly forbid porous or combustible materials like untreated wood, craft plastic, and dried flowers or botanicals. If an object can burn, it does not belong in your candle wax. Keep all decorative elements positioned safely away from the wick’s melt radius.
Looking for a creative hybrid project? Check out YouWish’s beer candle recipe, which pairs a 220 g gel-wax base with a frothy soy-wax foam top.
—
Burning Gel Candles Safely
Despite their unique look, gel candles carry the same fire safety responsibilities as any open flame. According to the National Fire Protection Association and municipal fire authorities like the FDNY, leaving burning candles unattended remains one of the primary causes of residential candle fires.
- Always burn your candle on a stable, flat, heat-resistant surface away from drafts, pets, and combustible household fabrics.
- Trim the wick to approximately 6 mm (1/4 inch) before every light to maintain an even, manageable flame.
- Extinguish the flame using a dedicated candle snuffer rather than blowing it out, which can splatter hot liquid gel.
- Stop burning the candle once roughly 1 to 1.5 cm of wax remains at the bottom. As noted by the British Candlemakers Federation, thermal container failures occur most frequently at the tail end of a candle’s lifespan, when the flame directly heats the base of the glass.
If you plan to sell your creations, careful testing is non-negotiable. Burn-test every individual combination of jar, wick, fragrance percentage, and dye to verify that the glass remains at a safe temperature throughout its burn cycle.
—
Ready to Pour?
For your first batch, keep things straightforward: pick a heavy glass jar, a rigid zinc-core wick, a modest dose of non-polar fragrance, and a reliable digital thermometer. Pick up your high-clarity gel wax and wick supplies at the YouWish shop.
If you would like to branch out into traditional container candles next, dive into our beginner’s guide to candle making. Happy pouring!


