
Few things are more frustrating than watching a cheap mold warp on your very first pour, or discovering your intricately detailed Christmas tree candle is permanently trapped inside. When molded candles fail, the mold itself is almost always the culprit. Your choice of mold dictates your pouring technique, the type of wax you must use, and how easily the finished candle will release. For that reason, always select your mold before buying your wax and wicks.
Here is the rule of thumb: choose rigid molds paired with a dedicated pillar blend wax for classic, smooth shapes like pillars, cones, and spheres. Opt for flexible silicone if you want textured designs, sculptural figures, or wax melts. Always verify that your mold’s heat tolerance exceeds your wax’s pouring temperature, and take a moment to calculate its capacity using water before melting a single flake of wax.
| Mold Type | Best For | Keep in Mind |
|---|---|---|
| Silicone | Figurines, embossed textures, wax melts, small batches | Slower cooling times, matte finish; requires gentle handling and care |
| Rigid plastic (acrylic) | Ultra-smooth pillars, cones, spheres, pyramids | Cannot accommodate undercuts; can warp if wax is poured too hot |
| Aluminum or steel | Seamless, classic pillars and votives | Not suitable for fine details; limited selection of shapes |
Which Mold Suits Your Candle?
Instead of starting with the mold material, start with the final design you want to create. The shape naturally dictates the best material:
- Straight or tapered profiles (pillars, cones, spheres, pyramids): Rigid molds are ideal here, as the cured candle simply slides out. Our candle molds category page includes cone molds in popular dimensions such as 10 x 5 cm, 12.3 x 7.5 cm, and 14.3 x 6.3 cm.
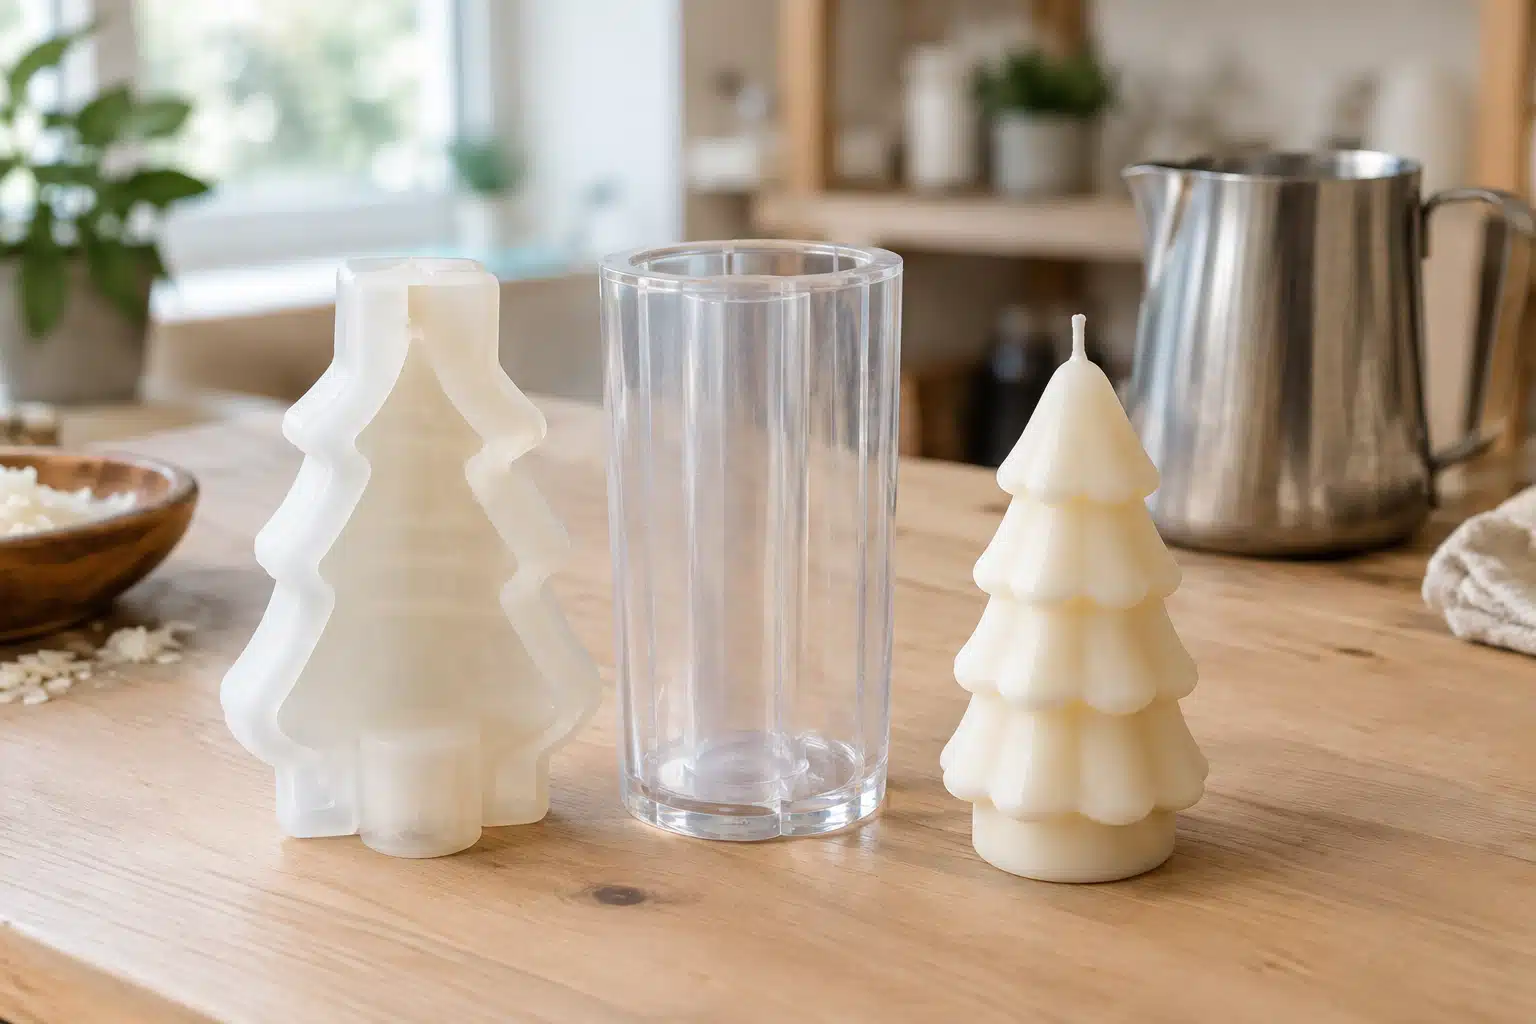
- Sculptural shapes, trees, busts, and intricate relief: Go with silicone. Thanks to its flexibility, you can peel the mold away from overhangs and undercuts that would make demolding from a rigid container impossible.
- Wax melts and novelty miniatures: Multi-cavity silicone molds are the industry standard. Silicone makes popping out small, delicate melts effortless. Explore the technique in detail in our guide to making wax melts.
- Stackable candles: The Jenga set features 10 individual molds designed to cast modular blocks that thread directly onto a tall taper candle.
Scale matters just as much as geometry. A larger mold produces a wider candle, which requires a thicker wick to ensure a full melt pool. For instance, the Swirl Christmas tree mold is available in Medium (9.6 cm high by 6.8 cm wide) and Large (14.5 cm high by 10.2 cm wide). Even though the silhouette is identical, the Large version demands a significantly heavier wick. Find the right pairing using our guide to choosing the right candle wick.
If you are just getting started, small molds minimize waste. A compact silicone option like the bubble mold (4.5 cm high by 3.5 cm wide) requires very little wax while you dial in your technique.


Silicone, Acrylic, or Metal: What’s the Real-World Difference?
Silicone is by far the most forgiving material to work with. It stretches and yields around delicate contours, releasing your candle cleanly without damaging fine surface details. Quality silicone molds, as noted by industry specialists Terre de Bougies, can endure hundreds of pours when properly cared for. However, silicone is an insulator: wax cools more slowly inside it, which often leaves the surface with a soft, matte finish. Be mindful of heat ratings, too; low-grade silicone can warp quickly under high heat. The “Sun and Moon” silicone mold in our shop easily handles temperatures between -40 °C and 230 °C—far above standard candle pouring temperatures of 55 °C to 85 °C.
Pay close attention when working with gel wax. Because gel wax is poured at much higher temperatures—typically between 95 °C and 105 °C—not every silicone or plastic mold can safely withstand the heat.
Rigid plastic (acrylic) yields sleek, glossy finishes and sharp lines. Acrylic molds in our lineup include pyramid molds (12 x 5.8 cm) alongside various sphere sizes (5, 7.5, and 10 cm). The main constraint: you cannot pour shapes with reverse tapers, and pouring wax too hot will permanently distort the plastic. When it comes to cleanup, lukewarm water and mild soap are all you need.
Aluminum and steel conduct heat much faster than plastic or silicone. As Sellacq Holland highlights in their guides, rapid heat transfer accelerates wax shrinkage, helping pillars pull away cleanly from the mold walls for a pristine, straight finish. The trade-off is a narrower range of designs, primarily limited to classic cylindrical pillars and votive cups.
Specialty latex molds are also an option for hyper-detailed, organic forms like botanical shapes, fruits, or animals.
Your Mold Determines Your Wax—and Vice Versa
This is the most common pitfall for beginner candle makers. Container wax is intentionally formulated to remain soft and cling tightly to glass—the complete opposite of what a free-standing candle requires. For molds, you need a pillar blend. Pillar waxes set hard and shrink slightly as they cool, contracting away from the walls so the candle releases cleanly.
When working with paraffin, always check the melting point; look for blends melting above 58 °C to ensure structural stability. Learn more about wax properties in our guide to paraffin wax and our breakdown of soy wax vs. paraffin wax.
Two dependable options from our range:
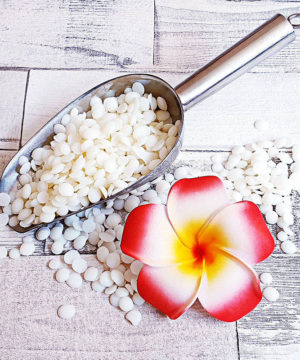
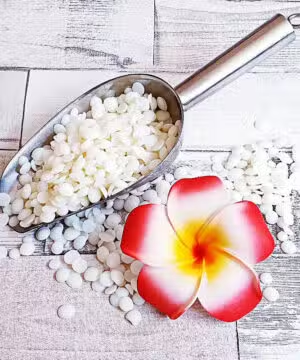
- KeraSoy Pillar Blend (4120): A 100% natural soy wax engineered specifically for pillars and votives. Melt to roughly 70 °C and pour between 55 °C and 60 °C.
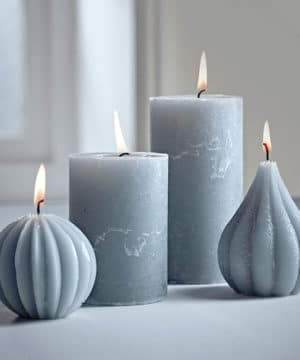
- Kerawax 4600 (Paraffin): Features a 57 °C melt point, accommodates up to 12% fragrance oil, and typically requires two to three top-up pours to level out sinkholes.
-
 €4.09 €123.93Price range: €4.95€4.09 through €149.95€123.93 incl. VAT inc. VATExcl. VATSelect options This product has multiple variants. The options may be chosen on the product page
-
€3.26 €300.00Price range: €3.95€3.26 through €363.00€300.00 incl. VAT inc. VATExcl. VATSelect options This product has multiple variants. The options may be chosen on the product page


For standard paraffin pillar wax, melt between 75 °C and 85 °C and pour around 70 °C. Always consult your wax’s technical data sheet, as pouring temperatures vary based on the formulation and mold material. Do not pour at extreme temperatures simply because a silicone mold can withstand 230 °C; excessive heat will only cause deep sinkholes and severe shrinkage around the wick.
A great tip from the KeraSoy handbook: make sure your mold is at room temperature or gently preheated to 45–50 °C before pouring. This simple step dramatically improves surface quality and ease of release.
How Much Wax Does Your Mold Hold?
Estimating wax volume by eye usually leads to leftover wax or an unfinished, short candle. You can calculate the exact amount in under two minutes:
- Place your mold on a flat surface and fill it with water to your intended fill line.
- Pour the water into a measuring jug or weigh it on a digital scale (1 ml of water equals 1 gram).
- Multiply the volume in ml by the density factor of your wax. As recommended by the Boowan Nicole calculator, a standard multiplier of 0.8 g/ml works well for most vegetable and paraffin waxes. Beeswax is denser, sitting near 0.96 g/ml.
- Add 5% to 10% extra wax to account for shrinkage and your second top-up pour.
Example calculation: If your mold holds 200 ml of water, multiply 200 by 0.8 to get 160 grams of base wax. Adding a 5–10% safety margin means you should melt 168 to 176 grams. Because wax densities vary slightly, weigh your finished candle after demolding to fine-tune your formula for future batches.
Always calculate fragrance oil and dye loads as a percentage of the total wax weight. For precise ratios, check our guide on how much fragrance oil to use.
Wicking and Demolding
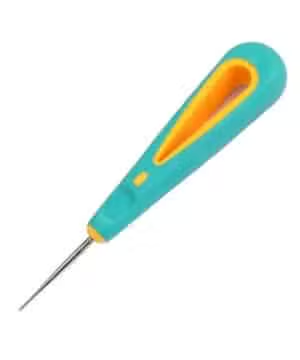
Most silicone molds do not come with pre-cut wick holes. You will need to pierce the base yourself (which becomes the top of your finished candle). Always use a dedicated mold awl or a sturdy needle; cutting a slit with a craft knife creates weak points that will tear over repeated uses. Thread your wick through, seal the hole if needed, and secure the wick taut at the open top using a wick centering tool.
Before pouring, confirm that the mold is spotless, dry, and dust-free. Even microscopic moisture droplets will cause pitting, bubbling, or blemishes on the candle’s surface.
Because wax contracts inward as it solidifies, a cavity—or sinkhole—will form around the wick. Always hold back a small portion of wax from your main batch. Once the top surface has fully set and formed a firm skin, poke relief holes into the cavity with a skewer to release trapped air, then top it off with warm reserved wax. Allow the mold to cure undisturbed for a full 24 hours, as outlined in our step-by-step guide to pouring molded candles.
If a candle refuses to release:
- Chill the mold in the refrigerator for 20 to 30 minutes to encourage additional wax contraction.
- Use a dedicated mold release spray, light silicone spray, or a thin film of mineral oil before pouring next time.
- For flexible molds, roll the silicone back from the bottom edge rather than pulling on the wick. If needed, carefully run a blunt butter knife along the rim, taking care not to gouge the wax.
Clean your silicone molds with warm water and mild dish soap. Never use scouring pads, abrasive sponges, or sharp scrapers, as micro-scratches will cause wax to stick on subsequent pours.
Four Mistakes You Can Easily Avoid
- Using container wax in a mold. Soft waxes lack structural rigidity and will tear, crack, or refuse to release. Always choose a dedicated pillar blend.
- Focusing on aesthetics instead of diameter. A wider mold requires a larger wick—or multiple wicks—to avoid severe tunneling.
- Pouring too hot simply because the mold can take it. Just because your silicone mold can survive 230 °C does not mean your wax should be poured that hot. Stick to the wax manufacturer’s recommended temperatures.
- Skipping the top-up pour. Shrinkage is inevitable with pillar waxes; always set aside wax to fill the sinkhole.
Start Small and Get to Know Your Mold
A good mold is an investment. High-quality silicone or metal molds will last through hundreds of pours when properly cared for, so it pays to master basic geometric shapes before moving on to intricate, multi-piece figurines. Explore our curated range of candle molds, select a compatible candle wax, and match it with the correct wick for your mold’s diameter. Pour a single test candle, log your temperatures and weights, and build your technique from there.


