
You pour a gorgeous candle, leave it overnight to set, and wake up to find an unsightly crater around the wick—or worse, a candle that refuses to budge from its mold. Almost every candle maker runs into this early on. The issue usually boils down to three things: choosing the wrong wax, pouring too hot, or skipping the second pour. Because freestanding candles lack a container for structural support, they require a hard pillar wax, a cooler pouring temperature than you might expect, and a little reserved wax to fill in the sinkhole that forms as the candle sets.
Quick Step-by-Step Guide
- Select a firm pillar wax rather than a container wax.
- Clean and dry your mold thoroughly, then thread the wick straight and taut through the center.
- Melt the wax using a double boiler, stirring in your fragrance and dye at the proper temperature.
- Cool the wax to its recommended pouring temperature and pour it slowly into the mold.
- After an hour or two, prick relief holes around the wick and complete a second pour.
- Let the candle cool completely before attempting to demold it.
- Trim the wick to 5 mm and allow the candle to cure before test burning.
Which Wax Works Best for Molds?
Container waxes are intentionally formulated to be soft and sticky so they adhere well to glass jars. If you pour one into a freestanding mold, the candle will likely slump in warm rooms or crumble when you try to release it. Container paraffins generally melt between 46 and 54 °C. For molded pillar candles, you need a wax with a melting point above 58 °C to ensure it keeps its shape.
Pillar wax has another indispensable quality: it shrinks slightly as it cools. While shrinkage does cause a sinkhole around the wick (which we will address shortly), it also pulls the wax cleanly away from the mold walls, allowing the finished candle to slip out with ease.
Here are the primary options from our collection:
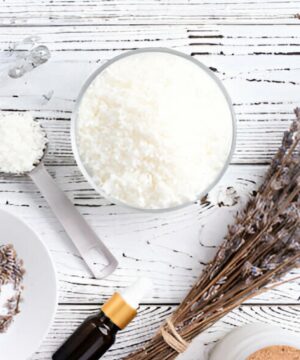
- KeraSoy 4120 Pillar Blend Soy Wax: A plant-based formulation engineered to be less brittle than standard soy wax. Do not heat above 85 °C.
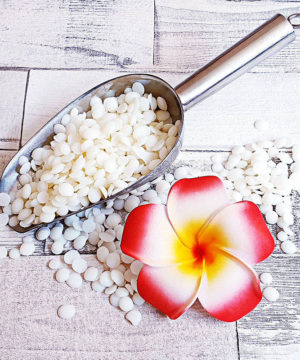
- Kerawax 4600 Pillar Blend Paraffin Wax: Features a melting point of 57 °C, holds up to 12% fragrance oil, and yields vivid colors with a sleek, glossy finish. Typically requires two to three pours.
- Professional Pillar Wax: A hybrid blend of 50% soy, 30% vegetable wax, and 20% paraffin. Pours at 75 °C and requires a cure time of 1 to 2 weeks.
-
 €9.05 €128.88Price range: €10.95€9.05 through €155.95€128.88 incl. VAT inc. VATExcl. VATSelect options This product has multiple variants. The options may be chosen on the product page
-
 €4.09 €123.93Price range: €4.95€4.09 through €149.95€123.93 incl. VAT inc. VATExcl. VATSelect options This product has multiple variants. The options may be chosen on the product page
-
€3.26 €300.00Price range: €3.95€3.26 through €363.00€300.00 incl. VAT inc. VATExcl. VATSelect options This product has multiple variants. The options may be chosen on the product page



To explore the differences between natural and synthetic bases in depth, read our comparison of soy wax vs. paraffin wax. You can also browse our complete line of candle wax.
Preparing the Mold and Wick
Even a microscopic speck of dust or a stray droplet of water will cause noticeable pitting on the surface of your finished candle. Always ensure your mold is pristine and completely dry before you begin. Residual wax left behind from previous projects is one of the most common reasons candles stick.
According to KeraSoy guidelines, molds should be kept at room temperature or warmer; gently preheating them to 45–50 °C often yields an exceptionally smooth finish. Pouring warm wax into a cold mold in a chilly room shocks the wax, frequently leading to surface cracks or unsightly frosting.
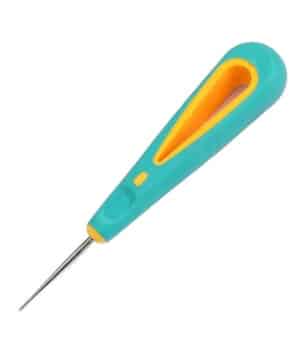
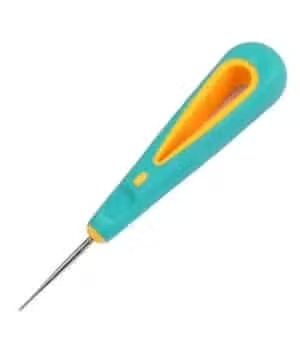
Silicone molds often lack a pre-punched hole for the wick. Make your own at the base of the mold (which becomes the top of your candle) using a dedicated wick hole piercer—standard sewing needles or scissors can easily tear delicate silicone. Thread the wick through and secure it firmly at the top using a wooden stick, a wick holder, or a wick centering tool. Keep the wick taut and centered. If your mold features a split seam for easy demolding, bind it securely with rubber bands—tight enough to seal against leaks, but gentle enough not to distort the mold. A touch of mold sealer or wick putty over the wick hole prevents wax from leaking out the base.
-
-

 €1.03 €28.88Price range: €1.25€1.03 through €34.95€28.88 incl. VAT inc. VATExcl. VATSelect options This product has multiple variants. The options may be chosen on the product page
-
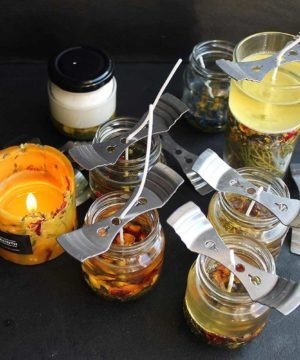



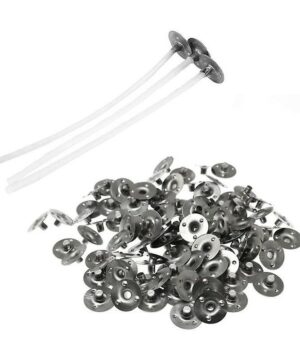
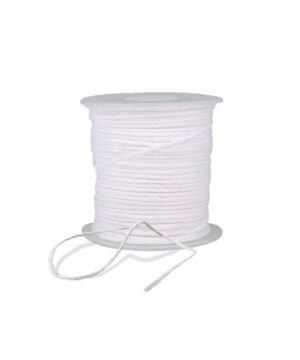
Selecting the right wick: Measure the widest diameter of your mold. Based on our sizing recommendations for the TCR series, a 45 mm candle generally requires a TCR 21/12, while a 75 mm candle performs best with a TCR 27/16 or TCR 30/18. Use these recommendations as a baseline, keeping in mind that wax type, fragrance concentration, and colorants all influence burn dynamics. For a comprehensive walkthrough, visit our guide on how to choose the right wick.
-
 €2.95€2.44 incl. VAT inc. VATExcl. VATSelect options This product has multiple variants. The options may be chosen on the product page

Still searching for the ideal shape? Browse our diverse range of candle molds, featuring everything from sleek cylinders to textured bubbles and seasonal figures. For your very first pour, straight-sided geometric shapes—such as cones or hexagons—are by far the easiest to unmold cleanly.


Temperatures: Melting, Adding Fragrance, and Pouring
Always melt wax using a double boiler or a thermostatically controlled melter—never expose it to direct heat—and keep a dependable digital thermometer on hand. Stir gently, as aggressive whipping introduces microscopic air pockets that create hollow voids in the finished candle.
Keep these foundational temperature targets in mind:
| Stage | Soy Pillar (KeraSoy) | Paraffin Pillar |
|---|---|---|
| Melting | approx. 70 °C | 75 to 85 °C |
| Adding fragrance & dye | immediately after melting, stir for 2 minutes | around 75 °C |
| Pouring | 55 to 60 °C | 70 °C |
Always review the technical data sheet for your specific wax, as formulas differ between manufacturers. CandleScience, for instance, recommends pouring EcoSoya PB soy wax at 71 °C and its pillar paraffin at 82 °C. What produces a flawless finish with one brand may cause flaws with another.
Why lean toward lower pouring temperatures? CandleScience lab testing shows that soy candles poured on the cooler side exhibit far less sinkage around the wick, while high pour temperatures consistently produce deep, cavernous sinkholes. That said, pouring too cold creates distinct horizontal ripples across the candle’s surface.
For detailed advice on fragrance proportions, consult our guides on the ideal temperature for adding fragrance oil and how much fragrance oil to use in candles.
Pouring and the Second Pour
Always melt about 10% more wax than your mold requires so you have plenty left over for topping up. Pour slowly, directing the stream down the inside wall of the mold rather than straight onto the wick, then tap the mold gently against your work surface to dislodge trapped air bubbles.
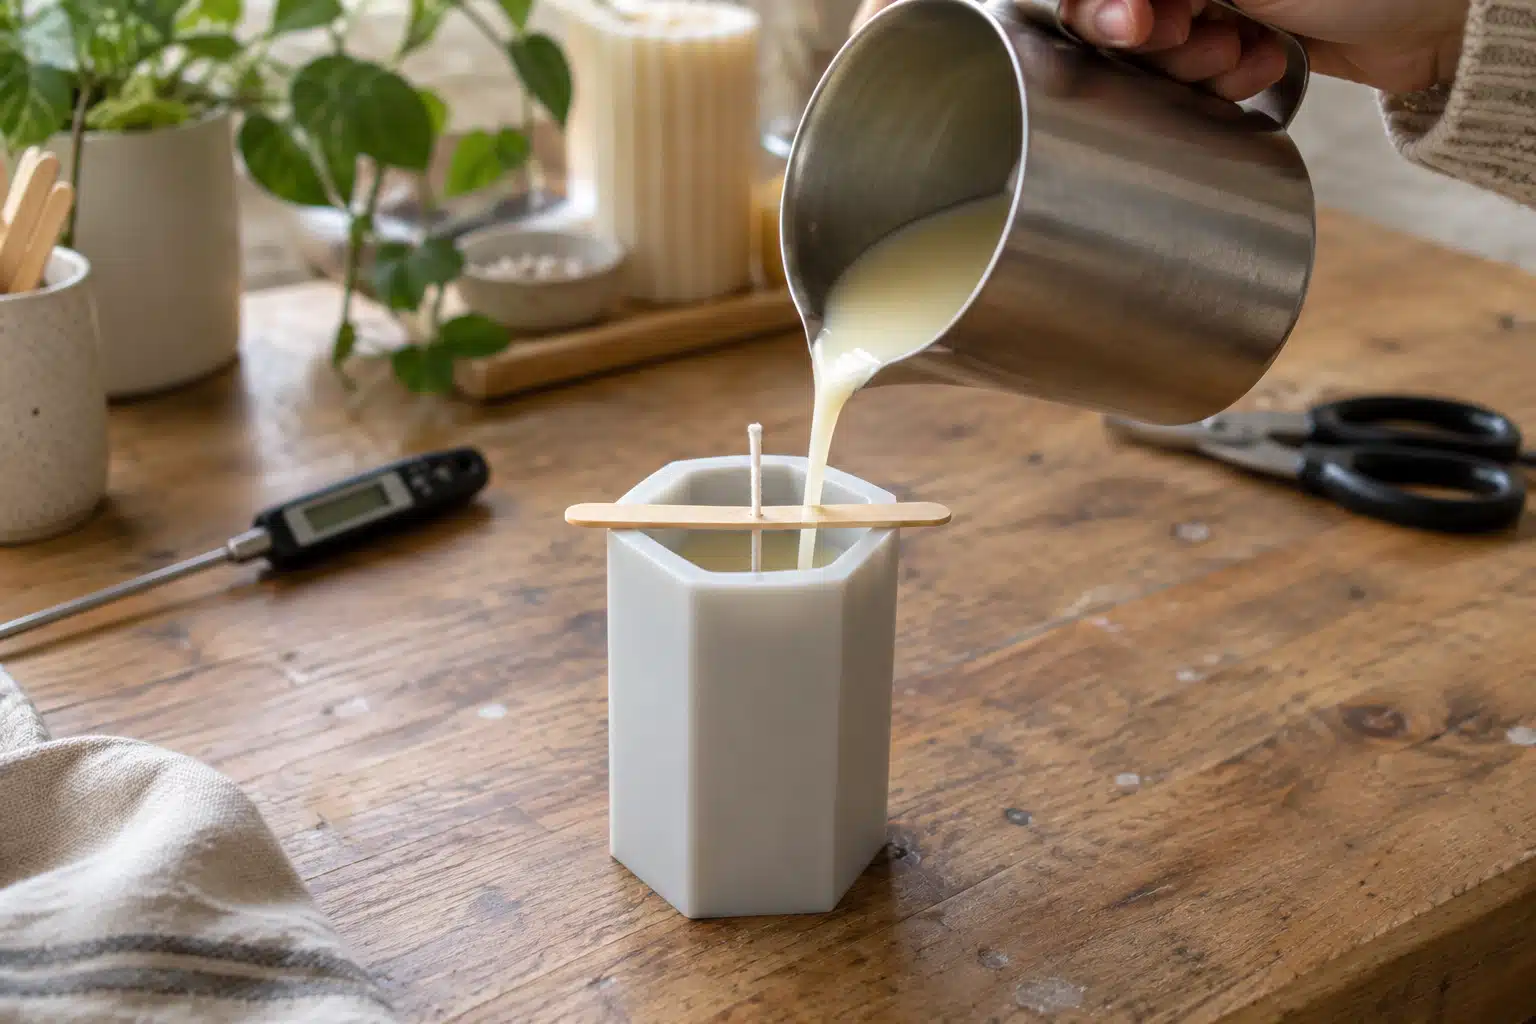
Next comes the step novices often overlook: the second pour. Because pillar wax shrinks as it cools, it naturally forms a cavity around the wick. This isn’t a defect—it is simply how pillar waxes behave. Here is how to achieve a flat, professional base:
- Allow the candle to cool until a firm skin forms over the surface while the core remains warm and soft (typically 1 to 3 hours, depending on diameter).
- Pierce two or three relief holes close to the wick using a skewer or needle, penetrating deep into the hidden air pocket below.
- Reheat your reserved wax and pour it into the holes and the depression until the surface sits completely level.
- Monitor the candle as it cools; specialized waxes like Kerawax 4600 may occasionally need a third pour.
Guidelines for second-pour temperatures vary: some makers pour at the original temperature, while others prefer the wax about 10 °C warmer. Always verify with your wax’s technical sheet. If your top-up wax is too cold, it will fail to bond with the first pour, leaving an obvious seam line.
Demolding Your Candle
Never rush demolding; the candle must be completely cool all the way to its core. An overnight rest is the bare minimum, and CandleScience testing suggests waiting a full 24 hours for paraffin-soy blends. Attempting to demold too soon can pull the soft, warm interior right out of the set outer shell.
When working with flexible silicone molds, gently roll the silicone downward and peel it away from the wax. Never pull on the wick. In our tests, clean silicone molds released effortlessly without release agents, whereas lingering residue from prior batches caused substantial sticking.
Rigid materials like acrylic and polycarbonate cling to wax more stubbornly than silicone. A light, even mist of silicone mold release spray applied before pouring will make releasing the candle much smoother.
Resist the urge to chill a stubborn candle in the freezer or refrigerator. The sudden temperature drop can cause thermal shock, leading to brittle cracks and uneven frosting. Instead, give the wax more time to contract naturally at room temperature. For intricate designs like our Swirl Christmas Tree Candle Mold, you can also briefly dip the outside of the mold into warm water to slightly soften the contact surface, helping it release cleanly.
Troubleshooting Common Issues
- Air bubbles and surface pitting: Stir slowly, allow the melted wax to sit briefly before pouring, pour down the mold wall, and tap the sides firmly after filling.
- Frosting or white patches: This crystalline finish is a natural trait of soy wax. Pour near the top of the recommended temperature window and let the candle cool slowly in a draft-free environment. For more troubleshooting steps, see our guide on how to fix candle frosting.
- Cracking: The wax cooled too quickly, usually caused by drafts, cold rooms, or chilling the mold.
- Surface ripples or freeze lines: The wax was poured at too low a temperature.
- Slumping or breakage during demolding: The wax formula is too soft for freestanding designs. Switch to a designated pillar wax.
- Tunneling during test burns: The wick diameter is too small for the candle’s width. See our guide on fixing candle tunneling.
Curing and Finishing
Once the candle is out of the mold, trim the wick to between 5 mm and 1 cm using a dedicated wick trimmer to ensure a clean, fray-free cut. Allow your candle to cure before lighting it. Kerawax 4600 needs roughly 48 hours at room temperature, while our professional pillar wax benefits from a 1- to 2-week cure to develop optimal scent throw. When ready, assess its burning characteristics using our step-by-step guide to safe candle burn testing.
Keep a notebook for your pours: log the wax variety, melt and pour temperatures, ambient room conditions, fragrance load, and overall burn performance. Because different fragrance oils interact uniquely with wax chemistry, detailed notes make it easy to replicate your best batches.
A fundamental safety reminder: molten wax causes severe burns and must never be left unattended on heat. When putting out your candles, avoid blowing directly onto the flame, which can blow hot wax onto surrounding surfaces; use a candle snuffer to extinguish the flame cleanly without smoke or mess.
Ready to get started? Pick out a quality pillar wax, a beginner-friendly mold, and the appropriate wick, and pour your first test piece today. Explore our curated selections of candle wax and candle molds—and remember to save a little wax for that second pour!


