There is something timeless about a classic white candle, but let’s be honest: sometimes you just want more. Whether it’s a deep burgundy for the holiday table or a soft pastel blue for spring, color adds a specific atmosphere to your space. Perhaps you’ve felt creative and tried melting down old crayons (spoiler: don’t do it), or maybe you’ve watched a beautiful purple candle turn a dull grey after just a week.

Choosing the right dye and technique is crucial for creating a candle that burns as beautifully as it looks. In this article, we’ll dive into the world of candle dye, explore how different wax types influence your results, and help you avoid those frustrating beginner mistakes.
Why You Should Avoid Crayons and Food Coloring
When you first start candle making, it is tempting to raid the kitchen or the craft drawer for supplies. However, if you want a safe, high-quality candle, we strongly advise against this. Food coloring is typically water-based, and as you know, oil (wax) and water do not mix. Using them results in separation, ugly splatters, and a candle that sputters loudly rather than burning calmly.
Crayons and colored pencils are also a major mistake. While they contain wax, they are packed with pigments that are far too dense for a candle wick to handle. These pigments don’t fully dissolve; instead, they clog the wick. The result is a candle that smokes heavily, smells like burning rubber, or simply won’t stay lit. Professional candle dyes are chemically formulated to bond with the wax without inhibiting the burn.
Which Candle Dye is Right for Your Project?
Not all dyes function the same way. The right choice depends on the wax you are using and the look you want to achieve.
Liquid Dyes
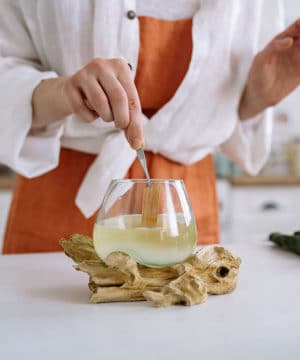
Liquid dyes are a favorite among many chandlers because of their incredible versatility. They are highly concentrated, meaning a few drops go a long way. This makes them excellent for mixing custom shades. A major advantage of liquid dye is that it dissolves quickly and easily into the wax, minimizing the risk of streaking. They work well in both paraffin and soy wax, though you may need to use slightly more dye in soy to achieve deep, rich tones.
Dye Blocks and Chips
If consistency is your goal, dye blocks or chips are fantastic. Because the amount of dye in each block is pre-measured, you can easily reproduce the exact same shade in future batches. This is ideal if you are making candles to sell or as a set of matching gifts. Keep in mind that these solid dyes usually require a higher melting temperature (often above 65°C) to fully dissolve without leaving specks or lumps.
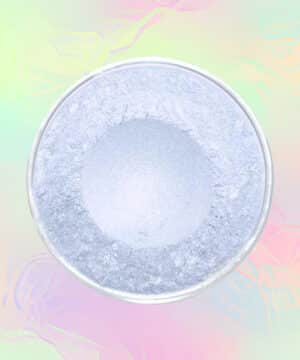
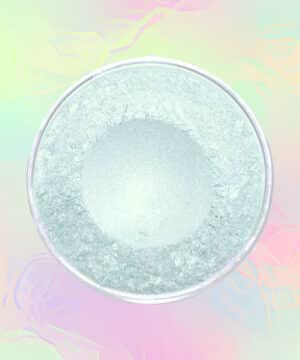
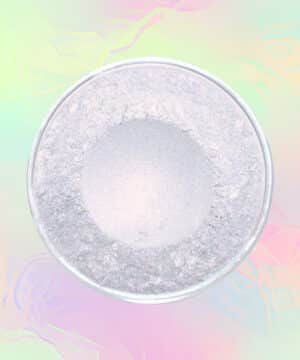
Mica Powders and Pigments
Looking for a luxurious, shimmering effect? You might be drawn to candle mica. Mica is a natural mineral that provides a beautiful pearlescent sheen. However, there is an important caveat: mica does not dissolve in wax. Instead, the tiny particles float within it. If you use too much, these particles will clog the wick, preventing the candle from burning properly.
For this reason, mica should be used sparingly. It is best suited for wax melts (which don’t have a wick) or for dipping the outer layer of pillar candles. In container candles, stick to a very small amount to create a subtle surface swirl rather than mixing it throughout the wax.
-
€2.95 – €2,200.00 incl. VAT Select options This product has multiple variants. The options may be chosen on the product page
-
€2.95 – €2,200.00 incl. VAT Select options This product has multiple variants. The options may be chosen on the product page
-
€2.95 – €2,200.00 incl. VAT Select options This product has multiple variants. The options may be chosen on the product page
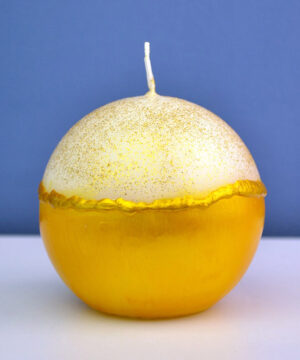
How Wax Type Affects Color
The wax you choose plays a huge role in the final appearance of your color. Managing your expectations is key to avoiding disappointment.
- Soy Wax: Soy is naturally opaque and creamy white. Consequently, colors tend to turn out softer and more pastel-like. The crystalline structure of natural candle wax like soy often mutes color intensity compared to paraffin. If you want a bright, true red, you will need a significant amount of dye, which can increase the risk of “frosting” (white crystalline patterns).
- Paraffin: Because paraffin is naturally more translucent, it renders colors vividly. It is the easiest wax to use if you want deep, dark, or neon colors.
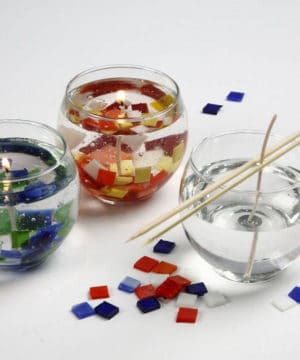
- Gel Wax: Gel wax is clear and transparent. Dyes remain transparent within the gel, creating a stunning stained-glass effect. Note: You must use dyes specifically formulated for gel wax, or your candle may turn cloudy.
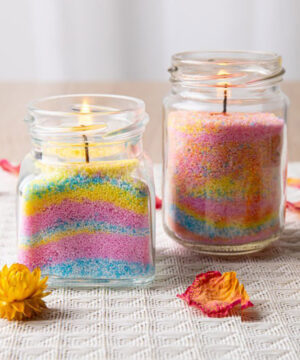
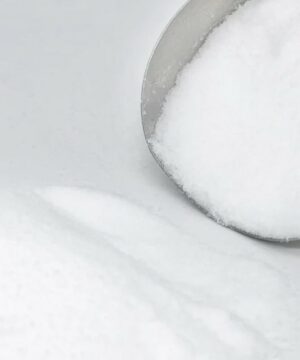
- Candle Sand: A relatively new product, candle sand requires no melting. You simply pour the granules directly into a container. This makes it incredibly easy to create layered designs by pouring different colors of sand on top of one another.
-
€4.95 – €600.00 incl. VAT Select options This product has multiple variants. The options may be chosen on the product page
-
€7.16 – €219.96 incl. VAT Select options This product has multiple variants. The options may be chosen on the product page
Creative Techniques for Advanced Makers
Once you have mastered the basics, you can start experimenting with decorative techniques to make your candles truly unique.
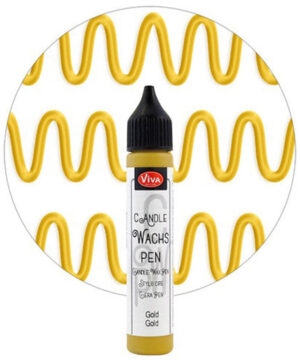
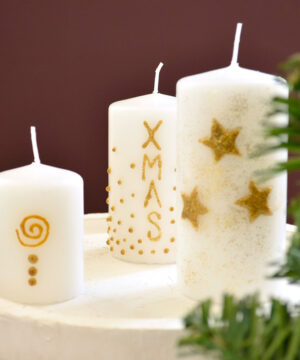
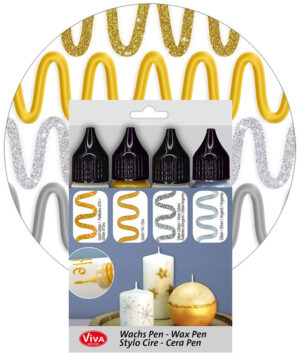
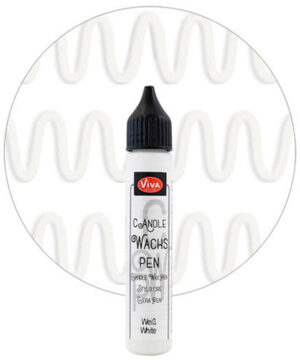
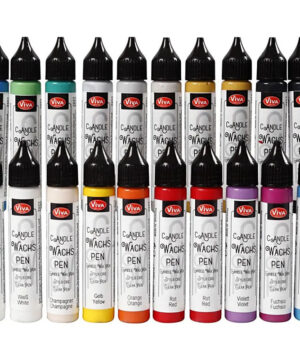
Decorating with Wax Pens
With candle wax pens, you can draw or write directly onto the surface of a finished candle. The liquid wax in these pens dries quickly and adheres firmly. It is perfect for adding fine details, names, or patterns that are impossible to achieve through pouring alone. Since this wax is formulated specifically for candles, it burns safely and odor-free.
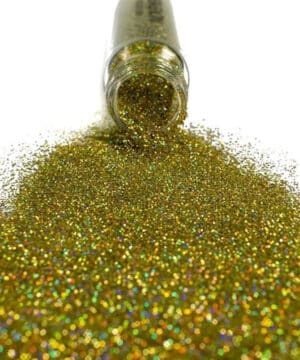
Glitter and Glamour
For a festive touch, you can add candle glitter. A word of caution: always use cosmetic-grade or biodegradable glitter made specifically for candles. Standard craft glitter is plastic; it can melt, release toxic fumes, and even pose a fire hazard. It is best to sprinkle glitter on the very top of the candle or apply it to the outer rim so it doesn’t suffocate the wick.
-
€2.95 – €2,000.00 incl. VAT Select options This product has multiple variants. The options may be chosen on the product page
Common Problems and Solutions
Even the pros run into trouble sometimes. Here are solutions for the most common color-related headaches.
White Discoloration (Frosting)
With vegetable waxes like soy, you may notice white crystal formations resembling snowflakes on the side of the glass. This is called ‘frosting.’ It doesn’t affect the burn quality, but it can ruin the aesthetic. As we explain in our article on solving candle frosting, preheating your glassware and pouring your wax at a lower temperature can help minimize this.
Color Fading
Is your candle sitting on a windowsill? UV light attacks candle dye, causing colors to fade rapidly. Violet, blue, and red are particularly sensitive. If you know your candles will be exposed to sunlight, consider using a UV inhibitor additive, or simply store them in a dark place until you are ready to use them.
Air Bubbles
If you see small pits or bubbles on the surface after the candle cures, it’s often the result of stirring too vigorously when mixing in the dye. Stir gently and steadily to avoid whipping air into the wax. If you’re still struggling, check out our tips on how to fix air bubbles in candle wax.
Color Settling to the Bottom
If the bottom of your candle is darker than the top, your dye didn’t bond properly. This usually happens because the dye was added when the wax was too cool. Ensure your wax is hot enough (usually around 85°C) when you add color and fragrance, and stir gently for at least two minutes. You can read more about this in our guide on solving mixing problems.
Getting Started
Coloring candles takes a bit of patience and practice, but the results are absolutely worth it. Start simple, test your combinations, and keep a notebook of what works (and what doesn’t). Whether you opt for subtle pastels in soy wax or vibrant hues in paraffin, with the right techniques, you’ll be making creations you can be proud of.