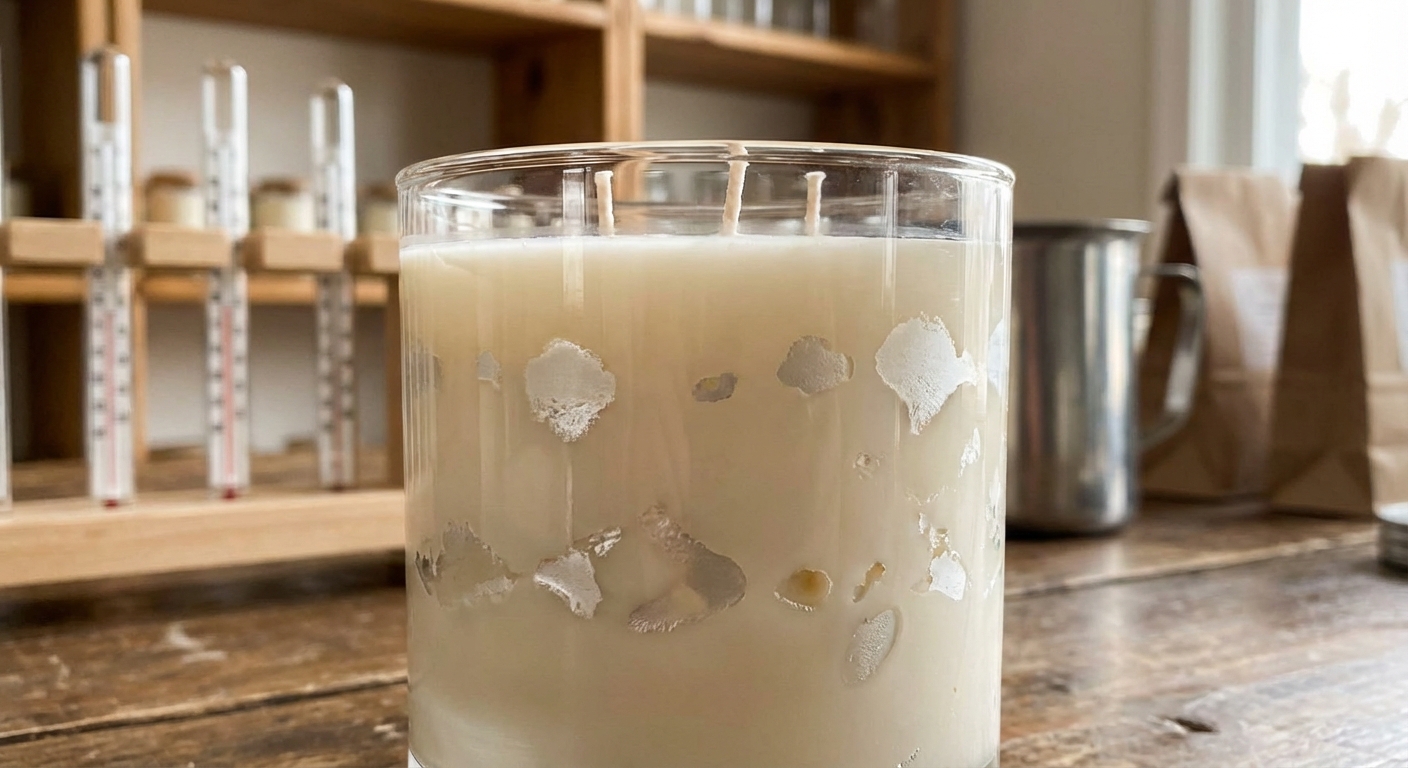
You’ve just poured the perfect batch of candles. The tops are glass-smooth, the scent throw is fantastic, and you’re proud of the result. But the next morning, you check the side of the jar and see strange blotches. It looks like water is trapped between the wax and the glass, or like the wax is peeling away in certain areas.
We call this phenomenon “wet spots,” though technically it is an adhesion issue. It is one of the most common frustrations for anyone working with soy wax. The good news? It has absolutely no impact on how your candle burns or smells; the issue is purely cosmetic. Still, as a maker, you naturally want your candles to look as professional as they smell. Below, we dive into the science behind these spots and how you can prevent them.
What Exactly Are Wet Spots?
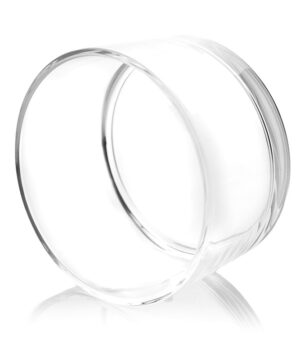
Despite the name, these spots have nothing to do with water or moisture. What you are seeing are areas where the wax has pulled away from the glass. In places where the wax is still firmly adhered to the wall, the candle appears darker. Where the wax has detached, a microscopic layer of air is trapped, making the glass look lighter or silvery.
This is simply physics in action. Soy wax is a natural product that is “temperamental” and active. It constantly reacts to temperature changes, even long after the candle has cured. This is in contrast to paraffin, which is generally more stable and behaves differently.
The Culprit Is Temperature
The main cause of wet spots is simple: shrinkage. When you melt candle wax, it expands. As it cools, it contracts. Glass, however, is a solid material that doesn’t visibly shrink or expand at these temperatures.
If the wax cools faster than the glass, or if the ambient temperature drops too quickly, the wax shrinks inward, pulling away from the walls of your glass containers. This often happens in random patches, resulting in those characteristic spots. Factors like cooling too rapidly, pouring into ice-cold jars, or having drafts in your workspace significantly exacerbate this process.
-
€1.53 – €1,115.70 excl. BTW Select options This product has multiple variants. The options may be chosen on the product page
-
€1.45 – €2,000.00 excl. BTW Select options This product has multiple variants. The options may be chosen on the product page
How to Minimize Adhesion Issues
Preventing wet spots entirely with 100% soy wax is a challenge, but you can drastically reduce the frequency of these unsightly blemishes. It’s all about mastering your workflow.
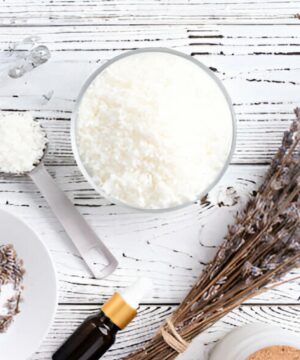
Start with pristine glassware. Dust, grease, or fingerprints on the inside of your jar will immediately cause poor adhesion. Wash your glasses with warm water and mild soap, then dry them thoroughly. Even better, wipe the inside with a little rubbing alcohol before you begin to remove any residue.
Preheat your containers. This is perhaps the most critical step that many beginners skip. If you pour hot wax into a cold glass, the wax suffers from thermal shock. The outer layer solidifies immediately against the cold glass while the core remains hot, creating tension. Place your jars in an oven on the lowest setting or use a heat gun to warm them to about 40-50°C. This ensures the wax and the glass cool down together. Check our guide on how to make a container candle for more steps on the basics.
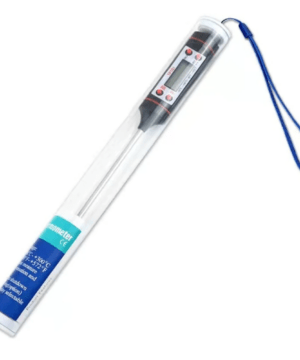
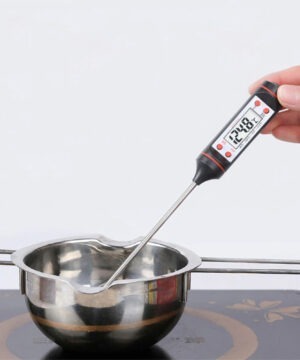
Watch your pouring temperature. Every wax has its own ideal pour point, but for soy wax, lower is often better to prevent shrinkage. If you pour too hot, the wax expands more, leading to greater shrinkage as it cools. Try pouring around 50-60°C, just as the wax starts to become thicker and cloudy. A reliable thermometer is essential here because guesswork rarely yields consistent results.


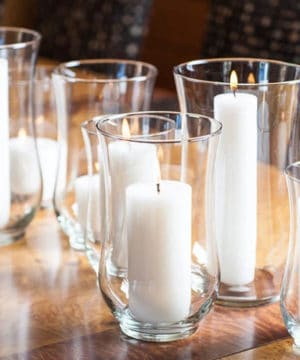
Control the cooling process. Do not place your freshly poured candles directly on a cold stone or granite countertop, as the stone will leech heat from the bottom of the jar. Instead, place them on a wire rack or a wooden board. Ensure the candles are not in a drafty area and space them about 10 centimeters apart. This prevents them from radiating heat to one another while allowing them to cool gradually. A stable room temperature of about 21°C is ideal.
Are you using a specific candle mold instead of glass? You won’t have to worry about wet spots, but be mindful of other defects like trapped air. You can read more about that in our article on how to solve air bubbles in candle wax.
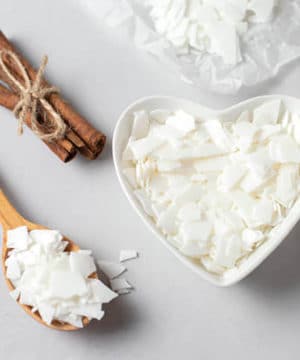
Choose the right wax. Some waxes are more prone to wet spots than others. Pure soy wax is notorious for this, but container blends often contain additives specifically designed to improve glass adhesion.
-
€9.05 – €128.88 excl. BTW Select options This product has multiple variants. The options may be chosen on the product page
-
€3.26 – €300.00 excl. BTW Select options This product has multiple variants. The options may be chosen on the product page
-
€4.09 – €165.25 excl. BTW Select options This product has multiple variants. The options may be chosen on the product page
Fixing Existing Wet Spots
If you’ve already poured your candles and spots have appeared, don’t panic. There is a quick fix, though it can sometimes be temporary. Use a heat gun to carefully heat the outside of the glass where the spot is visible. The wax inside will melt, liquefy, and flow back against the glass. Let the candle cool down very slowly.
Keep in mind that soy wax is sensitive to its environment. The spot may return over time if the room temperature fluctuates significantly.
Embracing the Imperfections
It is helpful to remember that wet spots are a hallmark of natural wax. Many commercial candle manufacturers use paraffin or synthetic additives that eliminate shrinkage, ensuring a “perfect” look.
If you choose 100% soy-based candle wax, you are choosing a natural product with all its quirks. Many customers are aware of this and view these imperfections as proof of quality and natural ingredients. Much like candle frost (frosting), it is a cosmetic characteristic that does not detract from the candle’s performance. Also, don’t forget to choose the right candle wick; a clean, safe burn is ultimately more important than perfect aesthetics on the side of the jar.
-
€2.44 – €144.59 excl. BTW Select options This product has multiple variants. The options may be chosen on the product page

Apply the tips above to optimize your results, but don’t be too hard on yourself if a spot still appears. Keep experimenting with temperatures and, above all, enjoy the process of making.