Using napkin glue to transfer images to candles and candle jars
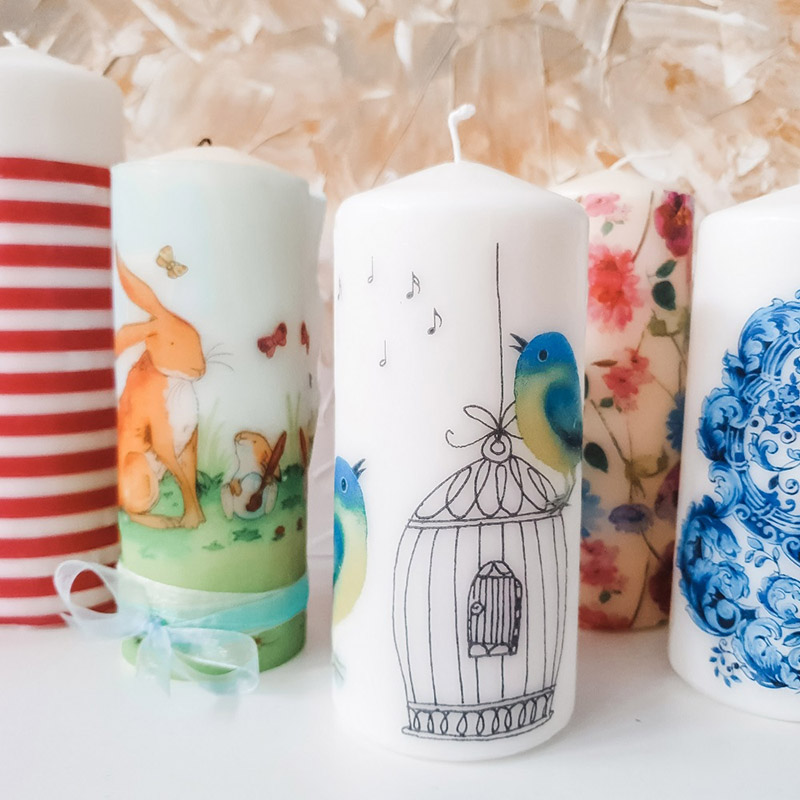
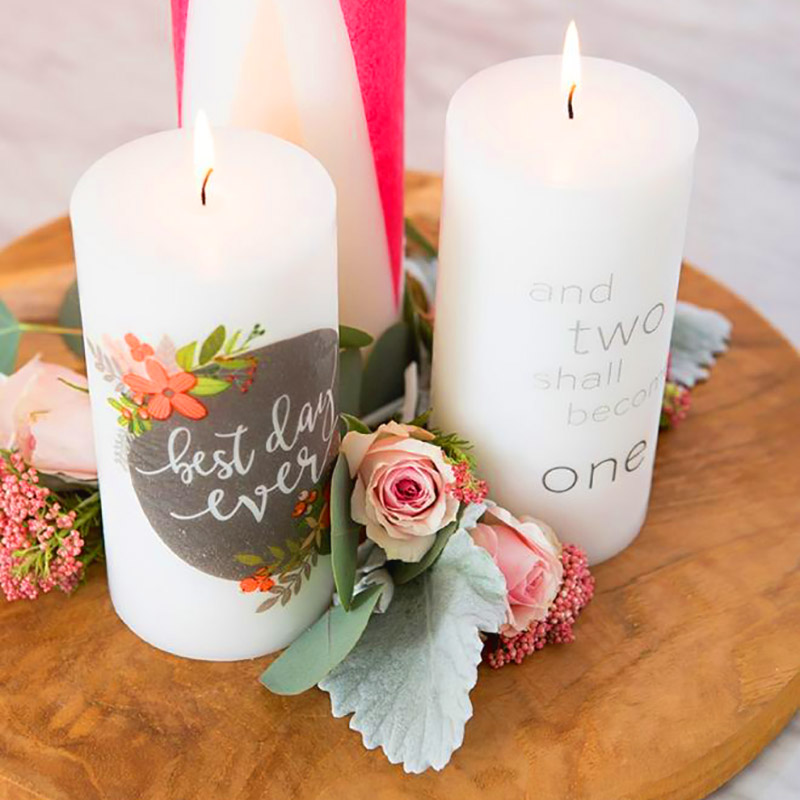
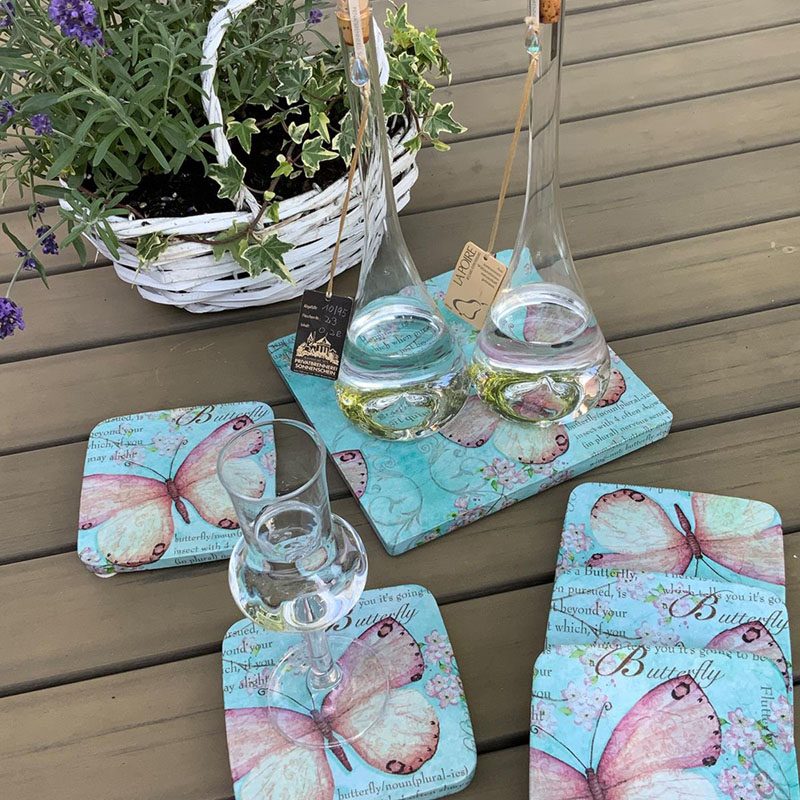
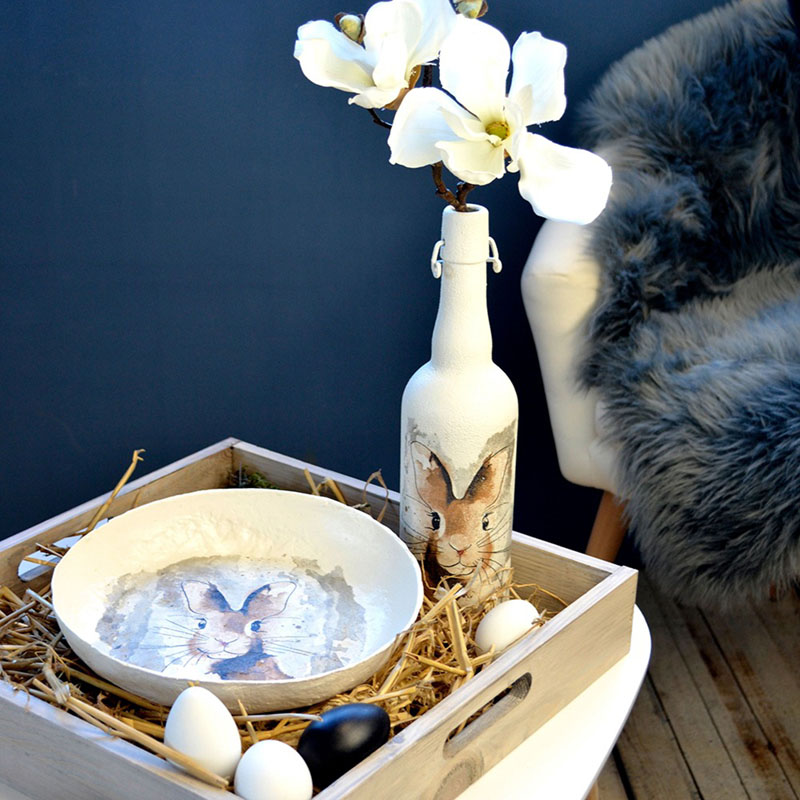
Transferring images onto candles and candle jars can add a personal and artistic touch to your home decor or gift giving. You can achieve this effect by using napkin glue, which allows you to transfer images from napkins or other thin paper materials to the surface of candles and candle jars. Here you will read step by step how to use napkin glue to transfer images:
Materials needed:
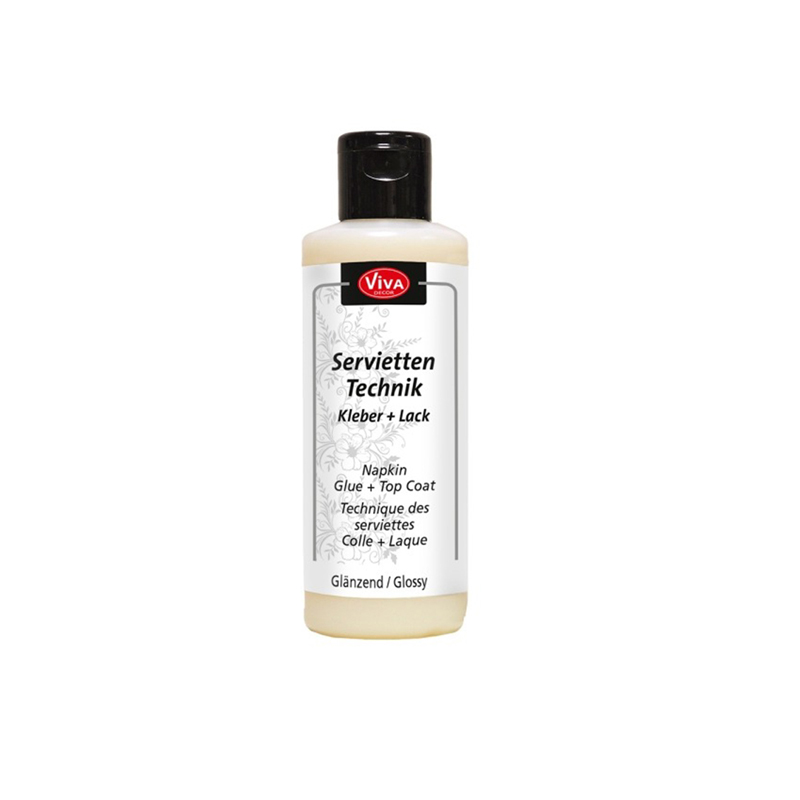
- Napkin Glue
- Napkins or thin paper with the desired images
- Candles or candle jars
- Scissors
- Soft brush or foam brush
Step 1: Prepare your materials
Choose napkins or thin paper with images you want to put on your candles or candle jars. You can use very thin paper and print on it. Cut out the images you want and make sure they are the right size to fit on the surface of your candles or candle jars.
Step 2: Clean the surface
Clean the surface of your candles or candle jars to make sure there is no dust or dirt on them. This ensures that the image adheres well.
Step 3: Apply napkin glue
Using a soft brush or foam brush, apply a thin and even layer of napkin glue or decoupage glue to the surface of the candle or jar where you want the image to transfer. Make sure the layer is smooth and covers the entire surface.
Step 4: Place the image
Carefully place the cut-out image on the glue-covered surface of the candle or candle jar. Carefully smooth any wrinkles or air bubbles with your fingers or a clean cloth. Take your time to make sure the image adheres well.
Step 5: Let dry
Let the glue dry completely. This usually takes a few hours, but it’s best to let it dry overnight for strong adhesion.




Reviews
There are no reviews yet.