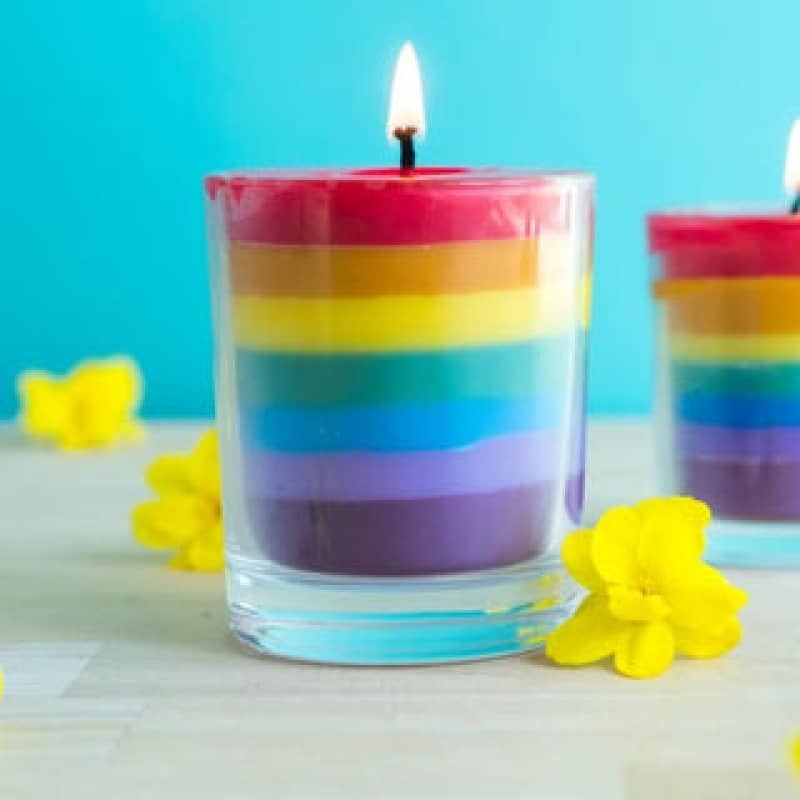
Making a rainbow candle is a fun and creative project. Here is a step-by-step guide to help you make your ownrainbow candle.
Materials needed to make rainbow candle
- Wax: You can use kerosene wax, soy wax or beeswax.
- Fuses: Pre-waxed wicks with a metal base are the easiest to use.
- Candle dye: To color the wax.
- Fragrance oil: Optional, for fragrance.
- Metal pan: To melt the wax.
- Thermometer: To keep an eye on the temperature of the laundry.
- Glass: A glass jar or a silicone mold.
- Wick centering aid: To hold the wick in place.
- Pouring jug: To pour the melted wax into.
- Heat gun: To smooth the layers (optional).
Steps to make a Rainbow Candle
1. Prepare your workplace
Cover your work surface with newspaper or a plastic sheet to protect it from spills.
2. Melt the wax
Get your double boiler ready. Put the wax in the upper part of the kettle and heat it until it is completely melted. Use the thermometer to check the temperature, depending on the type of wax you are using.
3. Add color
Once the wax is melted, add pieces of candle dye to color the wax. Stir until the color is fully integrated.
4. Add scent
If you want a scented candle, add the fragrance oil to the melted wax and stir well.
5. Pour the first layer
Place the wick in the center of your glass and secure it with the centering aid. Pour a small amount of colored wax into the glass to make the first layer. Let it cool and harden completely.
6. Repeat for each color
Clean the double boiler and repeat the melting, coloring and pouring process for each color of the rainbow. Pour each new layer on top of the previous one after it has hardened. This may take 1 to 2 hours because each layer must cool completely before the next is added.
7. Smooth the layers (optional)
If the layers are uneven, you can use a heat gun or hair dryer to gently melt the surface of the cured wax before pouring the next layer. This helps create smooth transitions between colors.
8. Finishing
When all the layers are poured and fully cured, trim the wick to about 2.5 cm above the surface of the candle.
Tips:
- Be patient and allow each layer to fully cure before adding the next.
- Experiment with different color combinations and scents.
With these steps, you can make a beautiful rainbow candle to brighten any room. Have fun making candles!



Reviews
There are no reviews yet.