You’ve picked the perfect fragrance oil, carefully melted the wax, and poured your candle with love. After waiting days for it to cure, the moment has arrived: you light it. But instead of a beautiful, calm flame, your candle starts smoking like a chimney or burns straight down into a deep pit. Frustrating, right?
The secret to a quality candle isn’t just in the wax or the scent; it lies primarily in the engine of your candle: the wick. Without the right engine, your project literally won’t get off the ground.
For beginners, choosing the right wick often feels like gambling, but it doesn’t have to be. Whether you’re working with soy wax, beeswax, or paraffin, the logic is always the same: it’s about balance. In this guide, you’ll learn exactly how to find that balance based on diameter, wax type, and candle shape, so you can get started with candle making with confidence.

Why the Wick is So Important
A wick is more than just a piece of string that burns. It actually functions like a fuel pump. The heat of the flame melts the wax, and the wick draws that liquid fuel up to the flame via capillary action.
If your wick is too small, the “pump” isn’t powerful enough. The candle will burn a narrow tunnel straight down the center, leaving the edges of the wax unmelted. The flame eventually drowns in its own melt pool because it can’t get enough oxygen.
If you choose a wick that is too large, the pump works too hard. The flame becomes too tall, flickers, and creates black smoke (sooting). Furthermore, this can cause the glass to become dangerously hot. The goal is a stable flame and a melt pool that reaches the edge of your jar after about 3 to 4 hours of burning.
Step 1: Measure the Diameter of Your Jar
Everything starts with size. Grab your tape measure or calipers. For container candles, always measure the *inner* diameter of the glass, not the outside.
For a diameter up to about 7.5 cm (3 inches), a single wick is usually sufficient. This is the standard size for most whiskey glasses and jam jars that hobbyists use.
Is your container wider than 8 or 9 cm? Then a single wick will struggle. One flame can rarely maintain a melt pool wider than 76 mm without flickering. In that case, you will likely need two (or even three) wicks. If you choose “double-wicking,” divide the diameter by two to find the right wick size. So, a 10 cm jar needs two wicks that are each rated for a 5 cm diameter.
Step 2: Choose Your Wick Series Based on Your Wax
Not every wax burns the same way. Soy wax, for example, is more viscous (syrupy) and requires a more powerful wick than paraffin. Below you can see which series best fits your project.
For Vegetable Wax (Soy Wax, Rapeseed Wax)
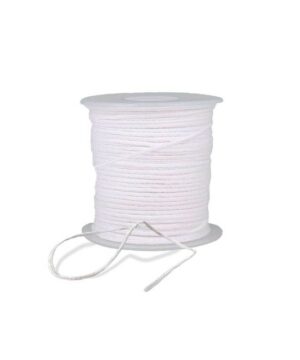
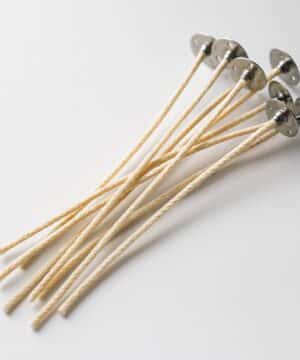
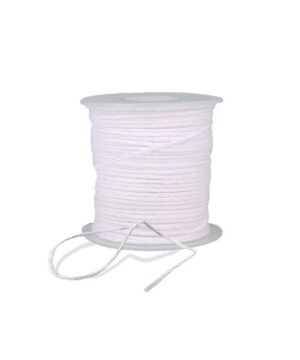
Vegetable waxes are thicker when they melt. You need a wick that burns a bit “hotter” and is sturdy, often featuring a paper core or specific braiding for stability. The TCR series is often the favorite for soy. This is a braided cotton wick with a paper core known for its anti-tunneling properties. The Eco series, a flat coreless wick, is also specifically developed for vegetable waxes. You can often find these types as candle wick on a roll or pre-cut.
-
€2.44 excl. BTW Select options This product has multiple variants. The options may be chosen on the product page
-
€1.61 – €74.34 excl. BTW Select options This product has multiple variants. The options may be chosen on the product page
-
€1.61 – €74.34 excl. BTW Select options This product has multiple variants. The options may be chosen on the product page
For Paraffin and Blends
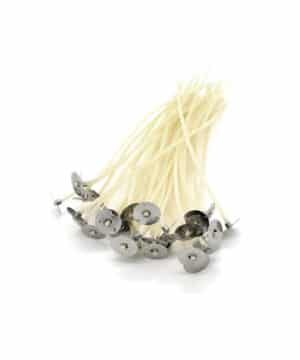
Paraffin is easier to burn than soy. A wick that burns too hot here will immediately cause soot. The Stabilo (CD) series is the industry standard for paraffin and blends. It is a flat, woven cotton wick with a paper thread that ensures maximum stability and a beautiful, calm flame.
-
€1.61 – €56.98 excl. BTW Select options This product has multiple variants. The options may be chosen on the product page
For Beeswax
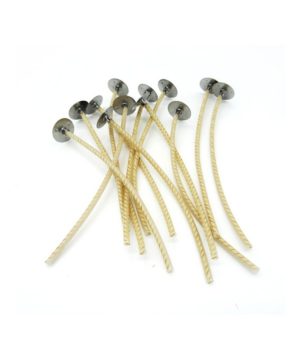
Beeswax is in a league of its own. It has a high melting point and is very viscous (a thick liquid). A standard cotton wick will often drown in this. You need a thick, round wick. These wicks are braided more loosely and are round in shape, specially designed to transport the thick beeswax upwards.
-
€2.44 excl. BTW Select options This product has multiple variants. The options may be chosen on the product page
-
€2.64 – €270.45 excl. BTW Select options This product has multiple variants. The options may be chosen on the product page

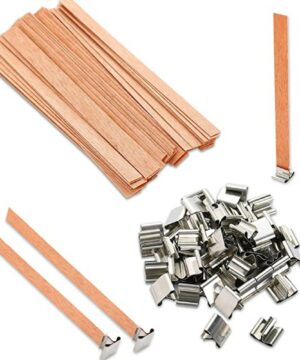
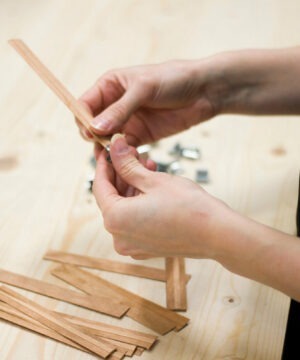
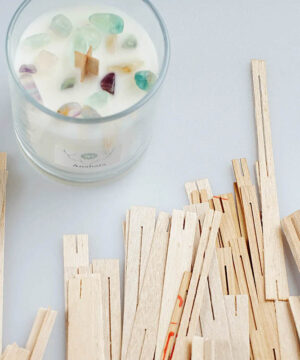
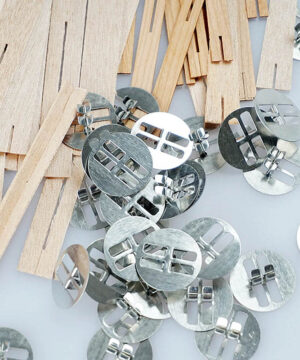
Wooden Wicks
Do you want that cozy crackling sound? Wooden wicks work in almost all wax types, but getting the correct width requires precision. If your wooden wick keeps going out, it is likely too narrow for the diameter of your jar, or your wax contains too much fragrance oil.
-
€2.44 – €144.59 excl. BTW Select options This product has multiple variants. The options may be chosen on the product page
-
€4.09 – €305.74 excl. BTW Select options This product has multiple variants. The options may be chosen on the product page
Step 3: The Size Charts (Guidelines)
These tables will help you get started, but keep in mind: these are just guidelines. The amount of fragrance oil and dye has a huge impact on the burn. A dark, heavily perfumed candle often needs a larger wick than a white, unscented candle.
Guideline TCR Wicks (Ideal for Soy)
| Diameter Container | Recommended TCR Wick |
|---|---|
| 38 – 50 mm | TCR 21/12 |
| 50 – 57 mm | TCR 24/12 |
| 57 – 63 mm | TCR 24/14 |
| 63 – 75 mm | TCR 27/16 |
| 75 – 83 mm | TCR 30/18 |
Guideline Stabilo (CD) Wicks (Ideal for Paraffin/Blends)
| Diameter Container | Recommended Stabilo Wick |
|---|---|
| 45 – 50 mm | Stabilo 6 |
| 55 – 60 mm | Stabilo 8 |
| 60 – 65 mm | Stabilo 10 |
| 65 – 70 mm | Stabilo 12 |
| 70 – 75 mm | Stabilo 14 |
| 75 – 80 mm | Stabilo 16 |
Step 4: Test, Test, Test
Unfortunately, there is no magic formula that works every time. The golden rule of candle making is the “burn test.” Make your candle and let it cure for at least 48 hours. For soy wax, patience is even more important; as we explain in our blog about 5 things every beginner candle maker needs to know, curing vegetable wax can take up to one or two weeks.
Then, light the candle and let it burn until the entire surface has melted. Usually, you should allow for 1 hour of burning per 2.5 cm (1 inch) of diameter. Examine the flame critically. Is it calm? Is it smoke-free? Is the melt pool about 1 cm deep?
Does a thick rim of hard wax remain stuck to the glass after 3 to 4 hours of burning? Then you are suffering from tunneling and your wick is likely too small (“under-wicked”). Try one size larger on your next attempt. On the other hand, is a black carbon ball forming at the end of your wick (a ‘mushroom’)? This often means the wick is too large. Regardless, always trim your wick to 5 mm before every use.
Is your candle burning unevenly? There’s a good chance your wick wasn’t exactly in the center during pouring. It is worth reading how to prevent your wick from being off-center, because a centered wick is crucial for a safe burn.
Container vs. Pillar Candles
Most hobbyists start with container candles, but strictly distinct rules apply to freestanding pillar candles. Because a pillar candle has no glass to retain heat, you often need a slightly thicker wick than you would for a container of the same diameter. However, be careful: if the wick is too large for a pillar candle, the walls will melt through too quickly, causing liquid wax to leak onto your table.
For small projects like wax melts, you naturally don’t need a wick, but make sure you use a specific type of wax designed to melt easily in a burner.
Finding the perfect wick is a process of trial and error. Begin with the recommendations in the tables above and start your experiments. Once you’ve found that perfect burn, you know your recipe is ready. View our full range of candle wicks to find your ideal match.