Ingredients
- Clear melt and pour soap
- White melt and pour soap
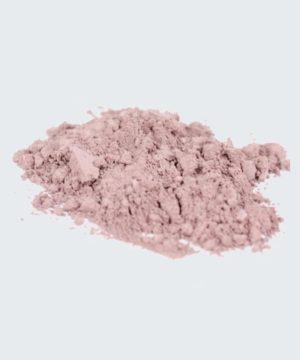
- Non-bleeding colorants (you will need at least 2 for the gradient effect)
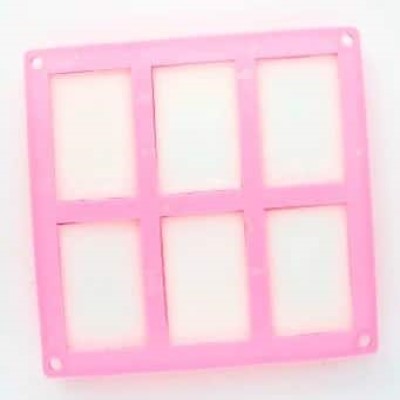
- Rectangular silicone soap mold
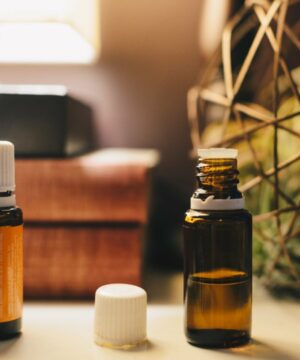
- Essential oil
- Spray bottle filled with rubbing alcohol
- Microwave safe bowl
- Spoon and knife
- Slim book to use as a riser
Instructions
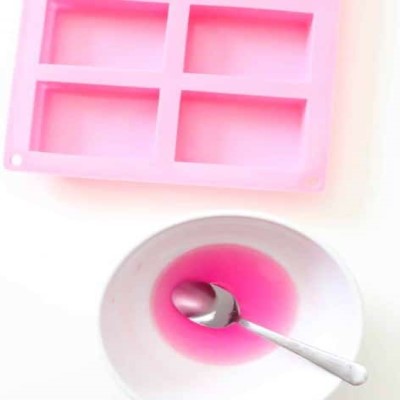
Step 1: Cut up 1/2 cup of clear soap and melt it for 15-20 seconds in the microwave. Stir and microwave again if needed to just melt the soap but don’t let it boil. Add your colorant, and stir to combine.
Step 2: Tip your mold up using a slim book on each end, and pour your soap into one side of each rectangle mold until it reaches about 3/4 of the way to the other side. Now spritz with the rubbing alcohol to get rid of any air bubbles and smooth out the soap. Repeat with the rest of your soap and mold cavities. Let the soap cool for 20 minutes.
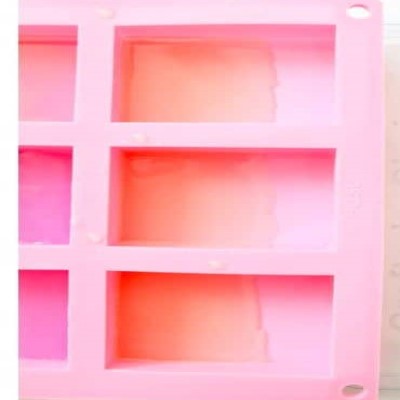
Step 3: Repeat the melting and coloring step with another 1/2 cup of clear soap and a new color. Remove the book riser from under the mold, spritz the soap with more rubbing alcohol (this ensures the soap layers will stick together), and pour in your next color on the opposite side of the first color until it comes about 3/4 of the way up on the first color.
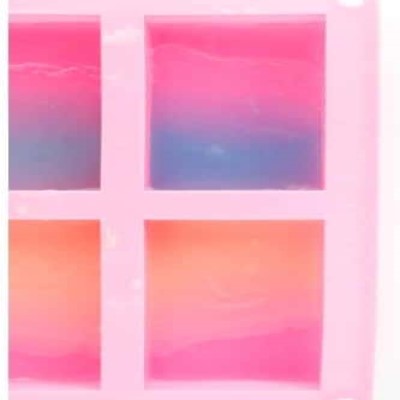
Step 4: Let your new layer of soap cool for 20 minutes. Once cool, cut up 3-4 cups of your white soap into 2.50 cm chunks, and melt in the microwave in 20-second intervals until just melted. Stir to make sure all the pieces are melted, and then add in a few drops of your essential oil. Spritz the gradient soap in the mold with more rubbing alcohol and pour on your white soap until it reaches the top of the mold. Let this white soap cool overnight or for at least a few hours.
Step 5: It’s time to unmold your DIY gradient soap bars!

Reviews
There are no reviews yet.