
Have you always wanted to craft your own soap but felt intimidated by the thought of handling caustic chemicals? Melt and pour soap is the perfect entry point. It allows you to get creative immediately without the need for complex calculations or safety gear like respirators. This “ready-to-use” method utilizes a soap base that has already undergone the saponification process. All you have to do is melt the base, stir in your favorite scents and colors, and pour the mixture into a mold. Within a few hours, you’ll have beautiful, professional-quality bars of soap ready to use.
What is Melt and Pour Soap?
Melt and pour soap is a pre-made base that has already fully completed the saponification process. Unlike the cold process method, where you work directly with raw fats and lye, melt and pour bases arrive pre-mixed and hardened. These bases are typically enriched with extra glycerin, making them highly moisturizing for the skin. Because the lye is already neutralized, this method is safe enough to enjoy as a craft with children.
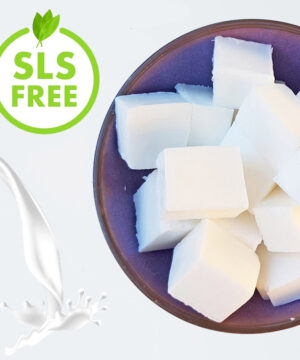
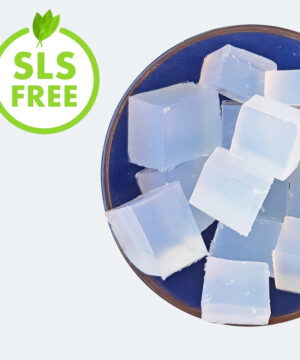
There are several varieties to choose from, each offering unique benefits. For example, a white goat milk base is rich in vitamins and minerals, making it ideal for dry skin. If you want to experiment with layers or decorative inclusions, a transparent low-sweat base is the best choice. This specific formulation prevents “dew” or condensation from forming on the surface and stays crystal clear.
-
 €7.85 €247.89Prijsklasse: €9.50€7.85 tot €299.95€247.89 incl. BTW inc. BTWExcl. BTWSelecteer opties Dit product heeft meerdere variaties. Deze optie kan gekozen worden op de productpagina
-
€6.69 €42.11Prijsklasse: €8.10€6.69 tot €50.95€42.11 incl. BTW inc. BTWExcl. BTWSelecteer opties Dit product heeft meerdere variaties. Deze optie kan gekozen worden op de productpagina
Essential Tools for Your Soap Kitchen
Before you dive in, it is important to set up an organized workspace. You don’t need a professional lab, but a few specific tools will significantly improve your results. We recommend using a heat-resistant glass measuring jug (such as Pyrex) to melt your soap; glass is non-porous and won’t leach odors or chemicals into your batch. Silicone spatulas are the gold standard for stirring because they are heat-safe, non-stick, and incredibly easy to clean.
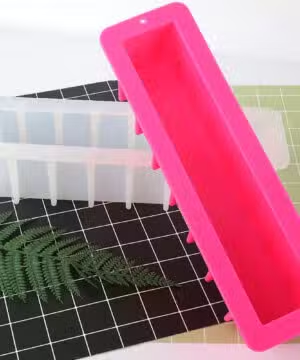
The final look of your soap depends on your soap mold. Silicone molds are generally superior to plastic or wood because of their flexibility. This allows you to “pop” the soap out effortlessly once hardened, ensuring the edges stay crisp and clean. For a sleek, modern look, you might choose a skinny silicone soap mold with reinforced walls to prevent the sides from bowing.
You will also need a sharp knife to cut the base into uniform cubes and a digital thermometer to monitor the temperature—aim to stay between 50 and 60 degrees Celsius. Be careful not to let the soap boil, as this can scorch the base and ruin its clarity. Finally, a spray bottle filled with 99.9% isopropyl alcohol is an essential tool for popping surface bubbles and ensuring that different layers of soap bond together properly.
Customizing with Scents and Colors
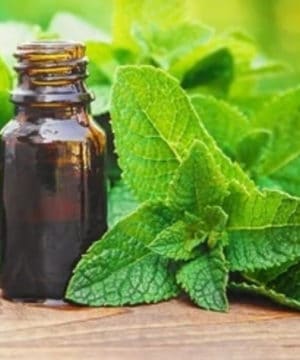
This is the stage where you can truly personalize your soap. You can choose from a wide variety of fragrance oils or pure essential oils. As a general rule, use a fragrance load of 1% to 3% relative to the weight of your soap base to ensure a lovely aroma that remains gentle on the skin. For color, use specialized water-based dyes or mica powders. Always ensure you are using cosmetic-grade colorants intended for soap to prevent skin irritation or staining.
-
€2.44 €66.07Prijsklasse: €2.95€2.44 tot €79.95€66.07 incl. BTW inc. BTWExcl. BTWOntvang een bericht Dit product heeft meerdere variaties. Deze optie kan gekozen worden op de productpagina
-
€2.44 €351.24Prijsklasse: €2.95€2.44 tot €425.00€351.24 incl. BTW inc. BTWExcl. BTWOntvang een bericht Dit product heeft meerdere variaties. Deze optie kan gekozen worden op de productpagina
-
€3.26 €347.07Prijsklasse: €3.95€3.26 tot €419.95€347.07 incl. BTW inc. BTWExcl. BTWOntvang een bericht Dit product heeft meerdere variaties. Deze optie kan gekozen worden op de productpagina
-
 €1.86 €115.66Prijsklasse: €2.25€1.86 tot €139.95€115.66 incl. BTW inc. BTWExcl. BTWSelecteer opties Dit product heeft meerdere variaties. Deze optie kan gekozen worden op de productpagina
-
 €3.26 €495.83Prijsklasse: €3.95€3.26 tot €599.95€495.83 incl. BTW inc. BTWExcl. BTWSelecteer opties Dit product heeft meerdere variaties. Deze optie kan gekozen worden op de productpagina
-

 €1.61 €66.07Prijsklasse: €1.95€1.61 tot €79.95€66.07 incl. BTW inc. BTWExcl. BTWSelecteer opties Dit product heeft meerdere variaties. Deze optie kan gekozen worden op de productpagina




A Step-by-Step Guide to a Successful Batch
To achieve the best results, follow this structured process. Melt and pour soap sets relatively quickly, so ensure all your ingredients and tools are within reach before you begin.
- Prep the base: Cut the soap base into uniform cubes (about 2–3 cm). This ensures the soap melts evenly and prevents parts of the base from overheating while others are still solid. Weigh your cubes to ensure you have exactly enough for your mold.
- Melting: Place the cubes in your glass jug and heat them in the microwave at medium power. Use short, 30-second bursts and stir gently with a silicone spatula between intervals. Stop heating as soon as the last few lumps disappear. For more control, you can also use a double boiler on the stove.
- Adding additives: Let the melted soap cool to approximately 50–55 degrees Celsius. Stir in your colorants first until fully incorporated. Add your fragrance oil last; if the soap is too hot, the scent may evaporate before the soap has a chance to set.
- Pouring and finishing: Gently pour the liquid soap into the mold to minimize splashing. Immediately after pouring, spritz the surface with alcohol. You will see air bubbles vanish instantly. Alcohol is also vital when working with soap embeds (like small hearts or stars); spray the embeds before placing them in the liquid soap to ensure they fuse together.
- Hardening: Let the soap set on a flat surface at room temperature. Depending on the size of the bar, this takes 12 to 24 hours. Avoid the temptation to put the soap in the refrigerator; the sudden temperature change can cause condensation, which ruins the soap’s finish.
Avoiding Common Pitfalls
One of the most common issues with melt and pour soap is “sweating.” This happens because glycerin is a humectant, meaning it attracts moisture from the air, resulting in small droplets on the surface. To prevent this, wrap your soap tightly in plastic wrap or store it in an airtight container as soon as you unmold it. For more tips on preservation, see our guide on storing soap.
Temperature control is also critical when creating multi-colored designs. If the liquid soap is hotter than 55 degrees when poured over a previous layer or an embed, it may melt the existing soap, causing the colors to “bleed” or blur. Patience is key—let the first layer form a firm skin before adding the next.
Creating melt and pour soap is a rewarding hobby that yields immediate results. Whether you are making bars for your own bathroom or as unique gifts, it’s a craft that is as fun as it is practical. If you’re ready to start but aren’t sure which ingredients to pick, our melt and pour soap kits provide everything you need for a specific project in one convenient package. Grab a base and start crafting today!


